Are you ready to learn about bottling homebrew? Look no further, this guide has all you need to know about bottling beer, cider, and soda!
When I began homebrewing and learning the homebrew bottling process, I had no idea how to do it. After a turbulent learning curve, and lots of spilled beer, I refined this skill.
Here you will learn the best homebrew bottling techniques, the best beer bottling equipment, how to rack your beer into your bottling bucket, how long to keep each style of homebrew bottled, and the alternatives to bottling homebrew (when siphoning is not necessary).
When I refer to “homebrew,” I am referring to beer, cider, and fermented soda.
The only style of “homebrew” I am not referring to is homemade wine. Mead can use this same technique, though, I am not sure about the priming sugar amounts or how long to bottle condition.
This post is all about bottling homebrew.
The Best Homebrew Bottling Guide
In this guide, I will cover the best way to bottle homebrew. Whether that is fermented soda, beer, or cider, this guide will show you exactly what to do during the homebrew bottling process and the bottling equipment needed for successful DIY bottling!
RELATED POST: How I Made a Homemade Beer Recipe with Lion’s Mane for Increased Cognitive Function
Cider, Soda, and Beer Bottling Equipment
The best beer bottling equipment on the market!
A note on priming sugar: The priming sugar, specifically used for bottling beer, is corn sugar. Corn sugar is highly fermentable and will carbonate your bottles the quickest.
Cane sugar, on the other hand, is most convenient since you probably have it on hand. It works just the same as corn sugar, though, it does not ferment as quickly. Both work great, it comes down to personal preference.
For a successful homebrew bottling experience, you need:
- A homebrew bottling wand & bottle filler
- Flip top bottles (if using recycled beer bottles, then you need a bottle capper and caps)
- Priming sugar or organic cane sugar (for beer & sparkling cider only)
- Star Sans sanitizer
- Bottling bucket
Overview of Homebrew Bottling Process
For beer:
- Sanitize all equipment with Star Sans
- Rack beer into the bottling bucket
- Add priming sugar either into the bottling bucket or into the bottles
- Siphon beer into bottles
- Cap and let sit for 2 weeks
For cider, soda, or herbal beer:
- Sanitize all equipment with Star Sans
- Rack off ferment ONLY if there is sediment or use the alternate method and strain out any fruits, spices, or herbs (see the ‘Alternatives to Bottling’ section below)
- Add priming sugar ONLY for cider and herbal beer
- Siphon or funnel ferment into bottles
- Cap and let sit for the allocated amount of time (see the section below on how long to bottle your ferment)
Beer Only: Racking Into Bottling Bucket
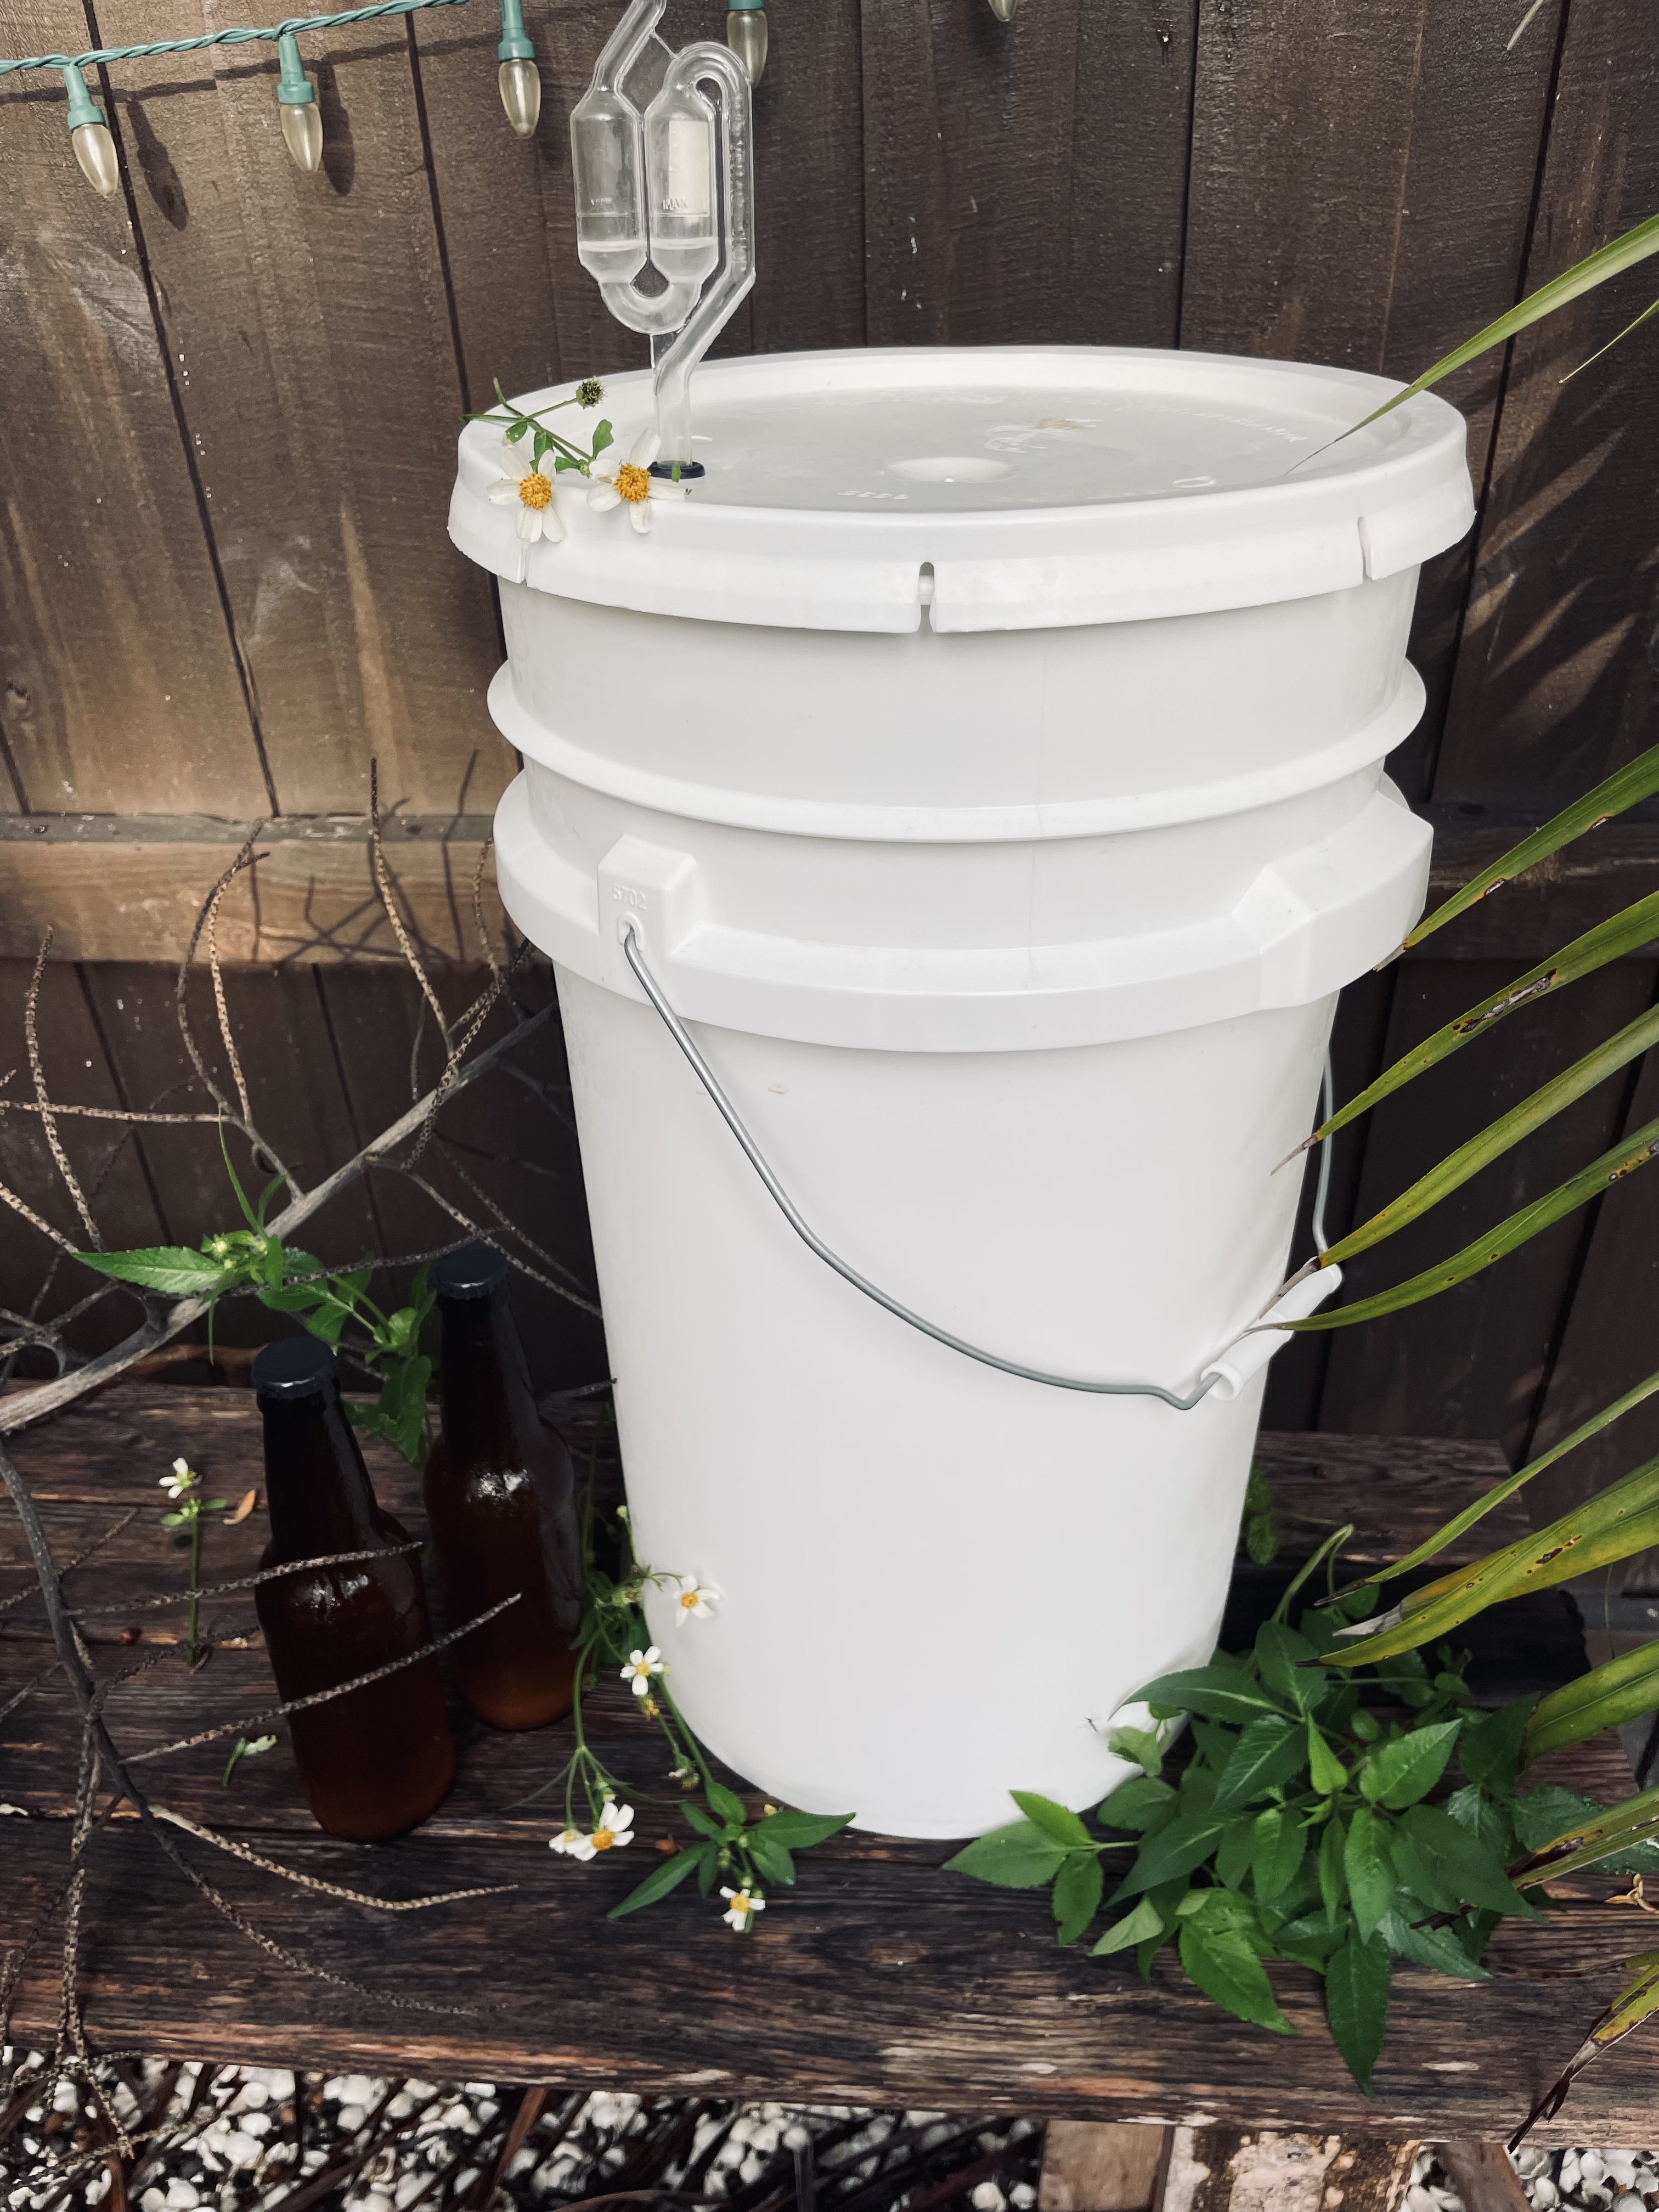
Racking into your bottling bucket is the first step in bottling beer. You need not do this for herbal beers or ciders without sediment! Racking off your beer into your bottling bucket allows you to separate it from the cake layer of hops that settles to the bottom.
The overall steps to rack into the bottling bucket:
- Siphon beer from your fermenter into a sanitized bottling bucket.
- Melt priming sugar in a little water
For a 5-gallon batch of beer, you will melt 5 ounces of priming sugar into water and add it to your bottling bucket. For a one-gallon batch of beer, you will melt 1 ounce of priming sugar into your batch of beer.
- Add melted priming sugar into the bottling bucket
- Vigorously stir sugar into the beer
- Begin the bottling process below.
You can not strain beer like you can cider and soda. The hop cake layer on the bottom of the bucket must STAY and be undisturbed.
In this guide, I do NOT melt my priming sugar in water before adding to my bottling bucket. I show you how to add priming sugar straight into the bottle. Though, both methods work just fine!
Step-By-Step Homebrew Bottling Process
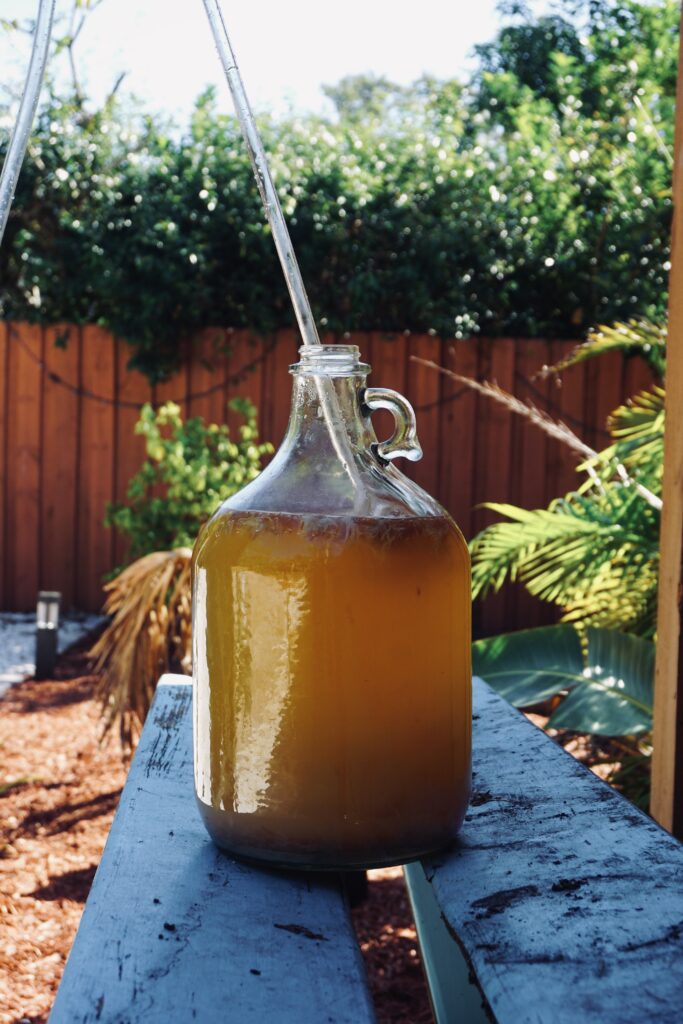
1. First and foremost, you need your ferment: beer, cider, or soda.
2. Sanitize ALL equipment (bottles and siphon) with the Star Sans. See the instructions on the bottle!
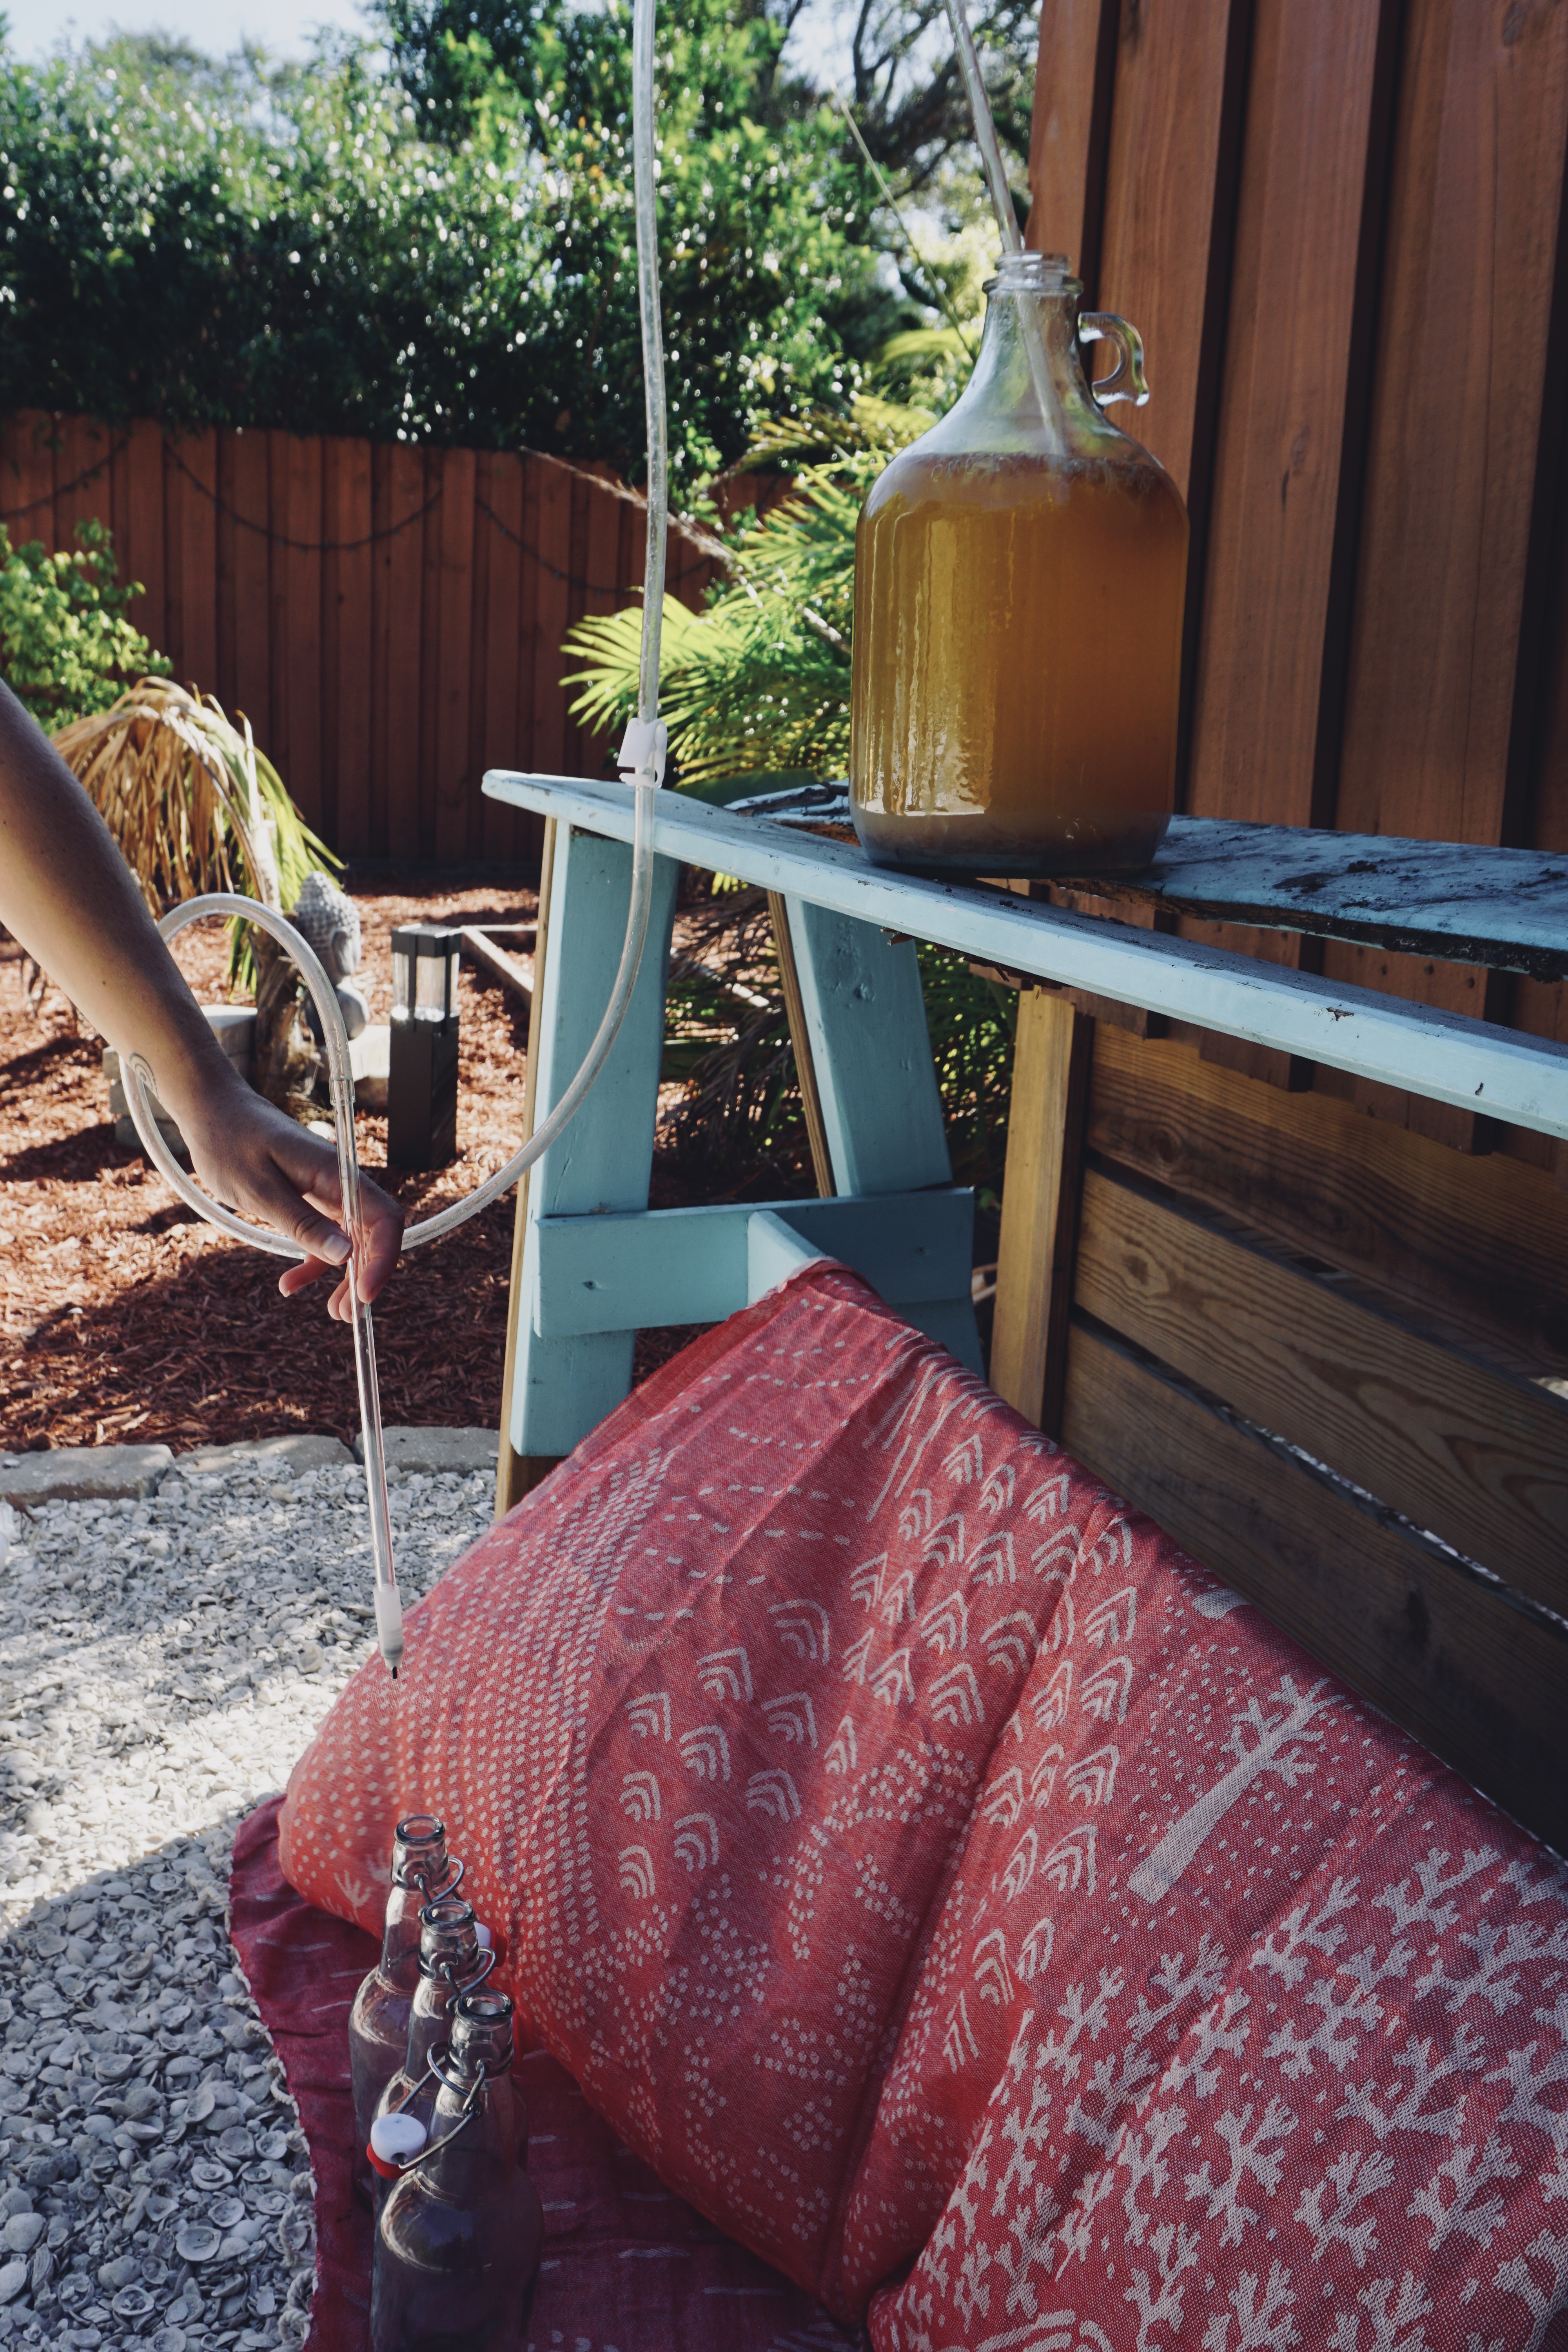
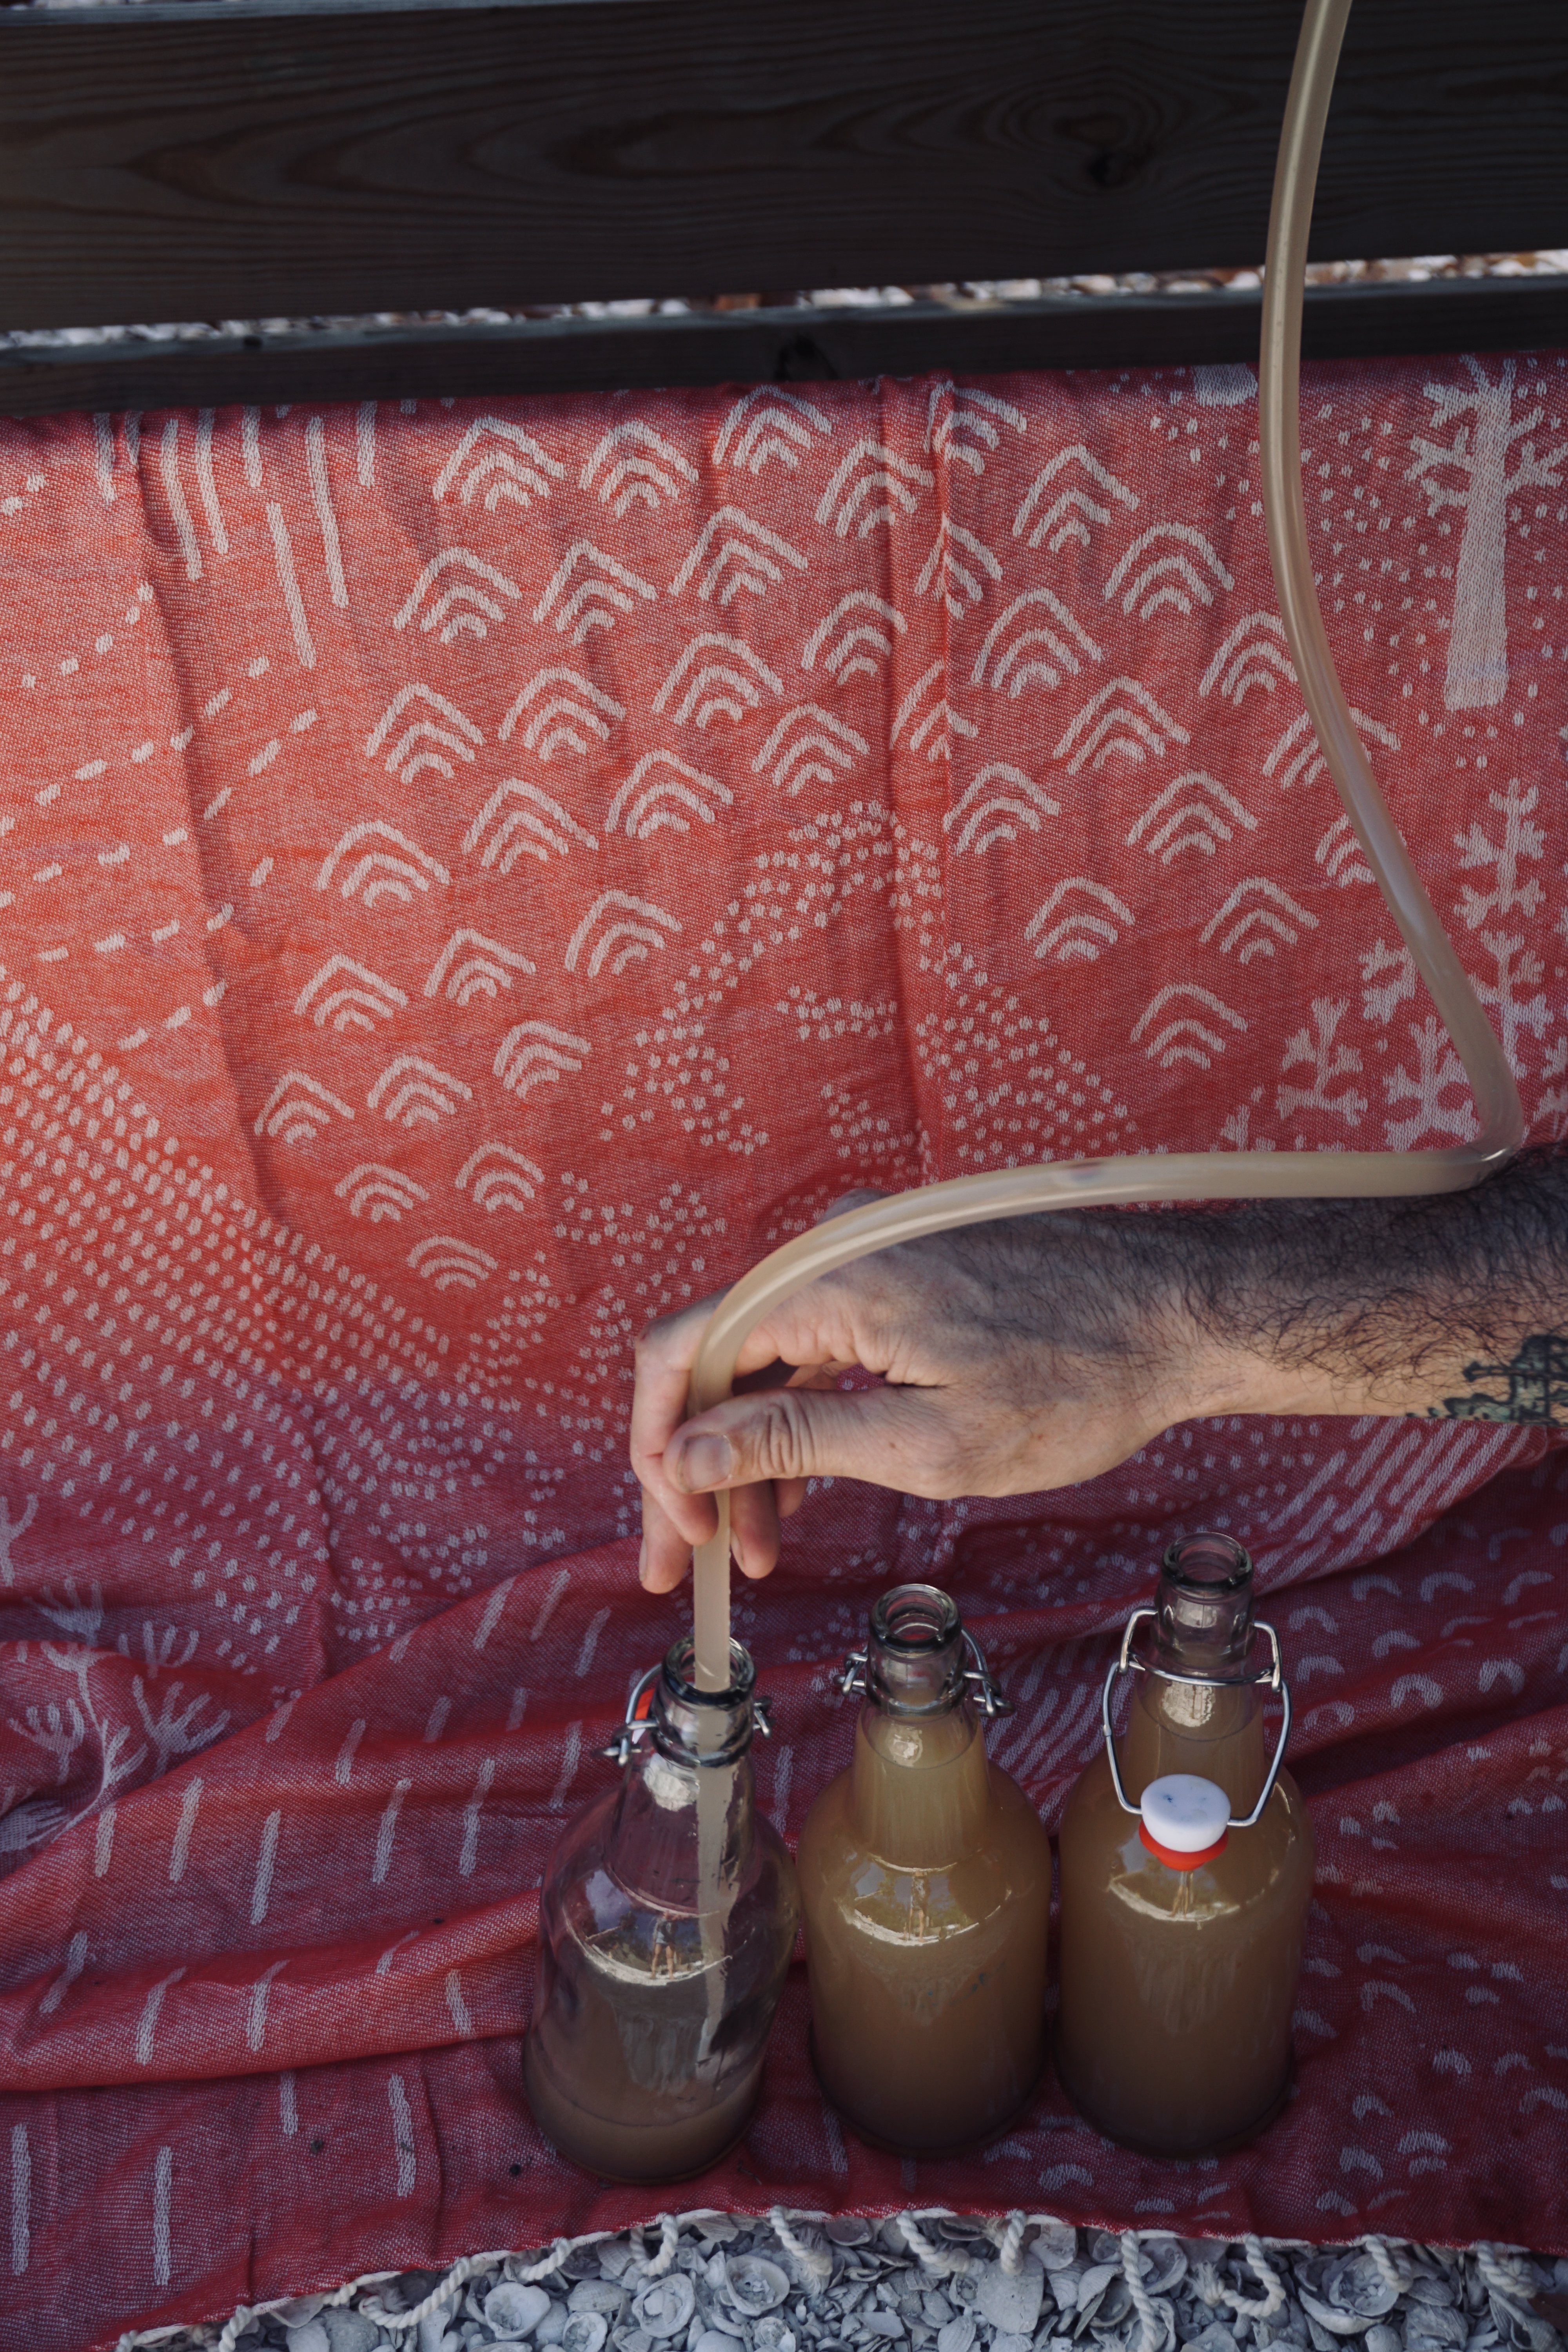
3. Set up your bottling station. Gravity is your friend here, so place the bottles on the floor on top of a towel and your ferment on a counter or table (see photo above).
4. FOR BEER & SPARKLING CIDER BOTTLING ONLY: Place priming sugar in each bottle. The measurements of priming sugar per bottle size are below.
BEER: For 12 ounce bottles use 1.5 grams of priming sugar. For 16 ounce bottles use 2 grams of priming sugar.
CIDER: For 12 ounce bottles use 3 grams of priming sugar. For 16 ounce bottles use 4 grams of priming sugar.
If using various bottle sizes, do math accordingly. If you do not want sparkling cider, then just skip this step and continue bottling without priming sugar.
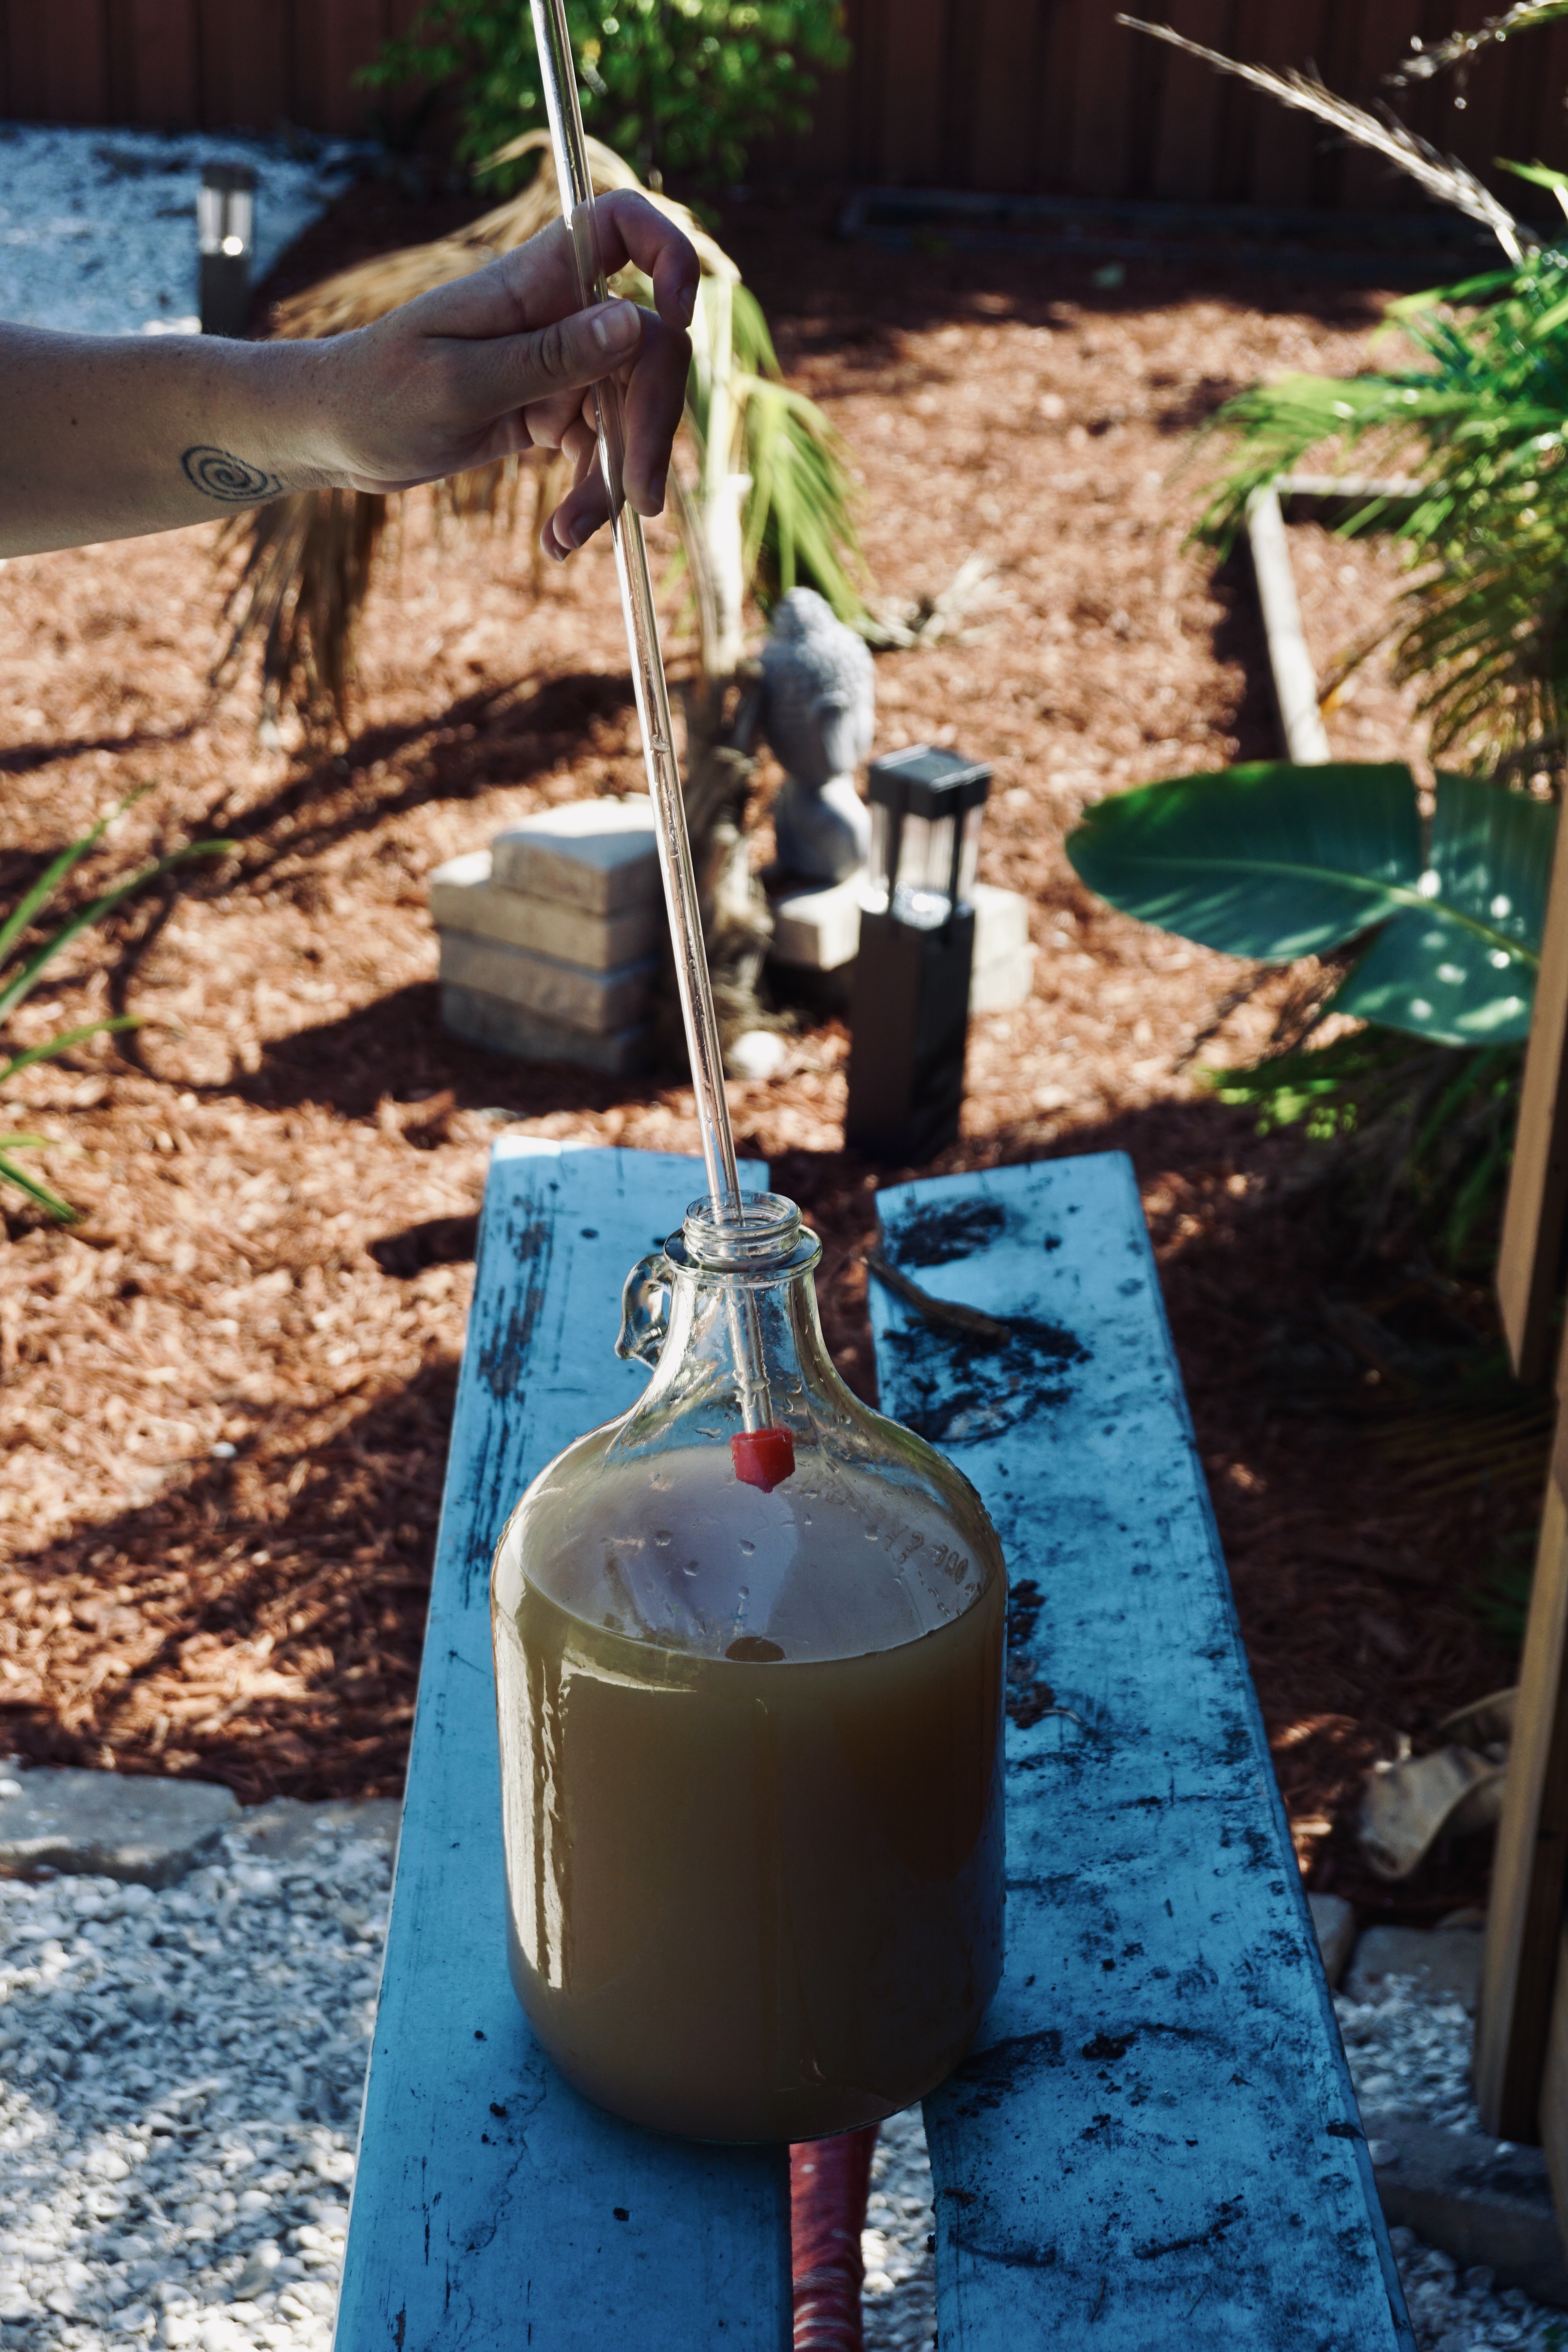
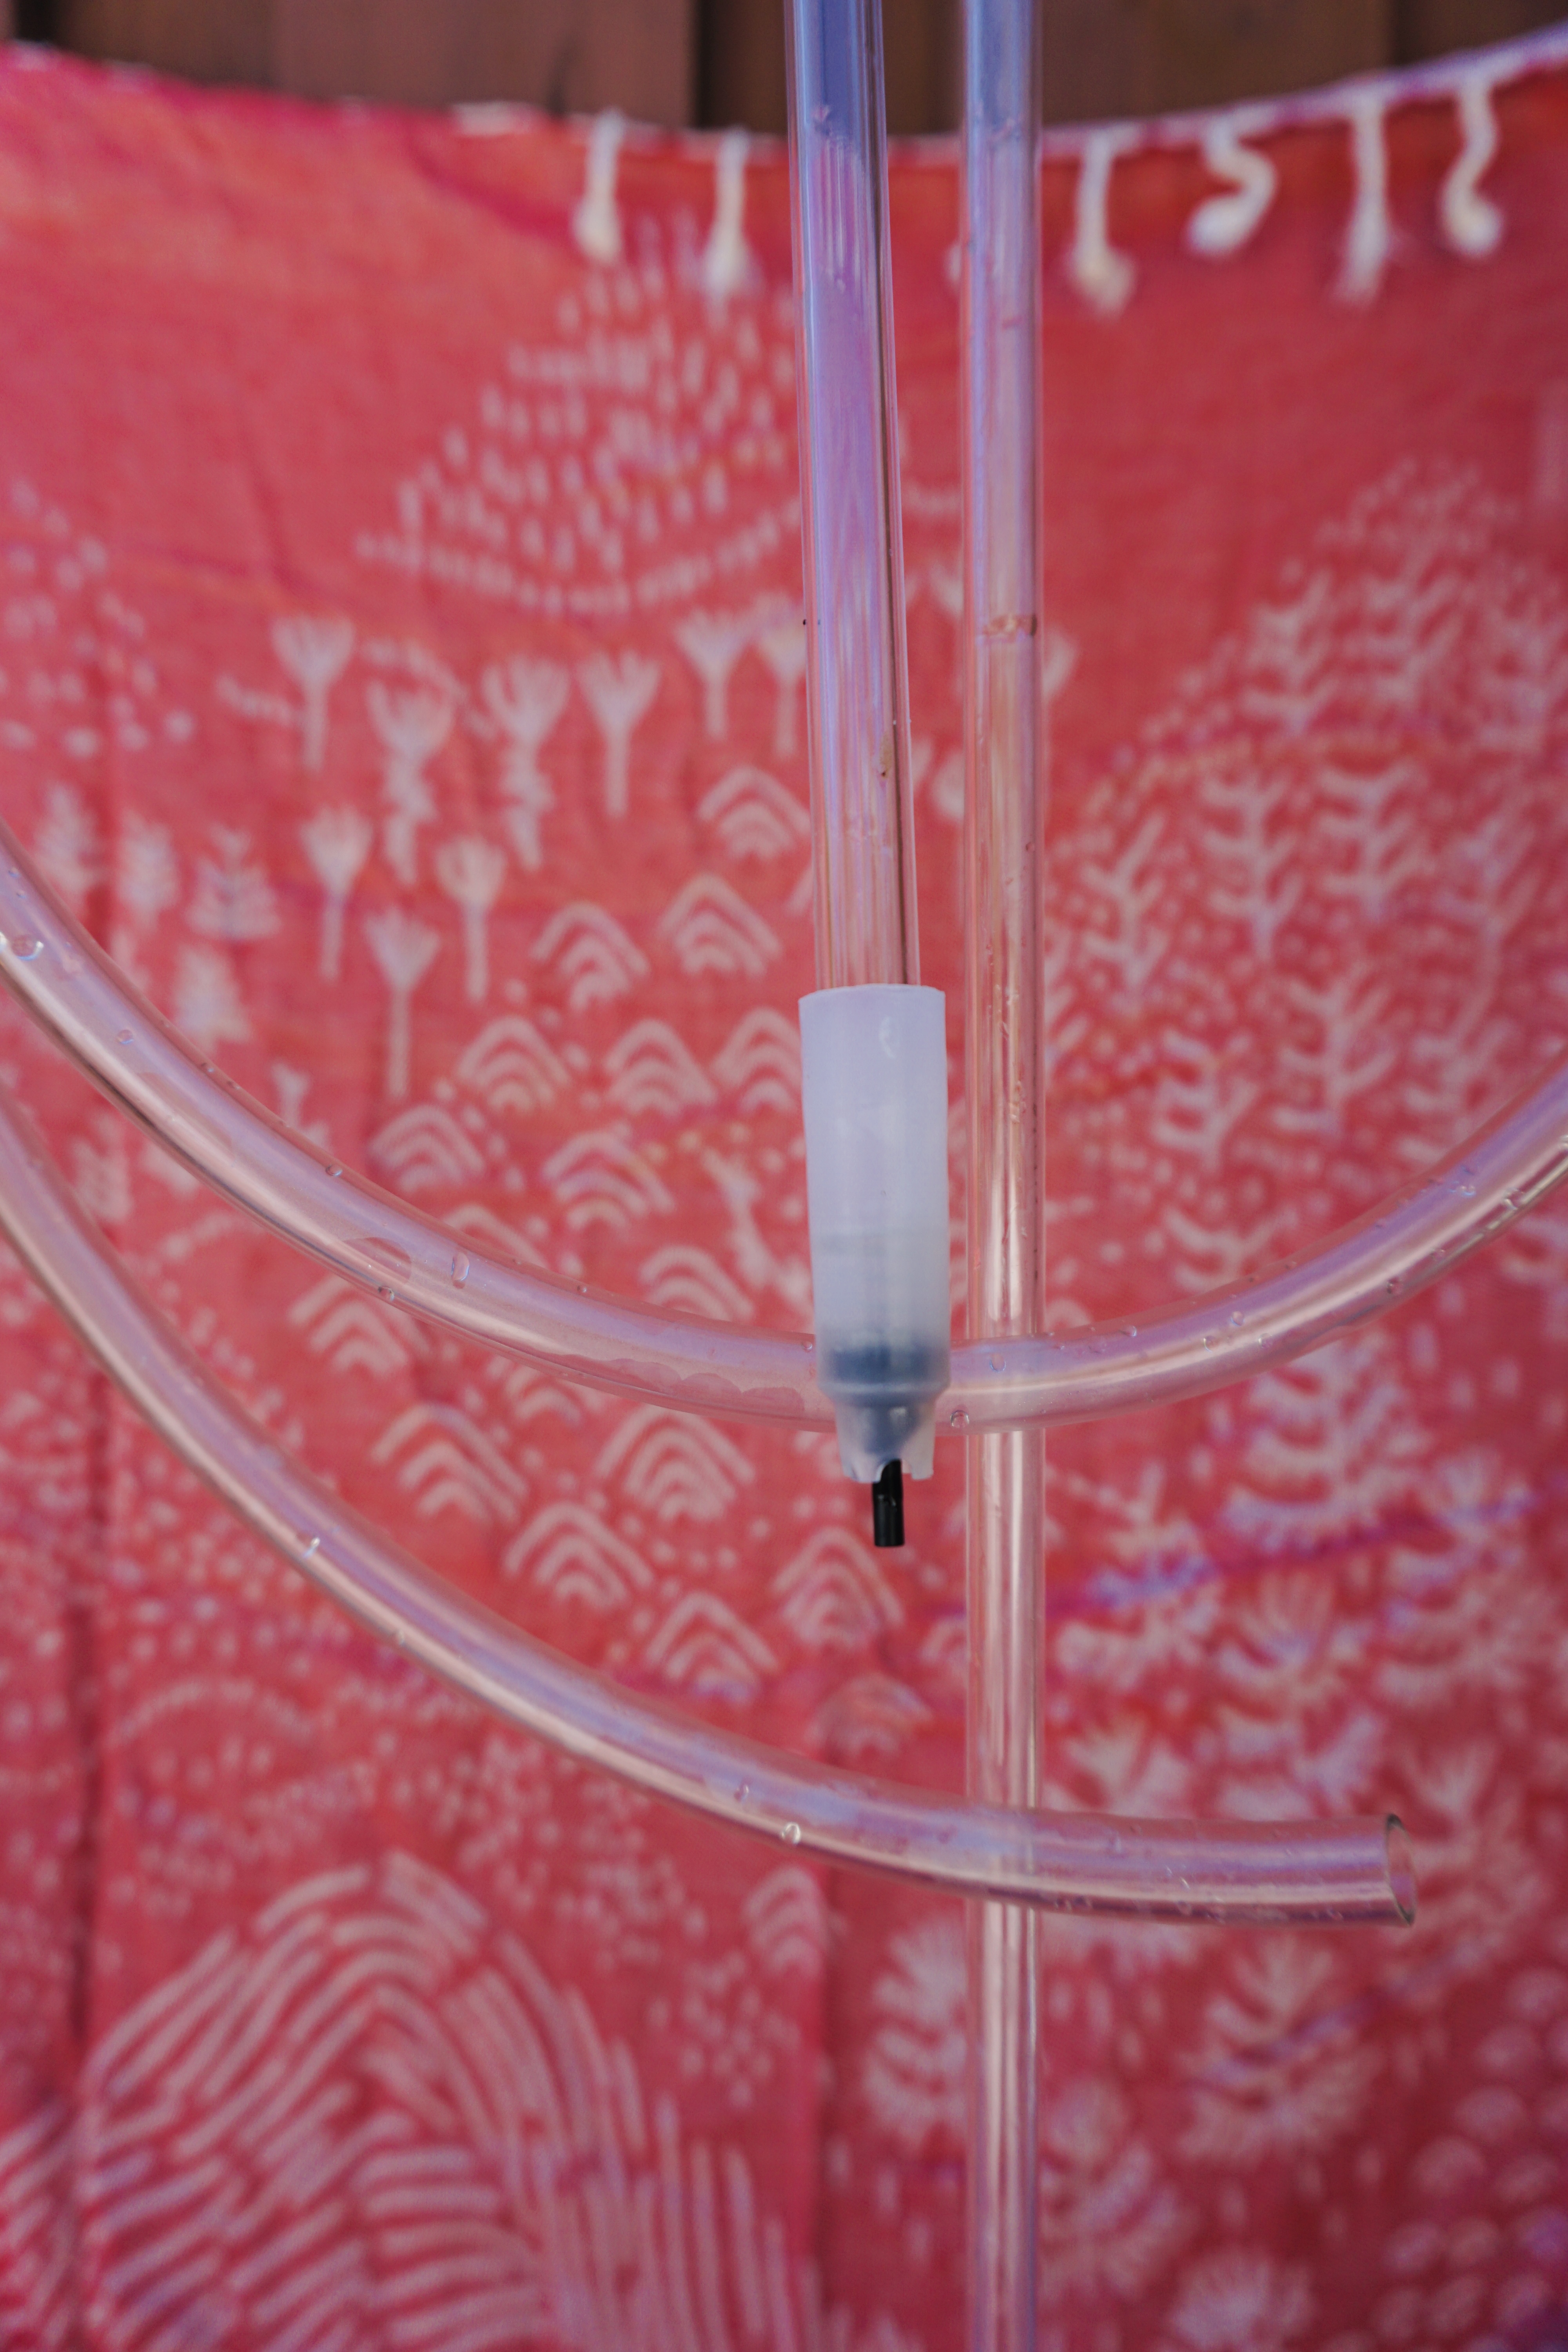
5. Attach your siphon hose to your bottle filler. Make sure all three pieces are tightly connected.
6. Gently place the siphon into your fermenter. Be gentle because you do not want to mix around the sediment.
RELATED POST: 21+ Incredible Home Brewing Essentials You Need to Try
7. On the other end, gently place the bottle filler into the prepped bottles.
The bottle filler has an automatic valve. So, when you press down the valve opens, and when there is no pressure the valve stays closed. This is key because you control the flow of liquid!
I have a simple hose without the auto-siphon. But trust me, the auto-siphon will save you SO much time and energy. The auto-siphon will create the pressure needed to pull the liquid out of the fermenter. A simple hose is a different and more challenging technique.
8. Once all is in place, pump the auto-siphon a couple of times until the flow begins!
9. One by one fill each bottle by gently pressing down the valve on the bottom of the bottle.
10. Fill the bottles, but leave about 2 inches of room. Proceed to cap them, either closing the flip top or using your capper and caps.
11. FOR BEER & CIDER BOTTLING ONLY: Once the bottles are filled and capped, shake them to dissolve the sugar.
You have successfully learned home brew bottling!
How Long to Keep Homebrew Bottled
Here are the bottle conditioning lengths for each type of homebrew. After the bottles are carbonated, place your bottles in the fridge and enjoy from there!
Sparkling Cider
Cider usually takes about 3-4 weeks to carbonate fully. Then, place it in your fridge and enjoy it when chilled!
Beer
Usually, beer takes about 2 weeks to carbonate fully. Depending on the fermentable priming sugar used it could take longer.
If you use organic brown sugar or organic cane sugar it should take about 2-3 weeks. If you use honey, then it would take 4-5 weeks.
RELATED POST: 11 Vital Ingredients for Homebrewing Every Beginner Brewer Will Love
Soda
Fermented soda usually takes about 1-2 days to carbonate. This ferment depends on how active your primary fermentation is.
I recommend checking the carbonation level after 24 hours and then assessing from there. Please do not leave it out of the fridge for longer than 3 days due to the potential of an explosion.
RELATED POST: Apple Spiced Fermented Soda for a Nonalcoholic Drink Alternative
Alternatives to Bottling Homebrew
We have learned how to effectively siphon beer, cider, or soda into our bottles! We even know how much priming sugar to use per bottle size per ferment style.
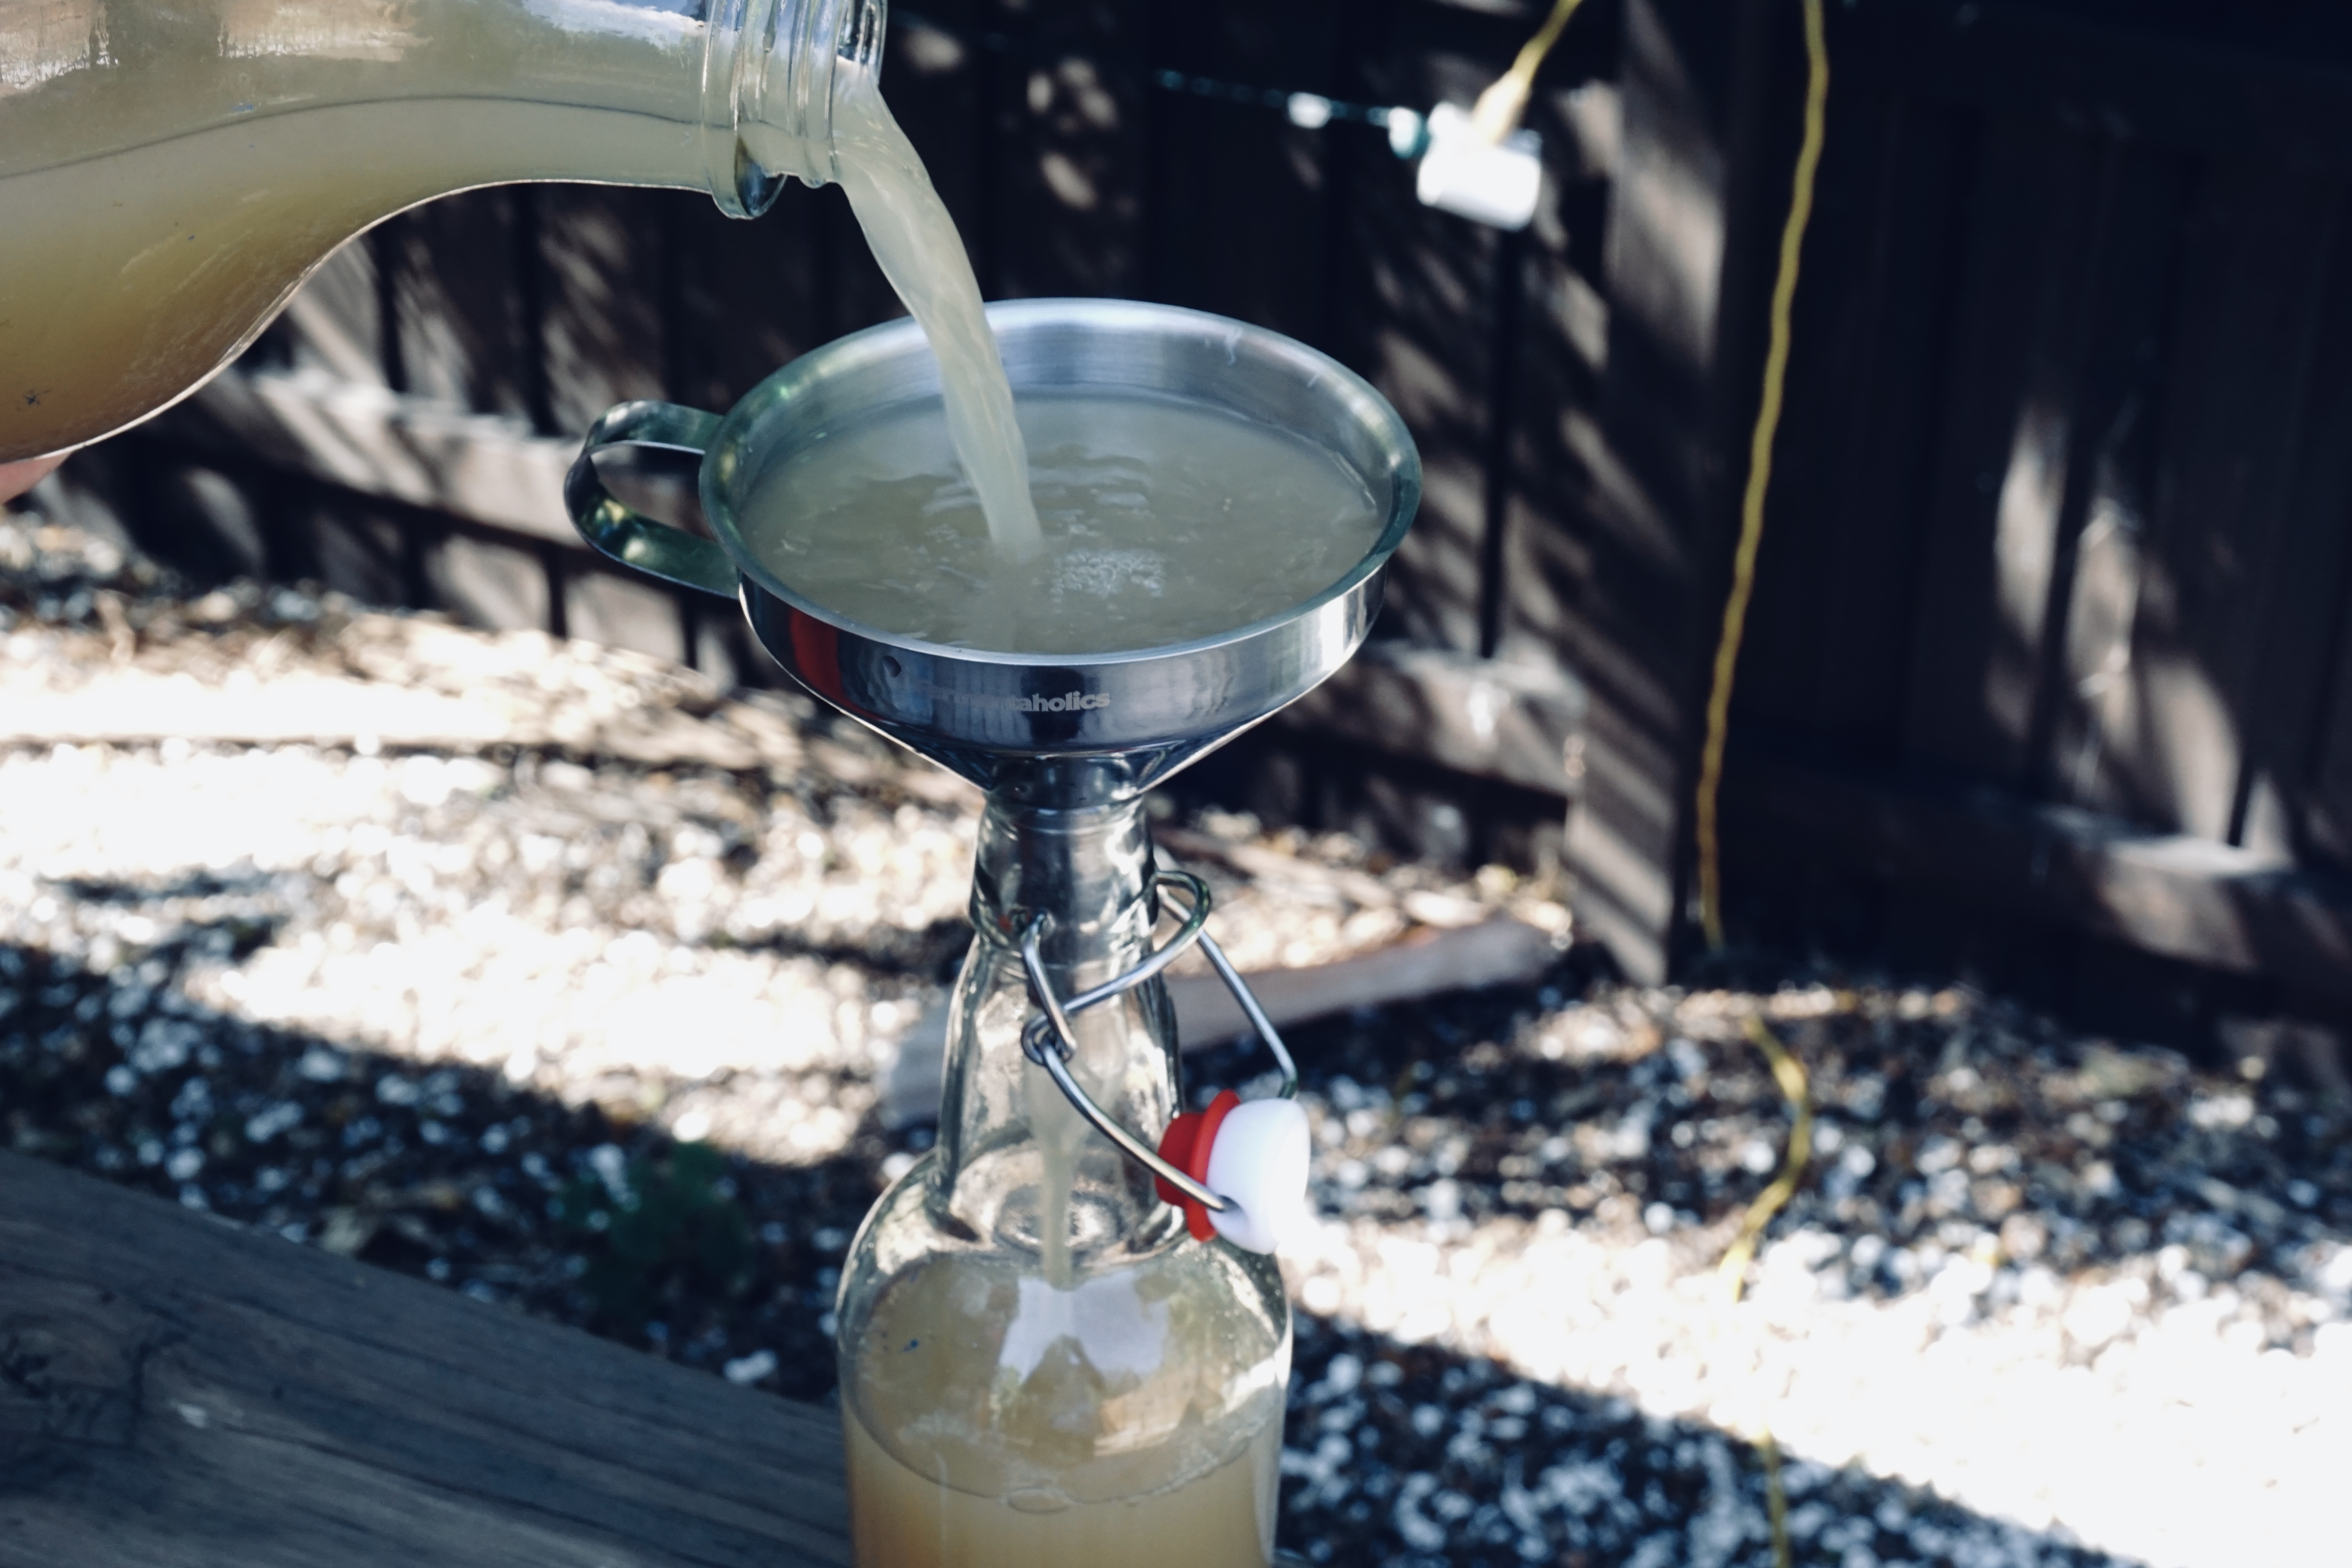
What about a ferment without sediment that can be poured directly from the fermenter? Here is the second best way to bottle home brew.
Bottling beer must be bottled using a siphon hose due to the sediment on the bottom! Hop pellets dissolve and form a cake layer on the bottom of your fermenter. When bottling, you want to siphon off the beer and NOT the sediment.
This method is mainly for unhopped herbal beers, sodas, and ciders without sediment.
For the alternative to homebrew bottling, you need:
- Funnel
- Bowl or pot for strained ferment
- Flip top bottles
- Priming sugar or organic cane sugar (for beer and sparkling cider only)
1. Collect materials and sanitize all equipment (funnel, strainer, flip-top bottles)
2. Check your ferment! If you need to strain out some herbs, fruits, or other flavor additives, then proceed to step 3. If you do not need to strain, move on to step 4.
3. Using a clean pot and strainer, strain your ferment from your fermenter into the pot. Option to rinse out the fermenter and using the funnel, funnel the ferment back into the fermenter. This can allow for easy pouring into the bottles!
4. FOR BEER & SPARKLING CIDER ONLY: Add priming sugar into the prepped bottles.
BEER: For 12 ounce bottles use 1.5 grams of priming sugar. For 16 ounce bottles use 2 grams of priming sugar.
CIDER: For 12 ounce bottles use 3 grams of priming sugar. For 16 ounce bottles use 4 grams of priming sugar.
If using various bottle sizes, do math accordingly. If you do not want sparkling cider, then just skip this step and continue bottling without priming sugar.
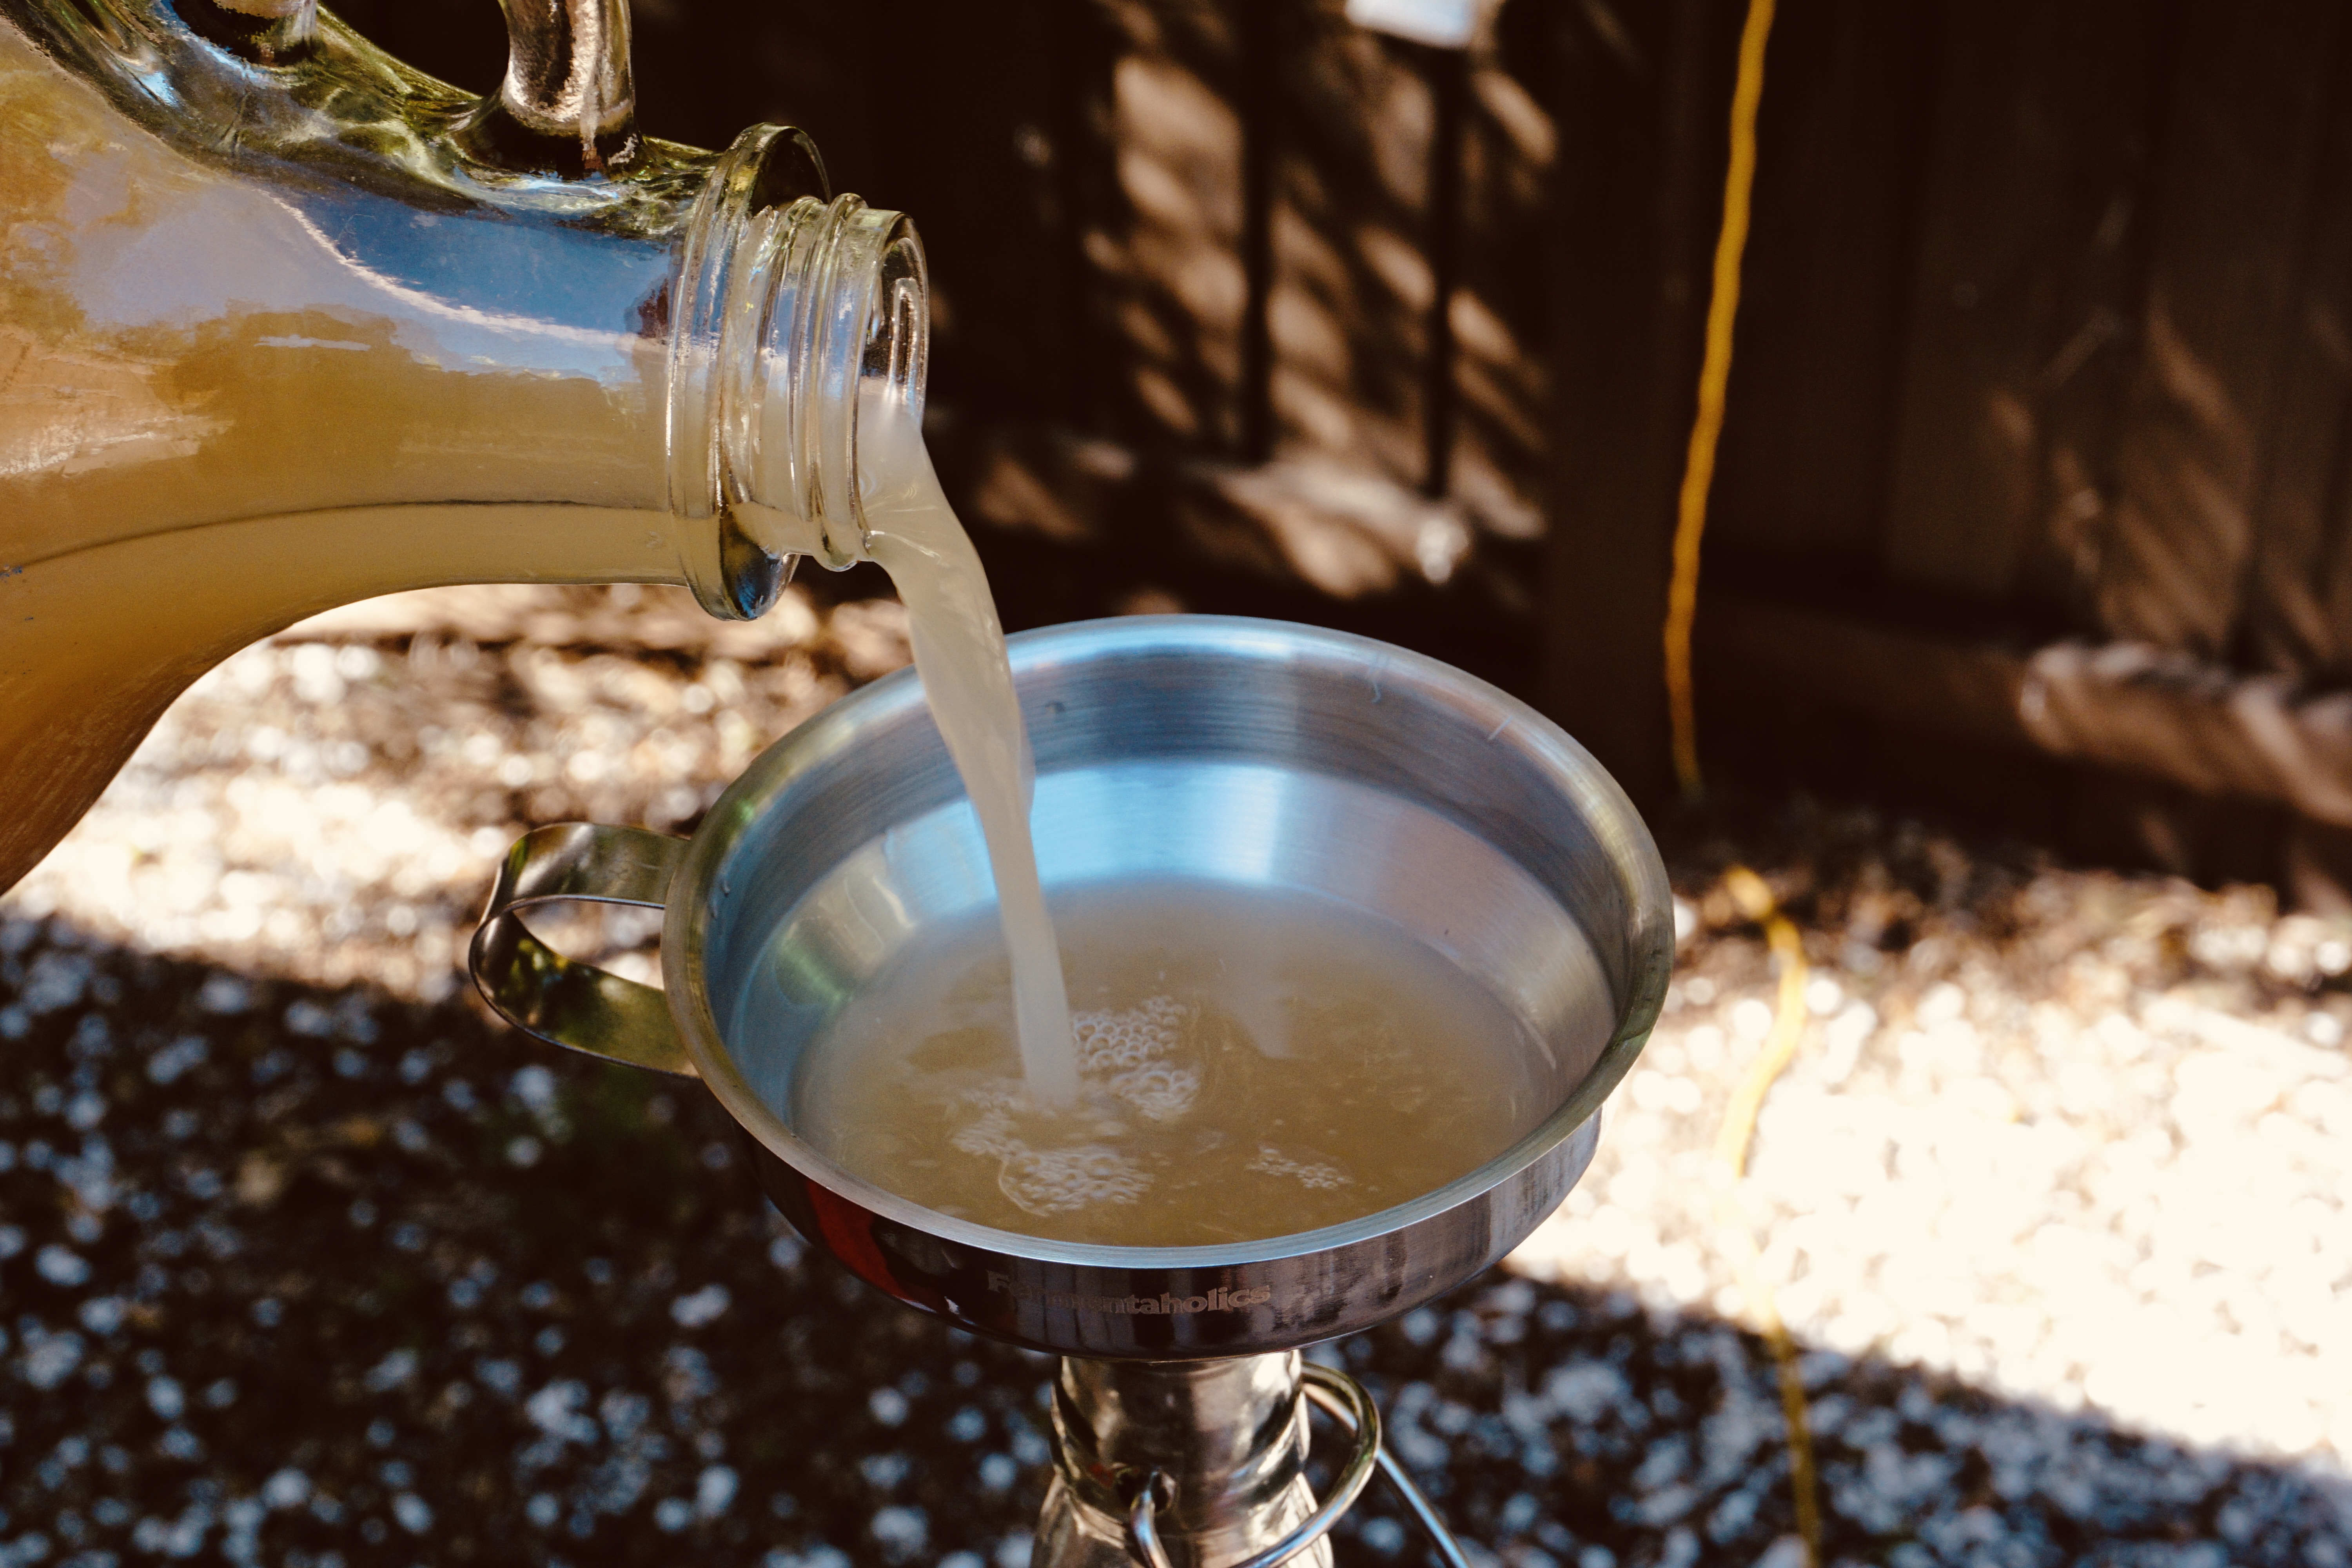
5. Place the funnel into the prepped bottle and gently pour your ferment into the funnel!
6. Leave about 2 inches of head space in the bottles. Once filled, cap them and give them a little shake to dissolve the priming sugar.
If you have any questions on bottling homebrew, please enter your email at the end of this post. Once I send a confirmation email you can reply with your question!!
This post was all about bottling homebrew.
Other Posts You May Like…
✓ A Complete Guide to Beer Making for Beginners
✓ 11 Vital Ingredients for Homebrewing Every Beginner Brewer Will Love
✓ 19+ Spectacular Beer Gift Ideas Guaranteed to Make Them Smile

