So, you're interested in beer making for beginners.
How long have you been searching for tangible, actionable information to get started? How often have you been overwhelmed or didn't get your questions answered?
Beer making can be a complex craft, and with that comes TONS of information online about it.
So, you are probably wondering where to begin, how to start, what the heck does it entail, is it expensive, and I am SURE even more questions are swirling around in your mind.
Look no further, these secrets to beer making for beginners will give you insight into rustic homebrewing, what you need to get started, and first steps so you can be 100% successful on your first try!
Let's dive into it.
This post is all about beer making for beginners.
5 Rustic Secrets to Beer Brewing for Beginners
Did you know the first beer brewers were woman? Yes, it's true! Then, it was outlawed for woman to brew so the men took over.
Now, home brewer numbers are declining (for multiple reasons), but for one, the old brewer's are retiring.
So, there's room for us ladies to tap back into the world of rustic beer making to build connection with our community, and connect better with nature.
1. Keep it small, keep it real
The secret here? Brew small batches at first.
Imagine starting to brew beer for the first time and you are making 5 GALLONS in a huge bucket.
You need to have a huge pot to fit the 5 gallons of water, and moving your beer into secondary and bottling will be much more tedious and messy...
Instead, let's start with just one gallon. You can use a pot you already have at home, and moving your beer during the process will be 100000 times easier (trust me).
A little story, I started brewing 5 gallon at first and it was SO MUCH beer... Literally 50 bottles in one batch! That is 8 six-packs...
I had no idea what to do with them, so I ended up selling them and hand delivering to people in my neighborhood.
One gallon will give you roughly one six pack, which is a perfect amount to start and then to scale up from there.
So, as beginner beer makers we will keep it small and keep it real!
Next up, we will look at the full beer making kit.
2. Get everything at once
Maybe the MOST important tip for beer making for beginners... Use a kit!
The secret? Get everything you need in one purchase and spend the rest of your time on secret number 3 😉
Using a kit will,
- Give you the ingredients & equipment so you don't have to think about it
- Give you instructions on how to use them
- Give you a thorough recipe to follow so you don't have to figure it out on your own...
Sounds like a win, win, win to me!!
Especially when you are starting out beer making, it is so much easier *and way more fun* to follow a kit. You have the opportunity to focus on connecting with the craft and the process itself!
Get the best, stress-free, beer kit below!
Let me break down exactly what is in the beer kit so you can be confident and ready for brewing!
- Siphon hose with bottle filler
- Sanitizer
- Funnel
- One gallon fermenter
- Hydrometer
Ok, phew! That is a good amount of gear! Let's break it down.
- Siphon hose moves your beer from one place to another: primary to secondary fermentation then to bottles.
- Sanitizer is the most important part (in my opinion). When working with fermentation it is critical to keep your equipment clean (you don't want weird bacteria or mold growing....)
- Funnel is good to use instead of a siphon for quick transfers.
- The fermenter! Some people will say you need two fermenters to transfer between primary and secondary, though, you just need one...
- A hydrometer is how you test the ABV of your beer, learn how to use a hydrometer here.
The only remaining element you need are bottles! Which I recommend flip top bottles to avoid paying for caps and a capper, plus they are reusable.
3. Tap into your backyard’s pantry
My favorite secret of all, but promise you will keep this to yourself....
THE best part of beer brewing for beginners is the connection to fermentation and ancient practices.
When humans first started brewing beer they did NOT have hops pre-packaged or malts cultivated to each varietal... Nuh uh, no way!
Brewer's used herbs and spices, they used naturally derived yeasts from nature, and they fermented in clay pots...
Seriously, how cool is that?!
Let's see if we can tap into those ancient secrets to take our brewing style to untouched levels...
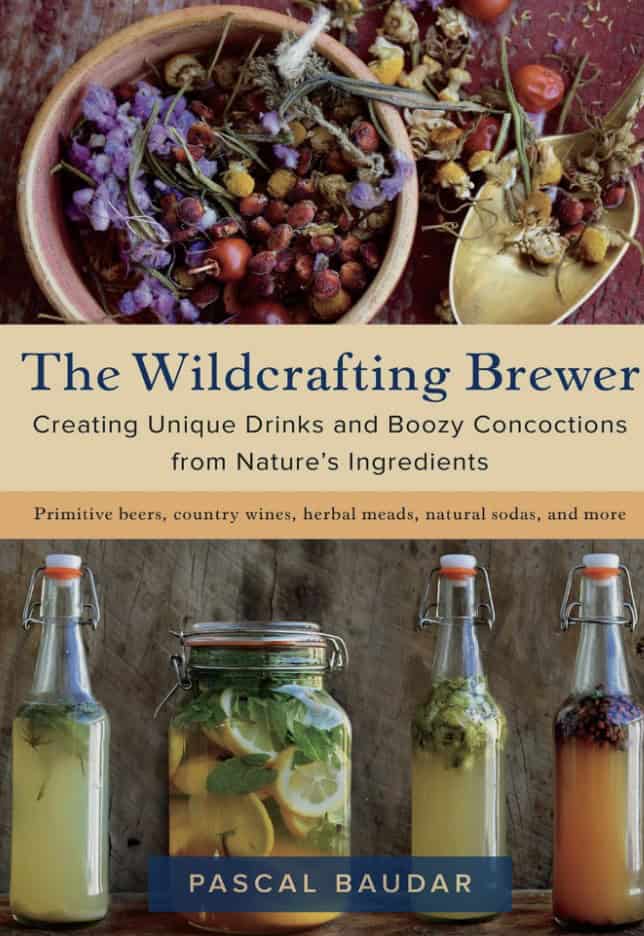
A wonderful author named Pascal Baudar has the ultimate book on wild brewing (if you've read other posts by me you will see how obsessed I am with it, sorry not sorry!!).
He teaches how you can use your natural environment to brew exquisite beers! Using herbs, spices, flowers, natural yeasts etc.
Get the book JUST for the photos...
Beer making for beginners is a combination of using a kit and beginning to learn the world of fermentation and brewing. This book is THE start.
4. Trust the bubble test
Ok, now we have our beer making for beginners kit and the best brewing book to tap into the rustic side of brewing.
Moving onto the bubble test!
The secret here, SAVE TIME! And in turn, energy.
Beer takes roughly two weeks to ferment fully. One week in primary fermentation and one week in secondary fermentation.
In a brewery setting, the brewer will take samples at certain times during ferentation to test the amount of sugars in the brew.
Once the beer hits a certain point in sugars he knows its time to move the beer into the next phase.
HOWEVER, us rustic home brewers will simply: trust the bubble test.
When fermentation is active, the bubbles in the airlock will be firing off. You will be able to hear the bubbles in the other room all day!!
Once the bubbles begin to slow down, fermentation slows down.
That is when you can tell the beer is ready to either move into secondary or be bottled.
Trust to bubble test, if you are unsure then wait 12-24 hours and check again. Fermentation *literally* talks to you! You will know when it is ready.
5. Bottle it rough and ready, label it for elegance
The secret here is the LABEL!
Have fun with this, you can use Canva to create silly and cute photo collages, or have your artist friend draw you up something unique.
I *literally* frickin love awesome labels, you can get great label paper here.
We are those ladies that LOVE a good elegant, but crunchy label. I mean, c'mon who doesn't...
Side note: play around with bottling your beers! Some of my favorite craft beer has been unfiltered. Just the raw components, omg, it is so delicious. It is making me thirsty just thinking about it!
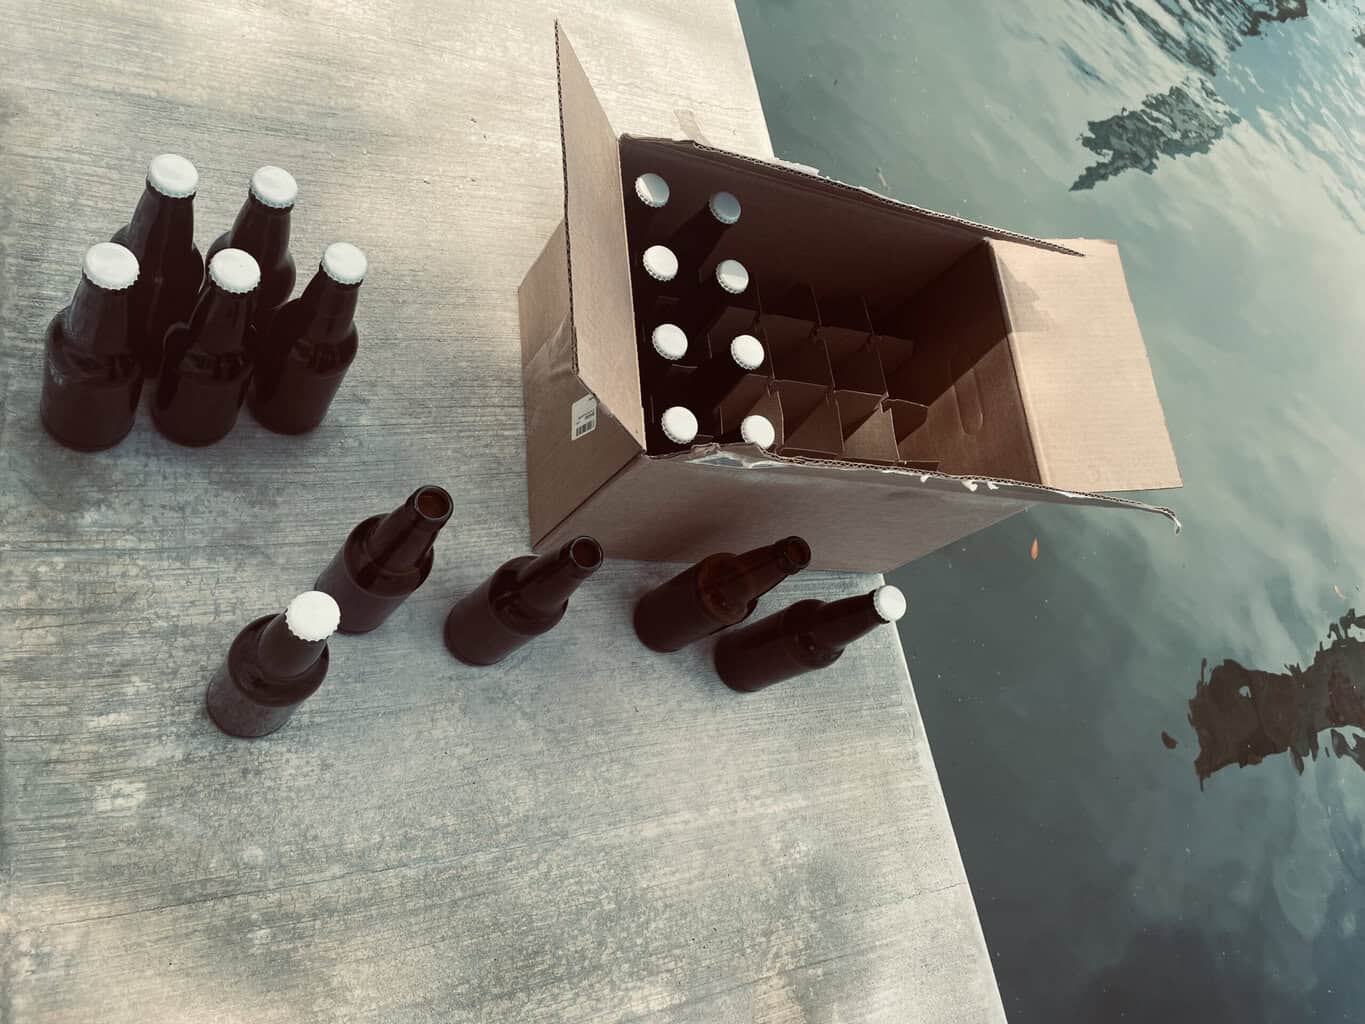
Believe or or not, the number of homebrewers is on the decline. No one knows for sure why, but with over 10,000 professional breweries it is easier than ever to find a variety of beers to try.
(Also, COVID-19 prevented a lot of in person meet ups in the home brewing world. Which is a huge reason why people home brew in the first place: community.)
Therefore, learning how to make beer and connect with beer in rustic ways, sharing with our friends and family will continue the love and respect for fermentation as a whole.
Let's bring the magic of naturally derived drinks BACK!

