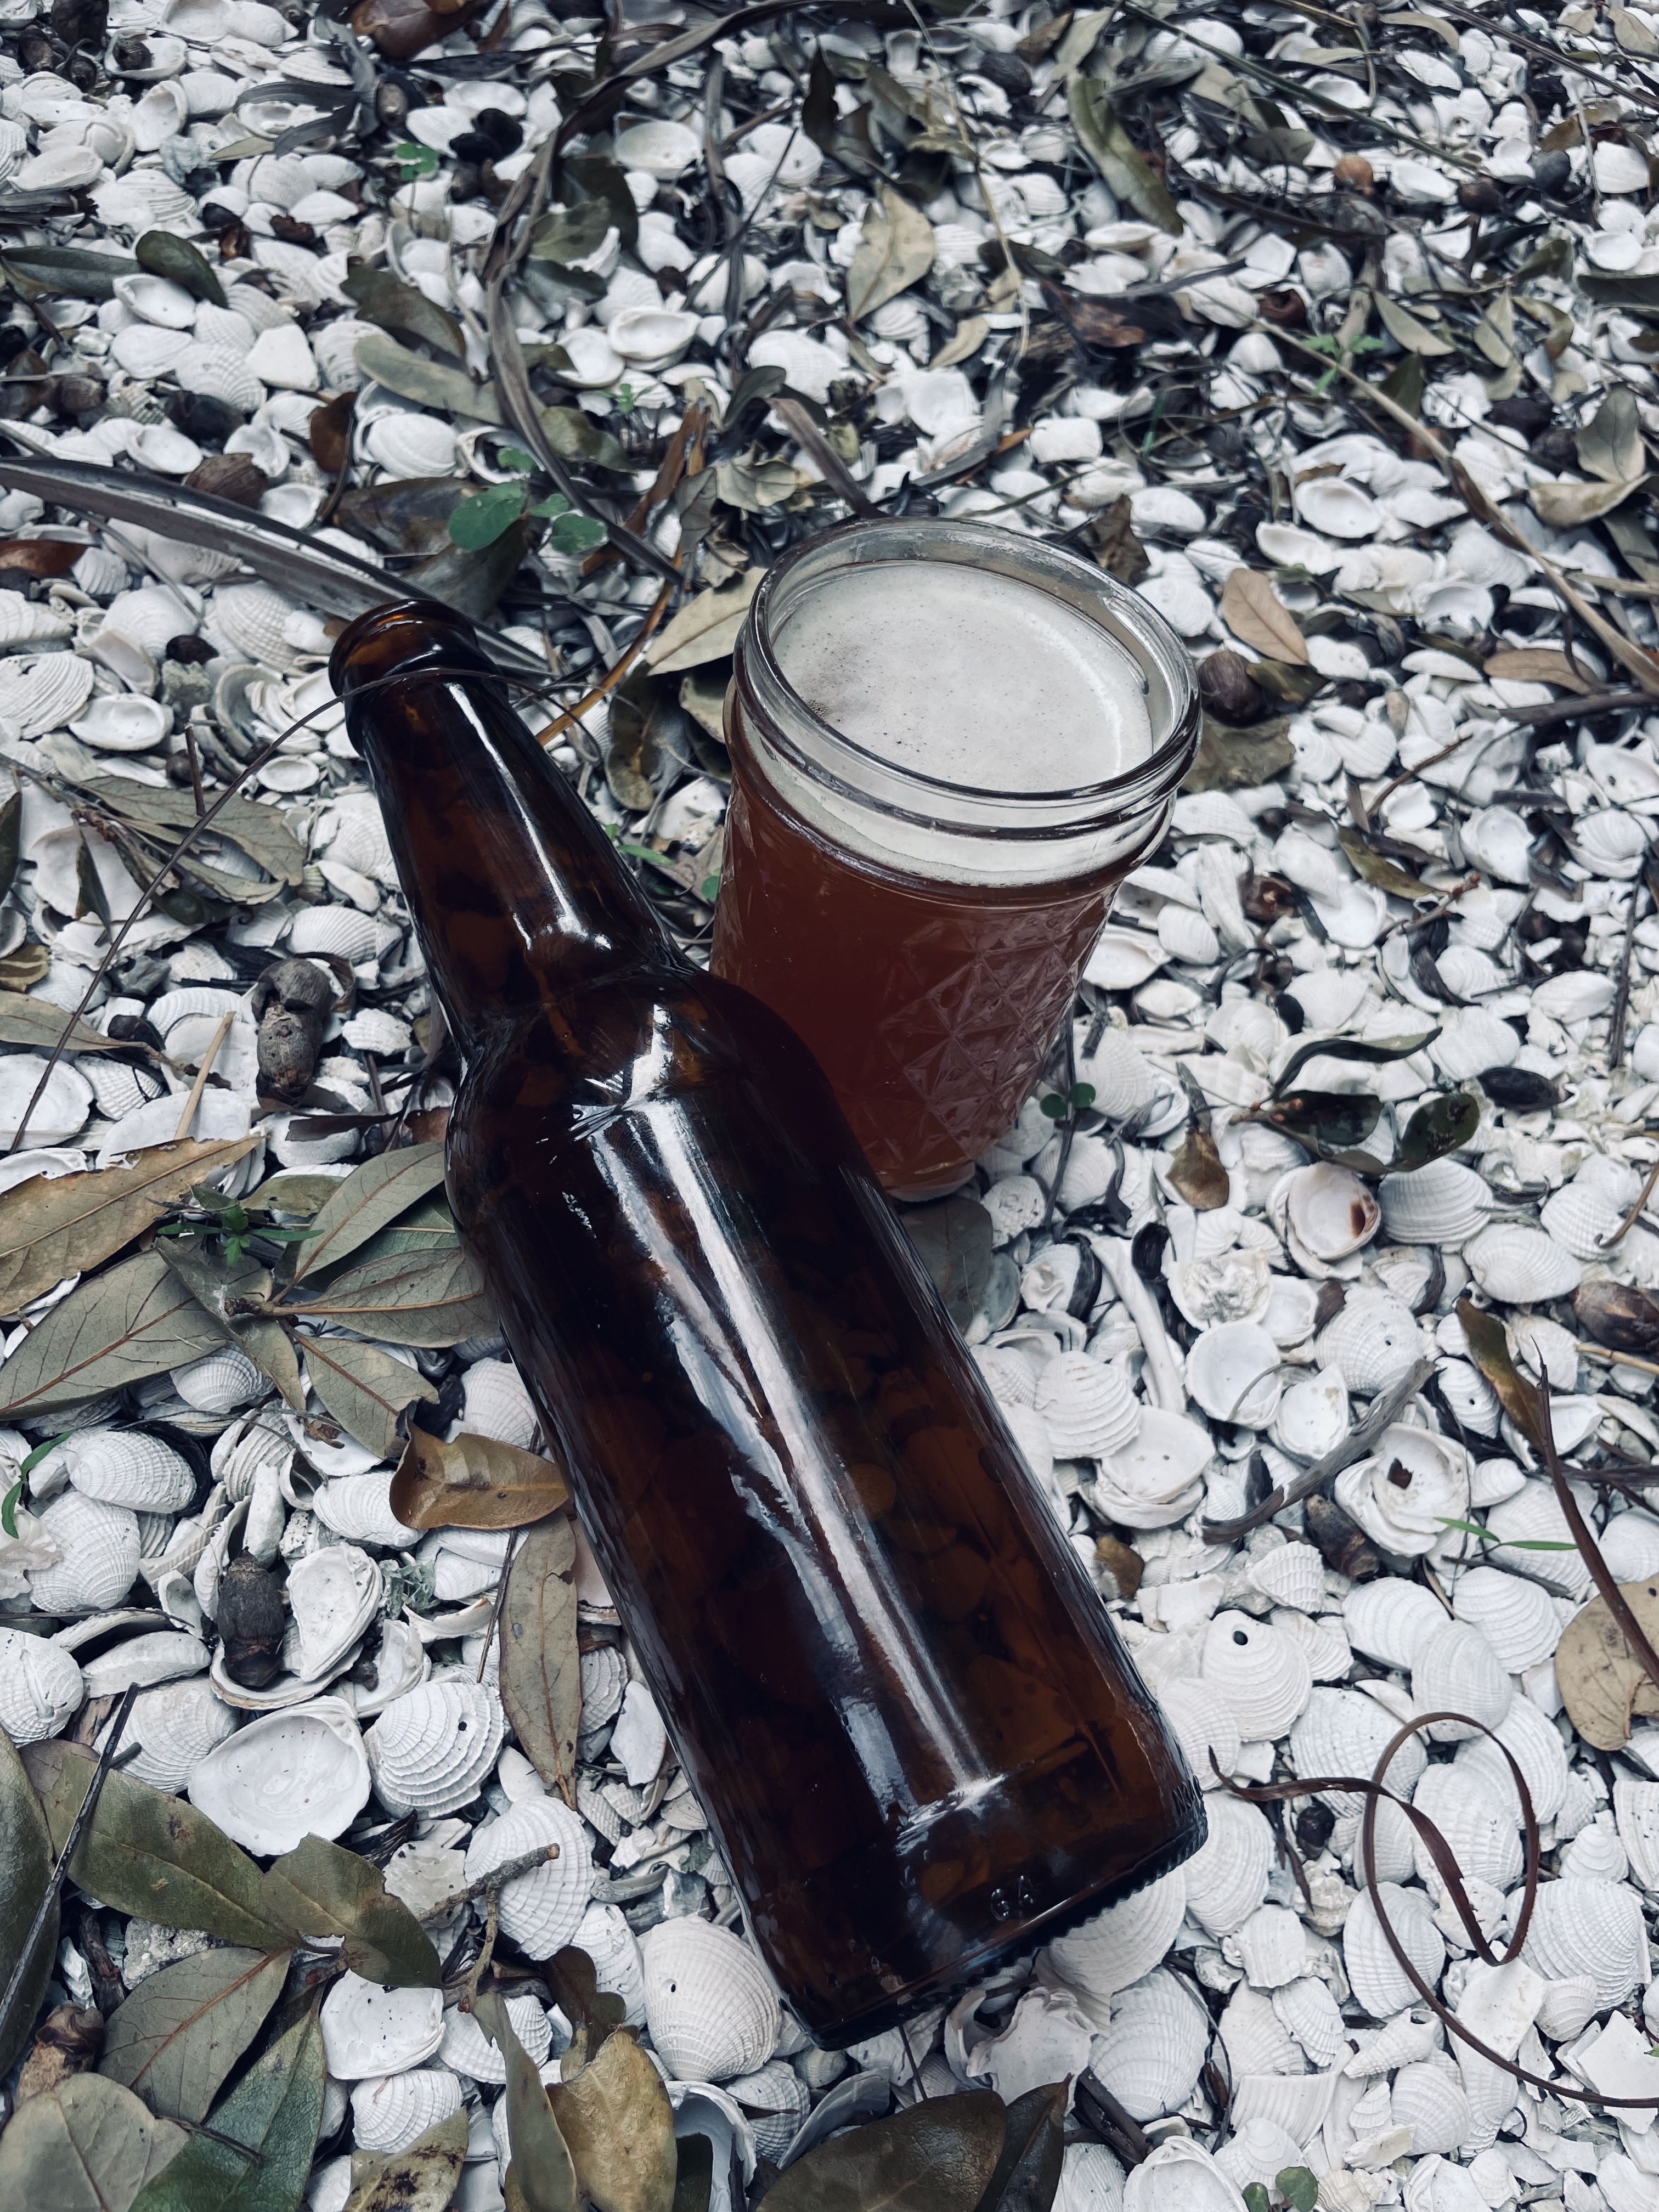
A lovely beginner beer recipe lightly hopped with one hop: cascade. Everyone is sure to enjoy this all-loving ale.
When I first wrote the beer-making post, I made this beginner beer recipe! It was so elegant I had to give it its own post! This is the first recipe I made on my own, and you will love it.
You will learn exactly how to make this beginner beer recipe, the ingredients needed, where to purchase everything, and more!
This post is all about beginner beer recipe.
Beginner Beer Recipe
The lightly hopped beginner beer recipe is for a one-gallon batch. However, you can multiply all by 5 for a 5-gallon batch. Let’s dive into it!
RELATED POST: A Complete Guide to Beer Making for Beginners
What ingredients you need for this recipe:
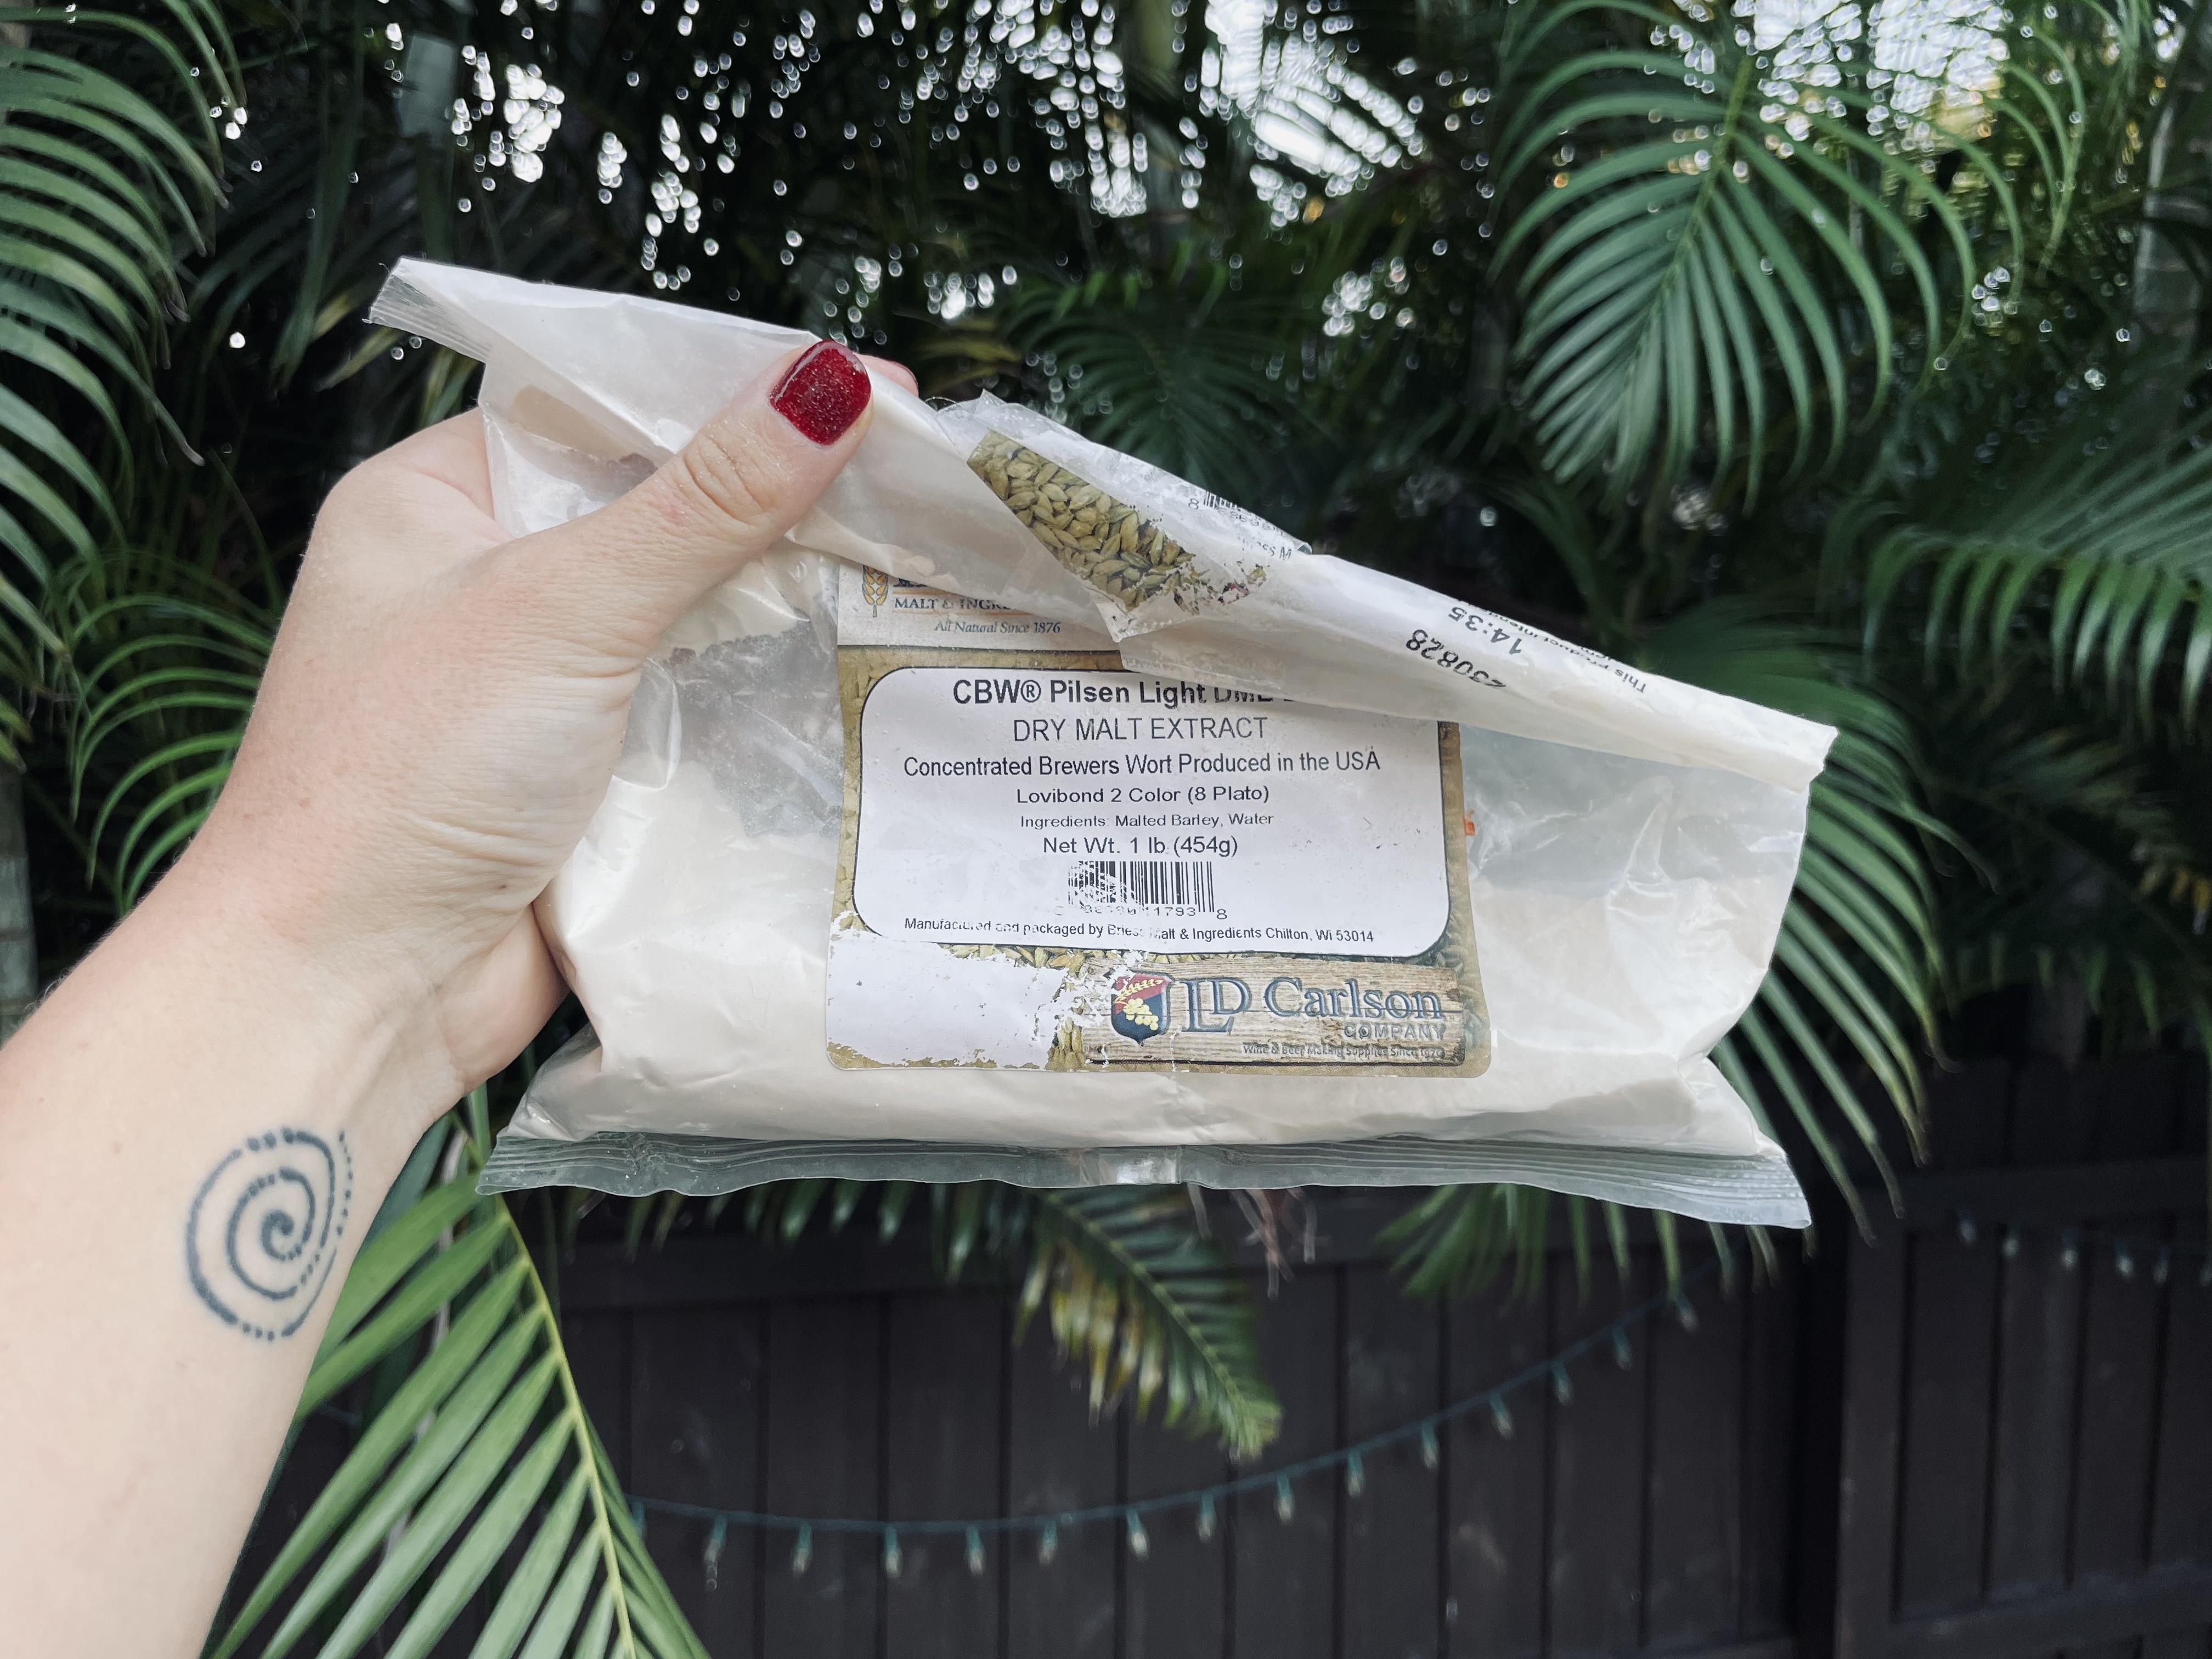
- 1 lb of dry malt extract (DME) or 450 grams of liquid malt extract (LME)
- 1 ounce of Cascade hops
- 2.3 grams of safale US-05 yeast
- One gallon of spring water
What equipment will you need, if you don’t have it already:
- One-gallon fermenter & airlock
- Pot large enough to fit one gallon of water
- Siphon hose
- Kitchen scale
- Kitchen thermometer
- Measuring cup
- Star Sans sanitizer
- Optional: hydrometer and graduated cylinder
How to make this beginner beer recipe:
1. Gather all your equipment and ingredients. Weigh out your malt extract if using LME, weigh out your hops, and your safale yeast.
2. Sanitize ALL equipment with Star Sans (see bottle for instructions). It is very important to sanitize everything, when working with fermentation you don’t want something bad to start growing!
3. Start heating the water on your stove or propane burner.
4. Once you start the burner, add in your 1 pound of dry malt extract and stir. DME likes to get clumpy, so just continue to stir! The clumps will dissolve eventually. If using LME, do the same procedure and stir.
RELATED POST: How I Made a Homemade Beer Recipe with Lion’s Mane for Increased Cognitive Function
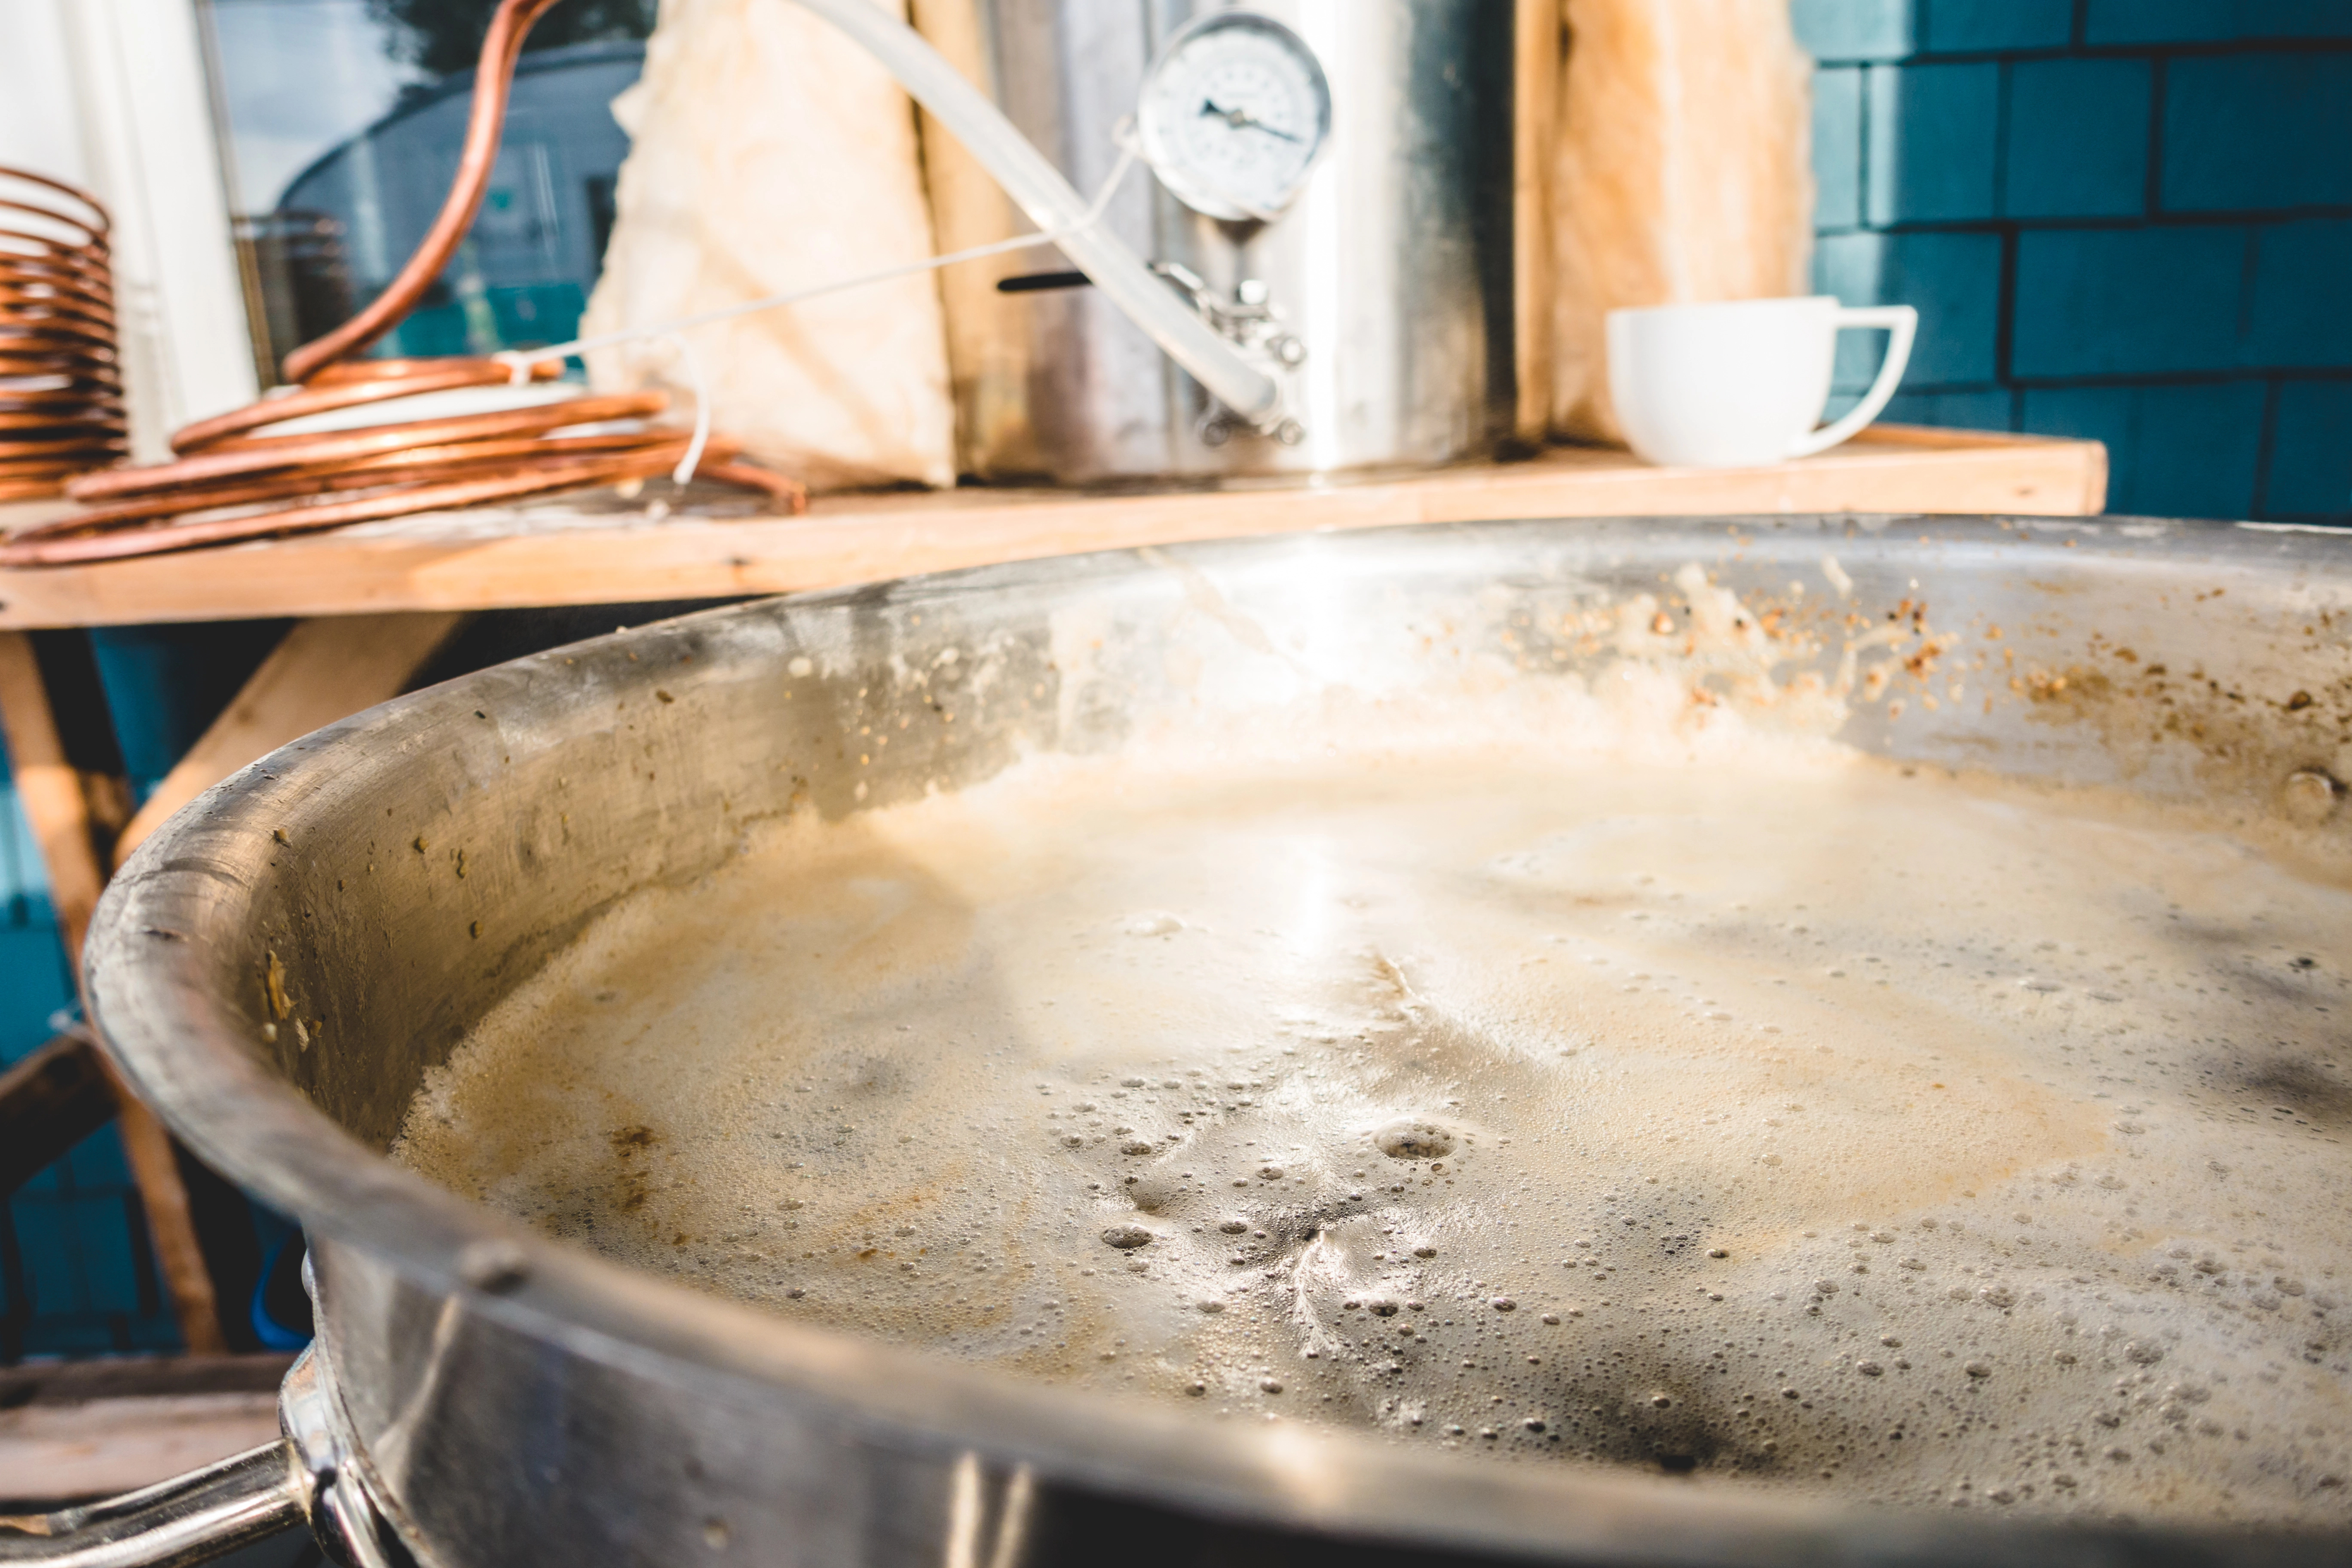
4. Allow your mixture to come to a boil slowly. Now, begin the hop schedule.
Hop Schedule
Start your timer for 60 minutes. We will be adding in the hops at certain intervals. Here is a simple hop schedule for this beginner beer recipe:
- At 60 minutes on the timer add 0.15oz of Cascade hops
- At 20 minutes remaining on the clock add 0.15oz of Cascade hop
5. After adding the last hops at 20 minutes, start to set up your ice bath to cool your wort down. Cooling the wort down as quickly as possible is crucial so bacteria, and other microorganisms, cannot grow!
6. Once the 60-minute timer goes off, it is time to chill your wort. Put it into the sink with two bags of ice and use your thermometer to check the temperature every 15 minutes.
You can swirl the ice water around the outside of the kettle and continually stir the wort to expedite the cooling process.
7. You can take it out once the wort hits around 75 F.
If you want to calculate your ABV (alcohol by volume), use your hydrometer to measure your original gravity:
RELATED POST: How to Use a Hydrometer Like an Expert in 5 Easy Steps
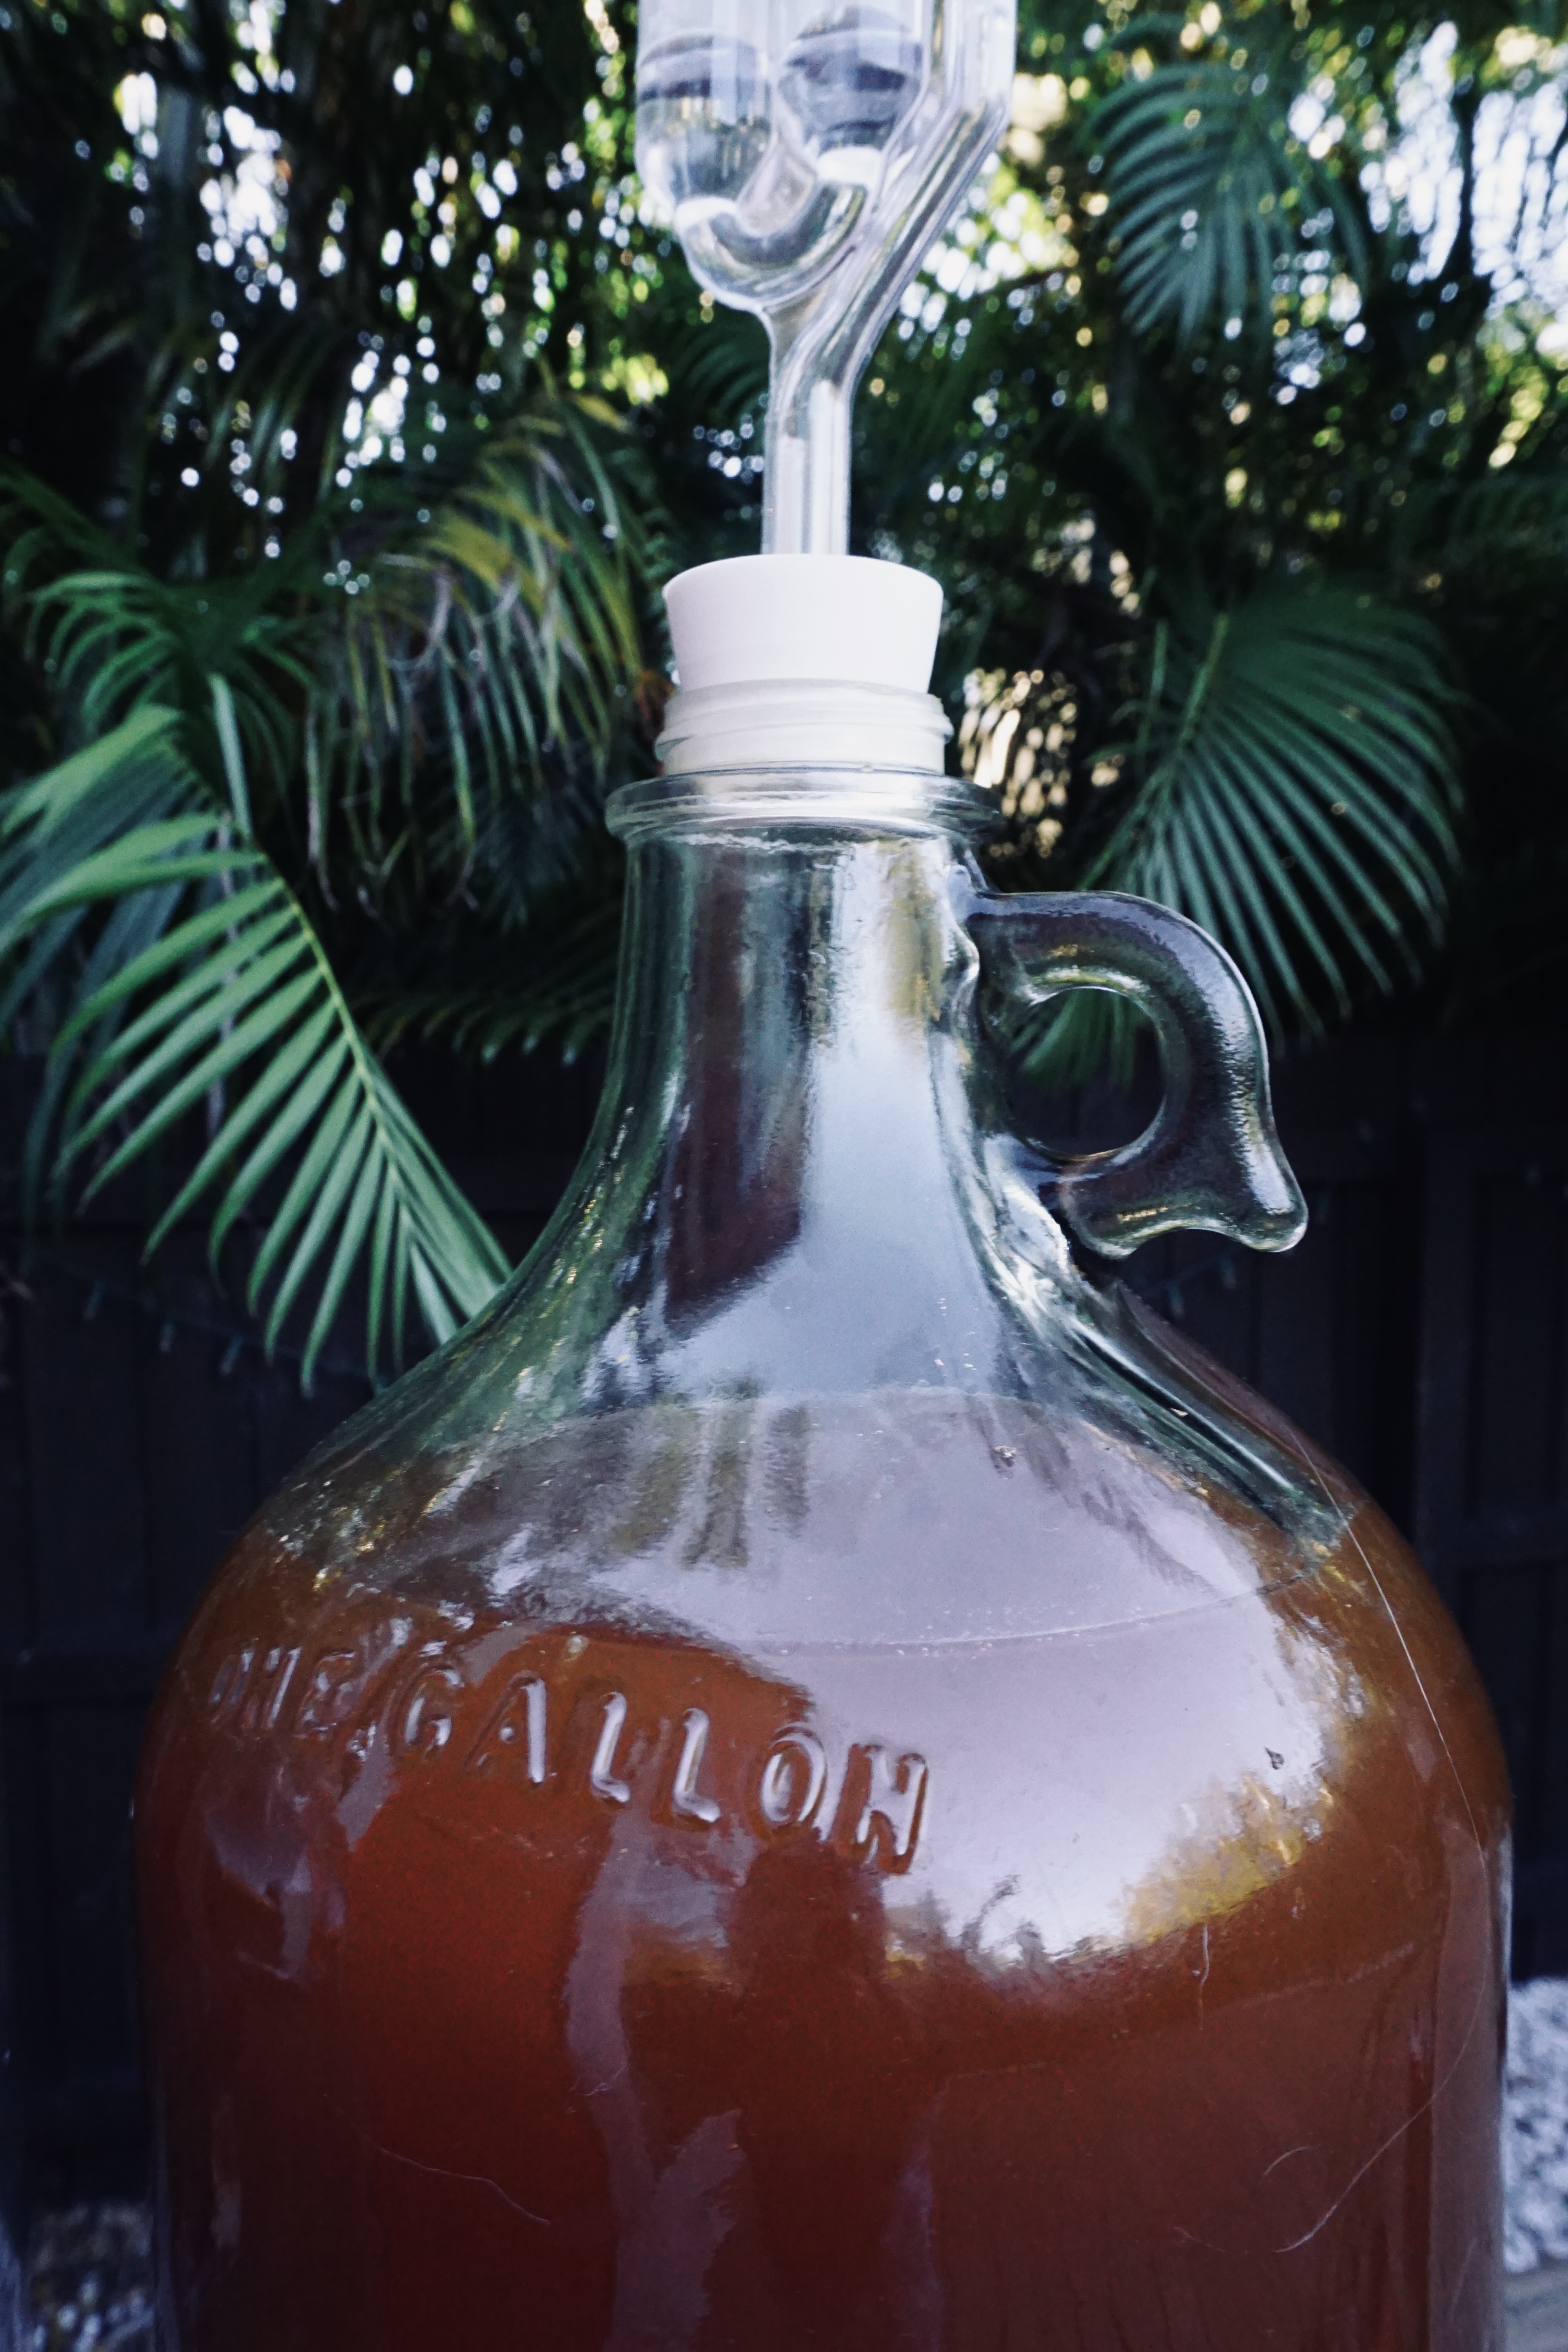
8. Gently pour the wort into the sanitized fermenter and pitch the yeast (2.3 grams of safale us-05 yeast per gallon). Give her a good swirl for about 2 minutes. You want to aerate the liquid as much as you can.
9. Put the airlock on the fermenter, set it in a cool dark place (usually between a consistent 70-75 degrees F is good), and start primary fermentation.
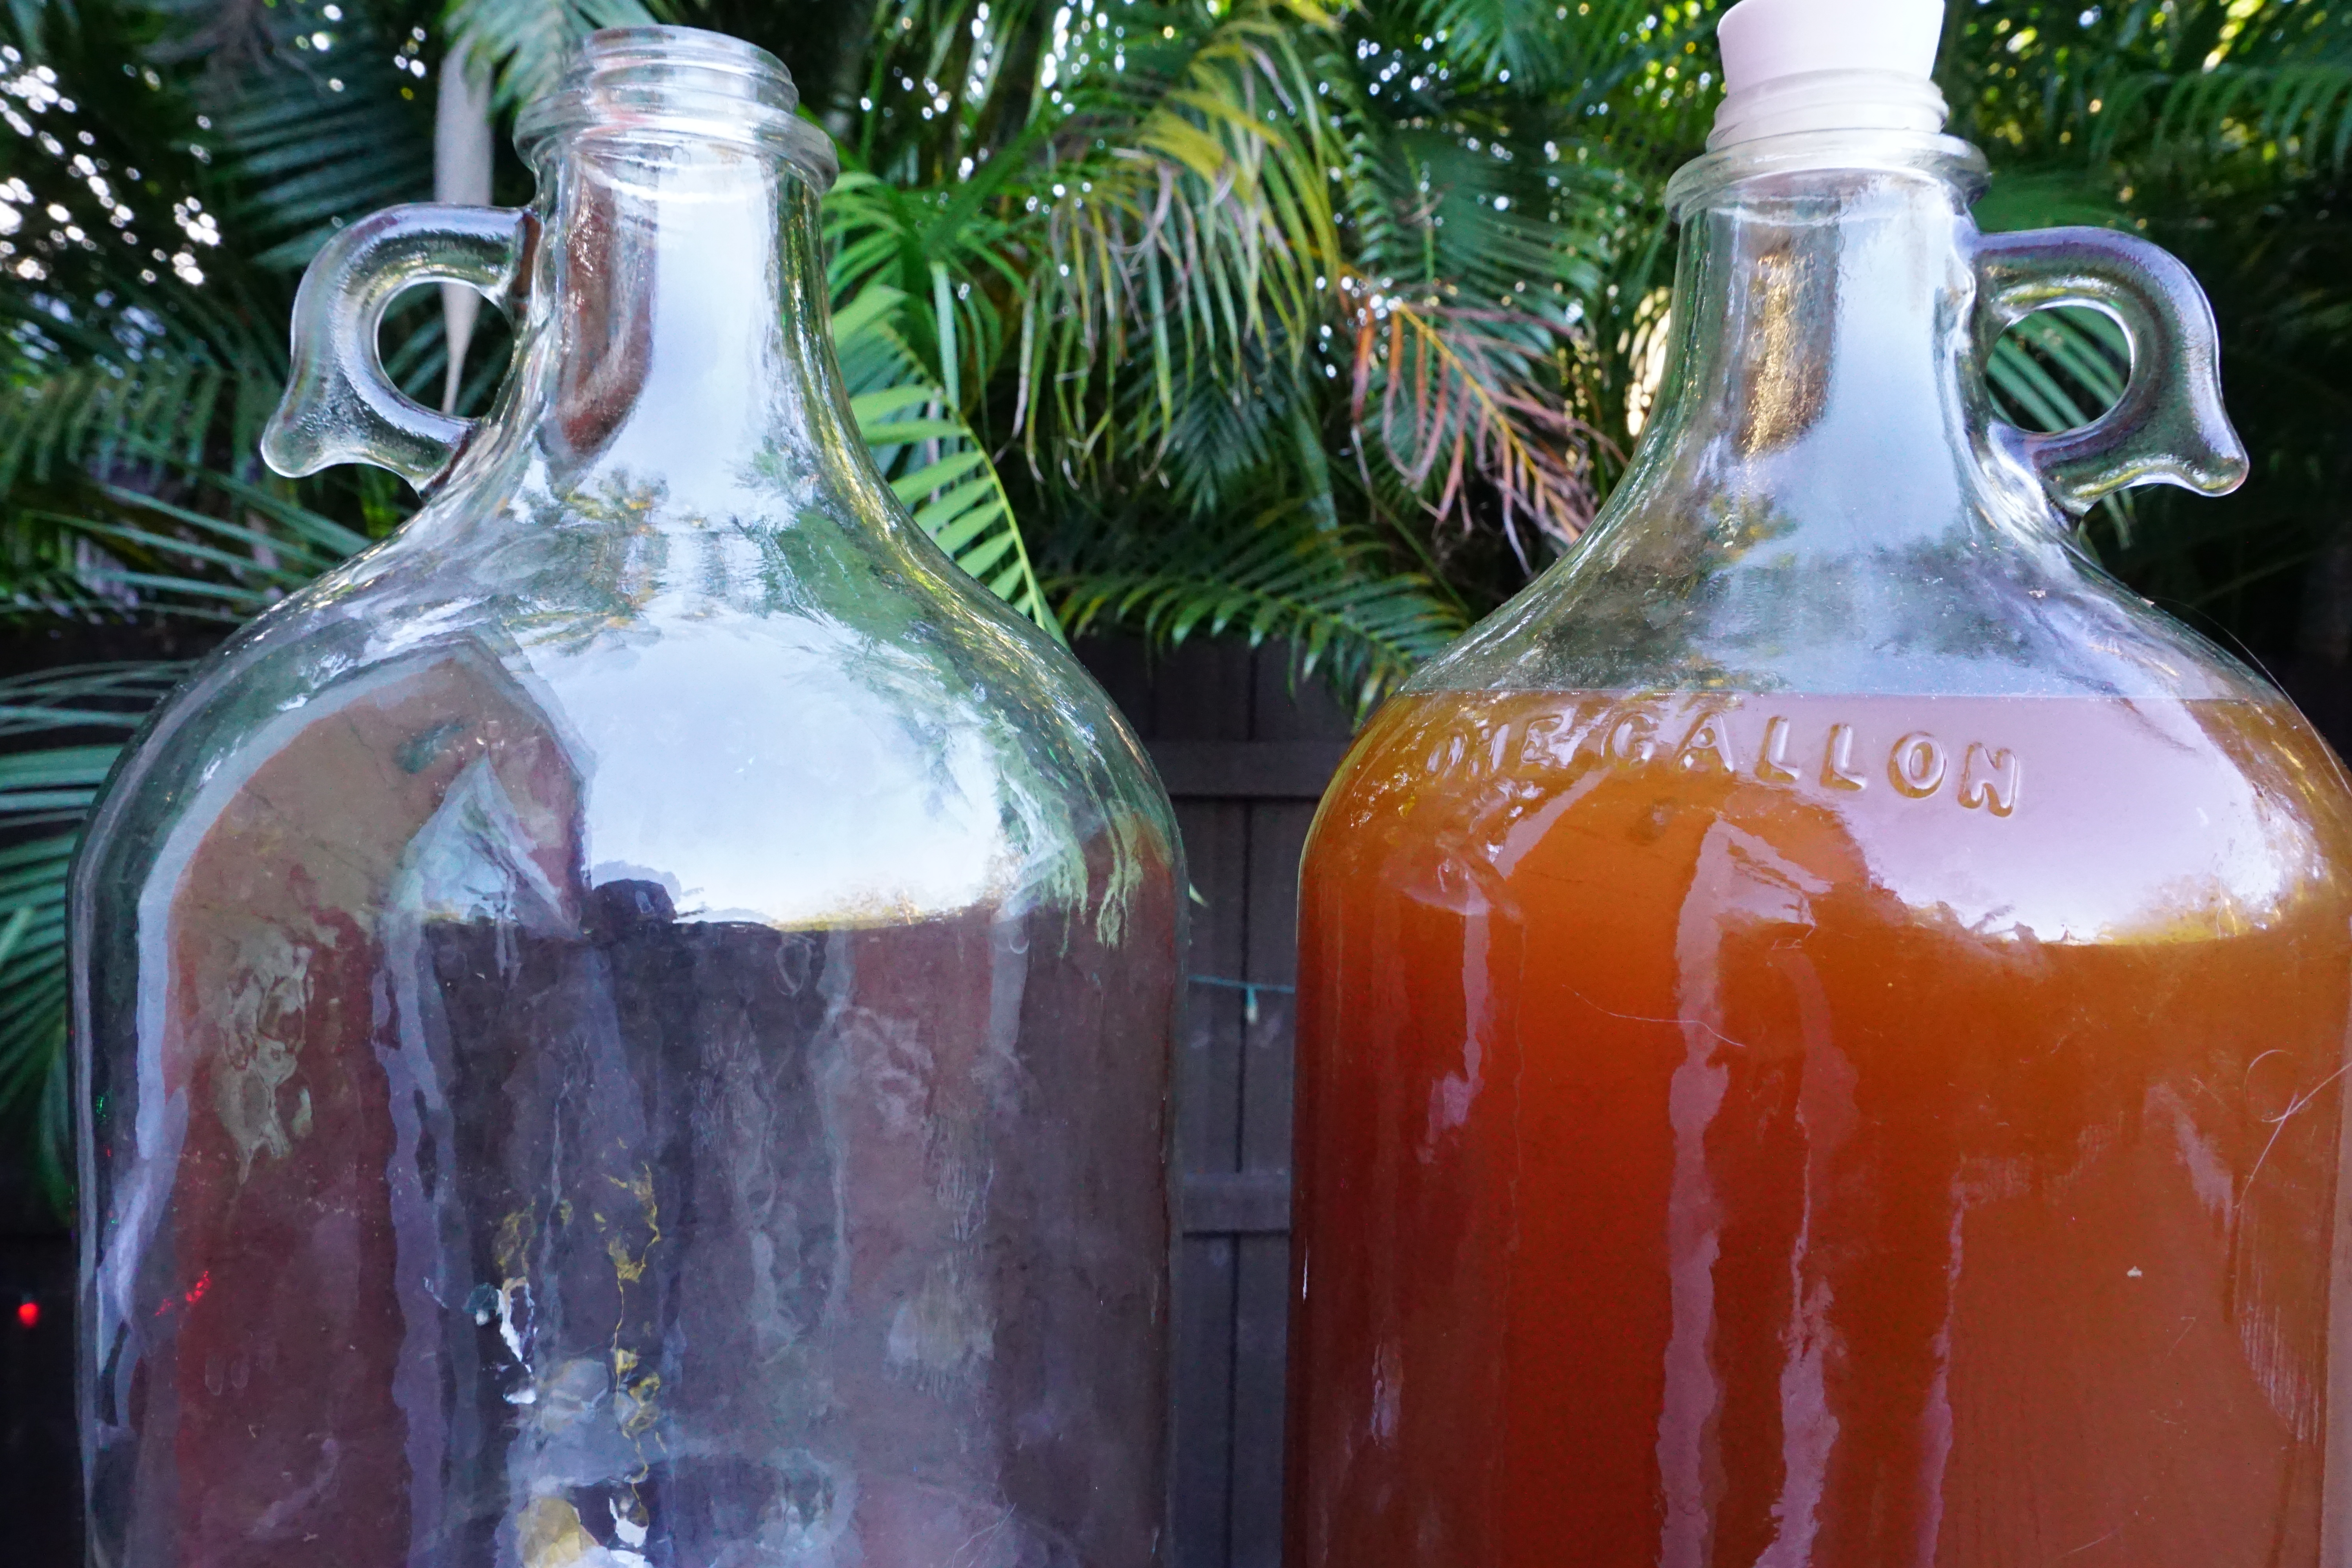
10. After one week (or when fermentation slows, which tends to be 5-7 days) you can “rack” the beer into secondary fermentation.
You can tell primary fermentation is ending when the airlock is significantly less active.
Here you use a sanitized siphon and move the beer from the primary fermenter into a second, sanitized, fermenter with an airlock. Leave it in secondary fermentation for another week. This allows the beer to clarify.
RELATED POST: Everything You Need to Know About Secondary Fermentation
11. After two weeks or so, since brew day, you are ready to start bottling whether you engaged in secondary fermentation or not!
If you measured the gravity earlier for the ABV, this is the time to do that again. Check out how to use a hydrometer for details on this procedure!
RELATED POST: The Ultimate Guide to Bottling Homebrew for Beer, Cider, and Soda
General Overview of Bottling
1. Sanitize your swing-top beer bottles and siphon hose.
2. Add 2g of “priming sugar” (cane sugar or corn sugar) to each 16oz bottle.
If you are using 12oz bottles you will use 1.5g of sugar.
3. Gently place the siphon into the fermenter and the hose end into the bottle. Pump the siphon hose a couple of times until the liquid begins to pump through.
4. Fill each bottle and cap.
5. Give the bottles a little swirl & shake before storing them in a cool dark place for two weeks.
Tips on Building onto this Beginner Beer Recipe
This recipe is great for a first-time beer maker. Or a beer maker looking for a simple and easy recipe. Here are some tips on how you can alter this recipe to fit your preferences!
I encourage you to try the recipe above and then see what modifications to make from there.
1. The hop schedule can be manipulated to fit your desired flavor profile
As mentioned in this beer making guide, the hop schedule is deliberate for bitterness, flavor, and aroma.
When the hops are added at the beginning of the boil, it’s for bitterness. The middle of the boil is for flavor, and the end of the boil is for aroma.
This specific beginner beer recipe uses Cascade hops for bitterness and then flavor. However, you can add 0.20 grams more of cascade hops in the beginning, if you want it more bitter.
To add more aroma, giving the beer a brighter nose, you can add 0.15 grams of cascade with 5 minutes left of the boil. Alternatively, you can add 0.15 grams of cascade hops 30 minutes into the boil for greater flavor.
Again, this is up to your preference! You can alter it however you see fit.
2. Practice dry hopping in secondary fermentation
Secondary fermentation in this beginner beer recipe is simply for the beer to clarify. However, secondary fermentation can be a time to dry hop, which is adding more hops into the fermenter.
This gives the final beer a greater aroma and flavor. Usually, this is evident in most IPAs or double IPAs. To dry hop: add another 0.15 grams of cascade hops in the secondary!
3. Use a wild yeast starter
In this recipe, I used Safale US-05. However, you can use homemade wild yeast. Using Safale US-05 will result in a clean crisp ale while wild yeast will allow the natural flavor profile to come through.
It can be fun to experiment with natural yeast populations and how they affect the beer’s flavor and overall experience.
To learn how to make a homemade yeast starter click here.
This post was all about a beginner beer recipe.
Other Posts You May Like…
✓ 11 Beautiful & Traditional Fermented Drinks for Gut Health From Across The Globe
✓ Easy Pine Needle Beer Recipe for Beginner Brewers High in Vitamin C & Antioxidants
✓ 19+ Spectacular Beer Gift Ideas Guaranteed to Make Them Smile

