Are you ready to start brewing home made beer? Here are the tried and true home brewing essentials everyone should have when starting to brew!
Beginning to brew beer can be a daunting task. The equipment, the process, the flavor profiles, the ingredients, etc. is a lot to digest! When I started brewing beer, I quickly learned the home brewing essentials that I needed to start making my own beer.
The rest will fall into place and you will start to understand all the components of beer brewing as you continue learning. That’s truly the fun part!
This post will show you all the best home brewing essentials you need to start brewing beer from 5 gallon buckets to beer sanitizer.
After learning the essentials, you will be more knowledgable and confident in the brewing process and what is needed to start brewing ASAP!
This post is all about home brewing essentials.
Best Home Brewing Essentials
From beginner to novice and beyond, anyone can benefit from these home brewing basics!
1. Five Gallon Kit
This is number one for so many reasons. When I started brewing beer in my house in college I would not have been successful without five gallon kits.
Most kits have all ingredients you need, minus a couple items which depends on the kit. Note: They do not include equipment!
If you are just starting to get into brewing, or you haven’t touched any equipment but are SO interested, this is where to start!
RELATED POST: 4 Top-Notch Beer Kits You Need for Insanely Good Beer
2. One Gallon Kit
Number two, also, for good reason! One gallon kits are beneficial for home brewing beer for beginners when you do not want to commit to the full 5 gallons.
Some one gallon kits come with equipment, but not all. The equipment for one gallon recipes will be substantially cheaper than the 5 gallon equipment (which makes sense!).
Overall, these kits are great for small batches when you have minimal brewing space, they are budget friendly, and are very beginner friendly.
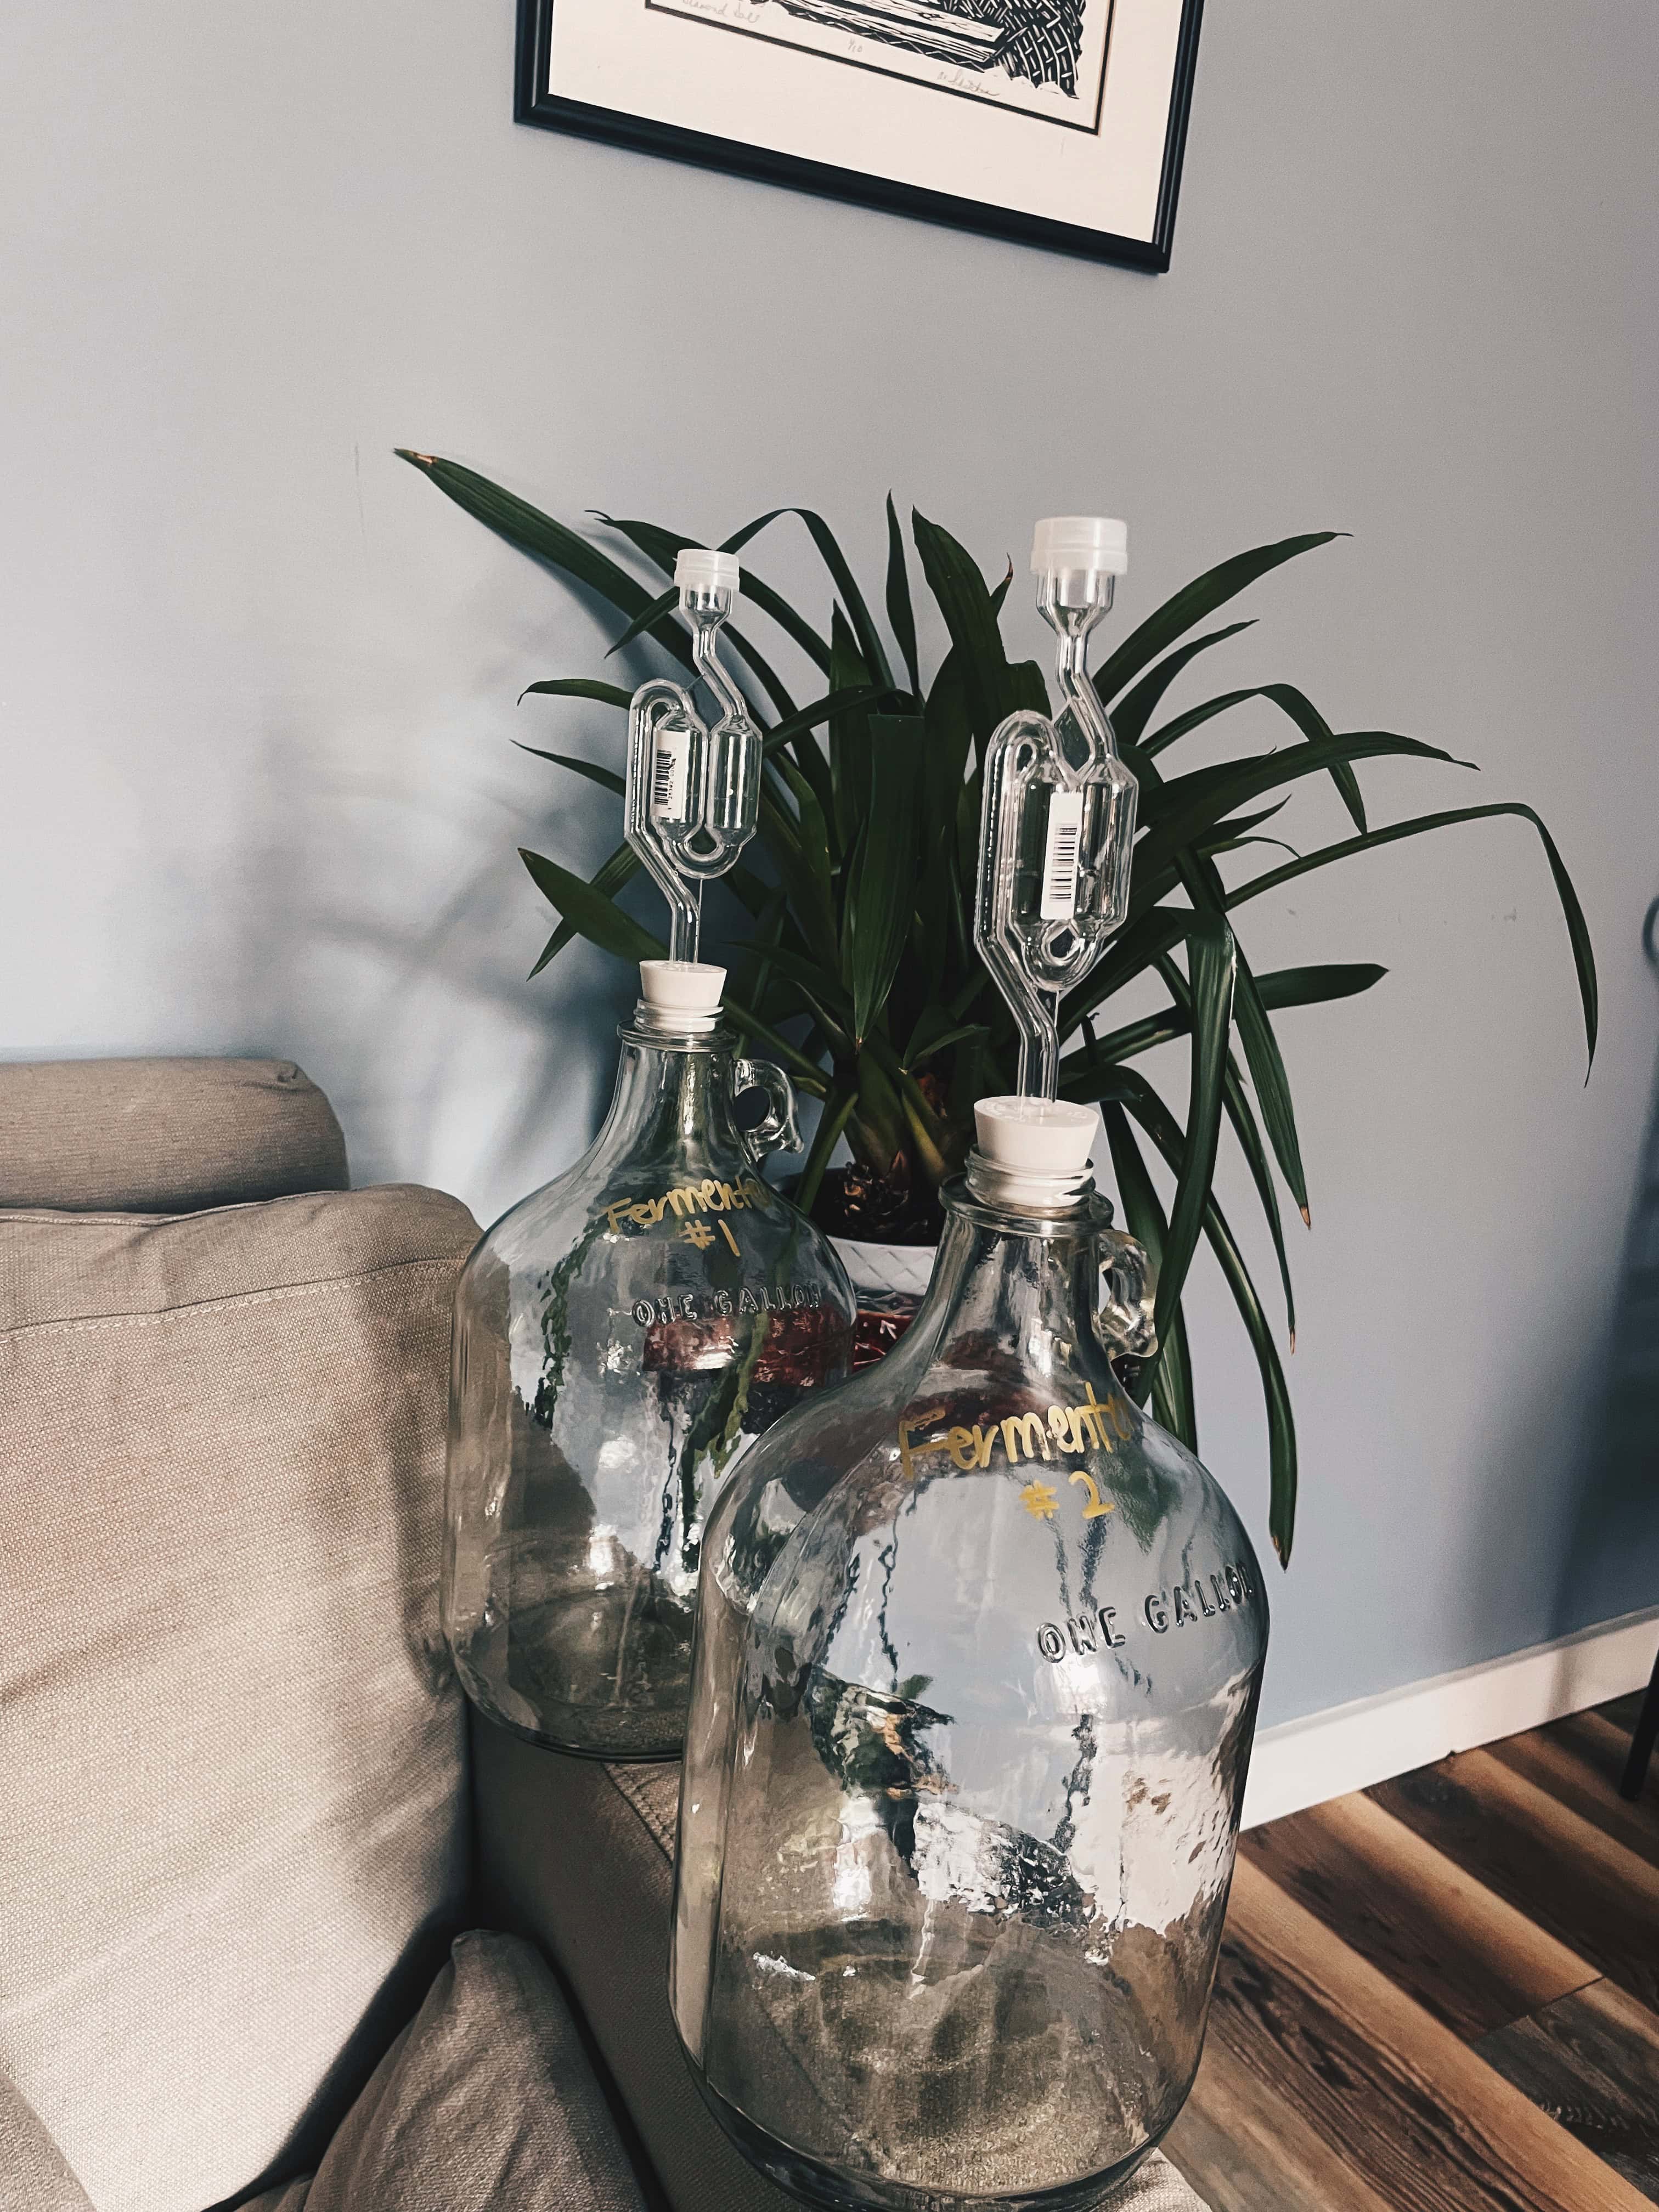
3. One Gallon Fermenter
A one gallon fermenter is essential when brewing small batches. Some beer brewing kits include this, but not all.
I would recommend getting two of these fermenters so when you begin racking your beer into secondary fermentation you will have the 2nd fermenter to put it in.
They are relatively cheap and versatile! You can put various fermenting concoctions into a one gallon fermenter like sodas, wines, meads, etc.
RELATED POST: A Complete Guide to Beer Making for Beginners
4. Five Gallon Fermenter
A necessity for big five gallon batches of beer! They have 5 gallon and even 7 gallon buckets. The buckets can take up a lot of space in your brewing area so I would recommend the 5 gallon.
Again, I would recommend 2 of these buckets for when you begin to rack your beer into secondary fermentation you have an extra bucket.
At this level of production, it is also beneficial to have two buckets when you go to bottle. It’s called a “bottling bucket”.
5. Airlocks
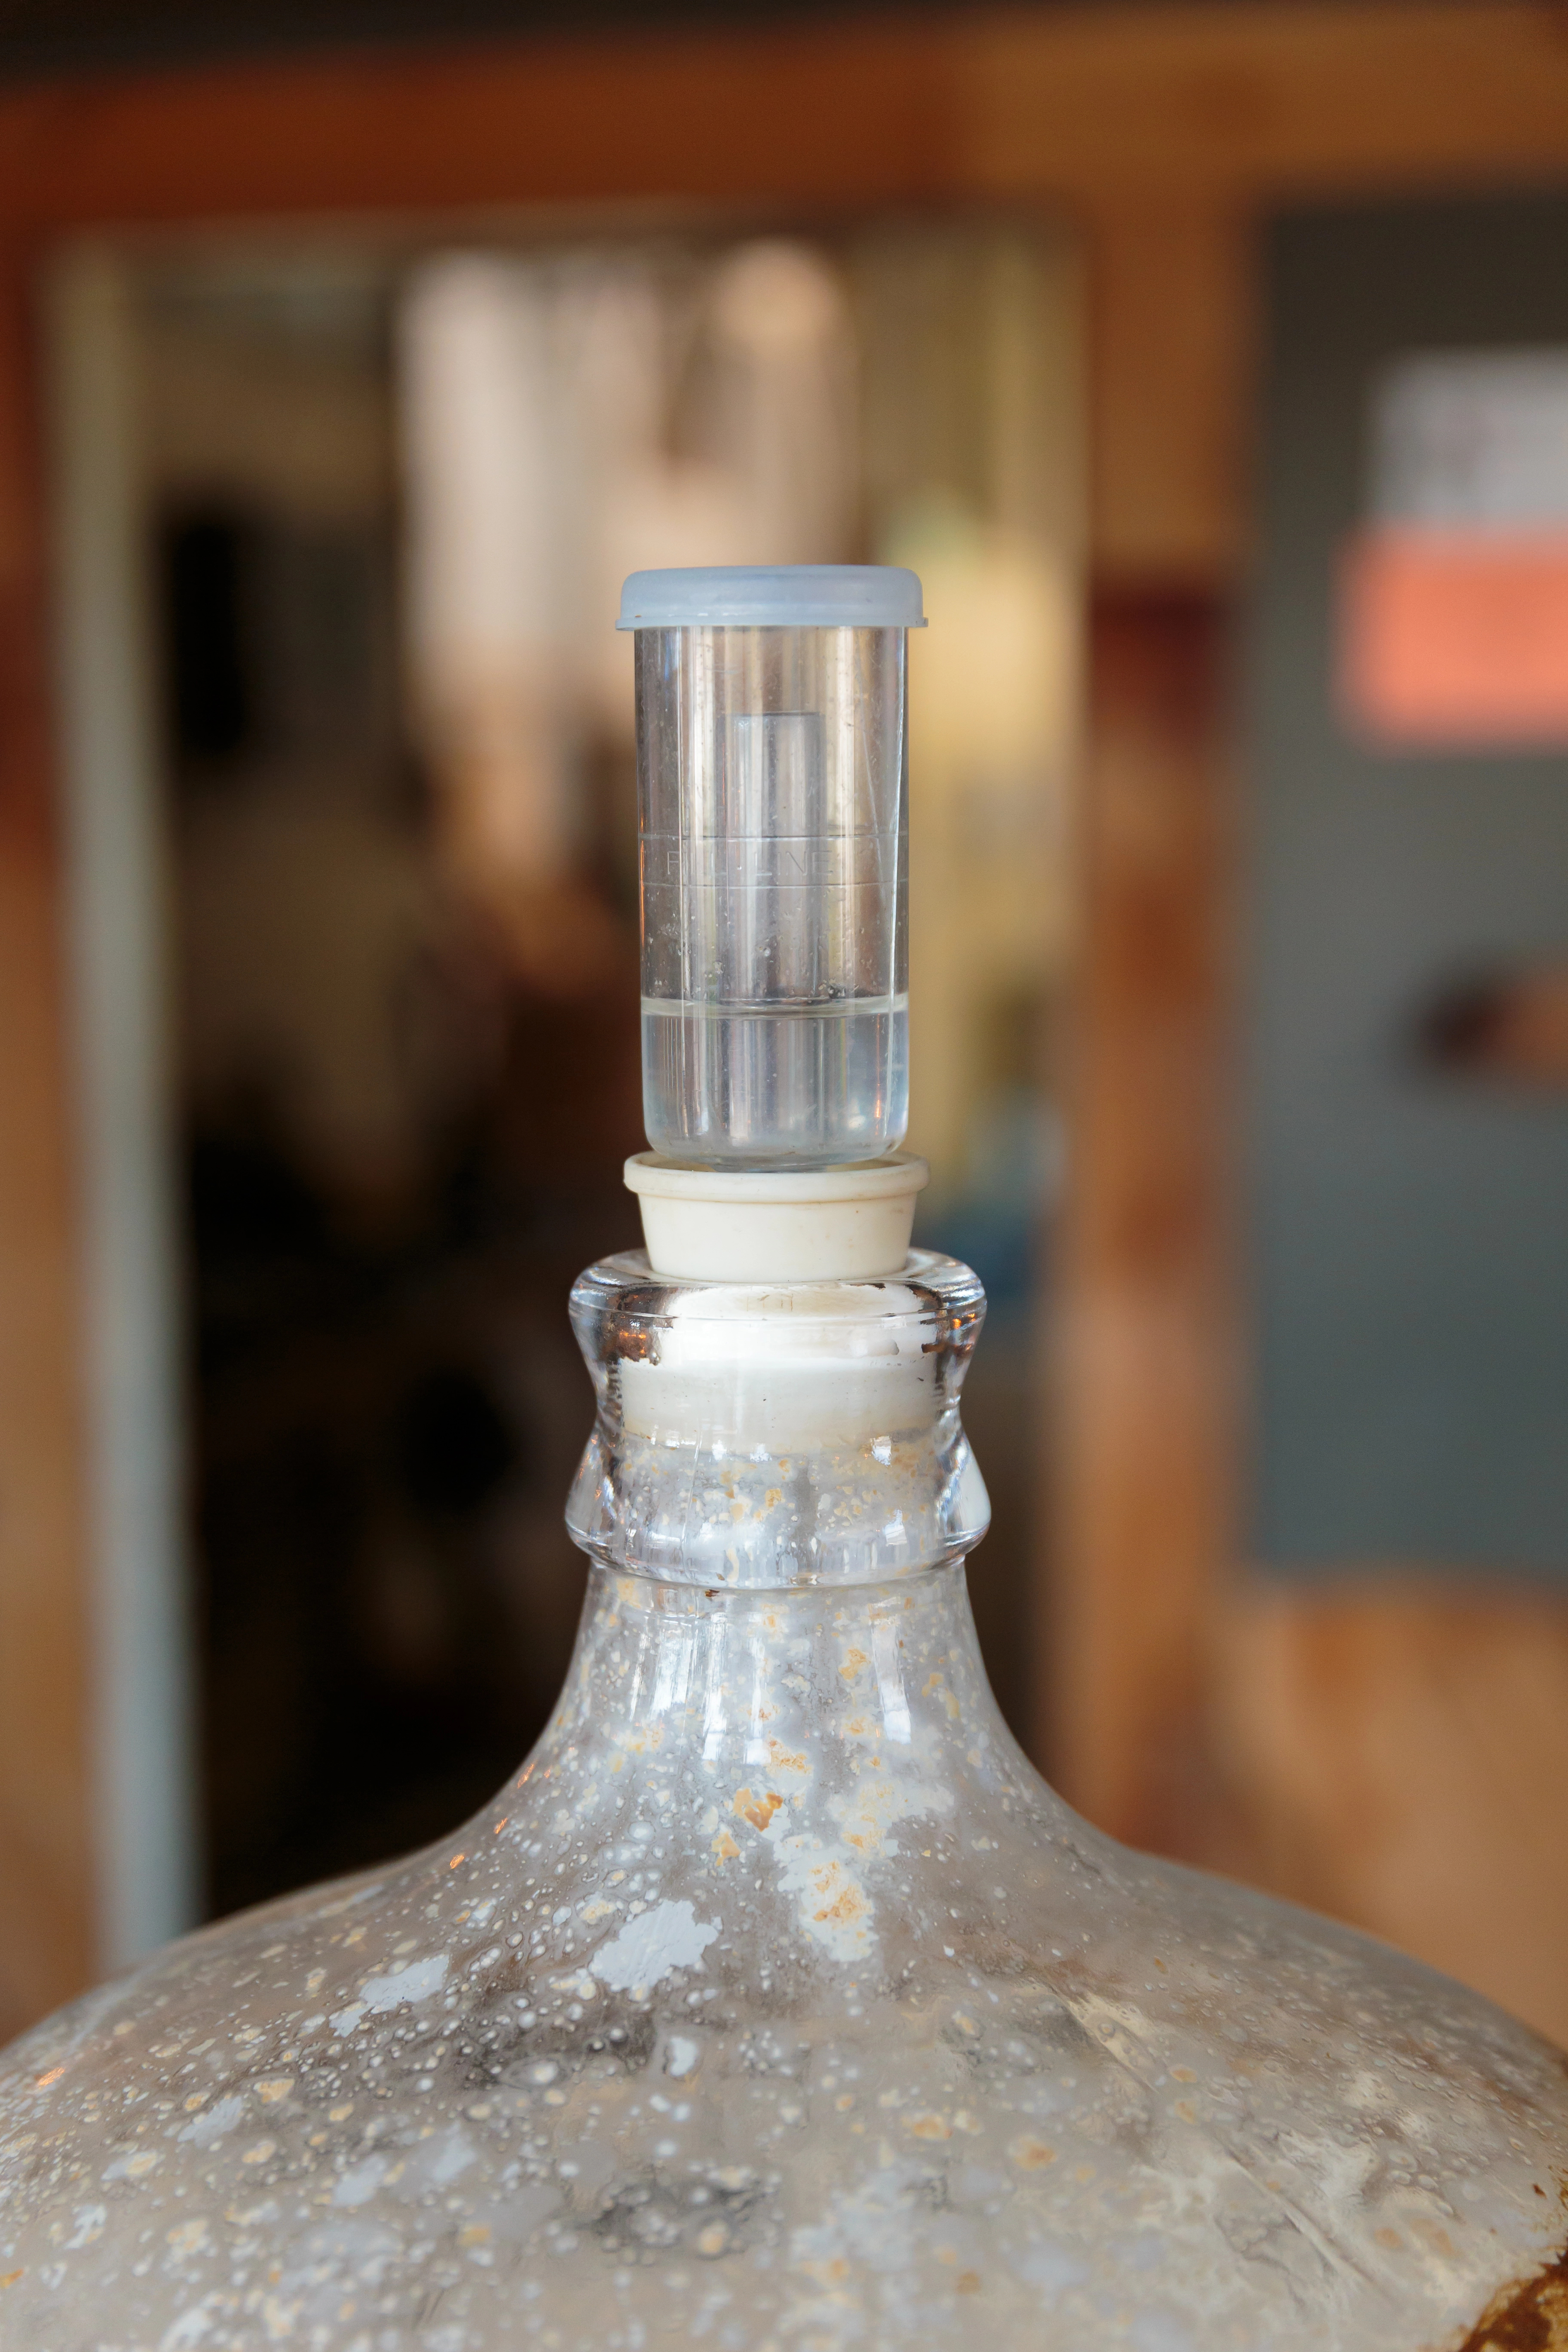
Airlocks are like a fermenters left hand: they are ESSENTIAL. They allow the carbon dioxide gases to release during fermentation, but do not allow any oxygen into the fermenter.
The two different styles of airlock (three-piece airlock & S-shaped) are both great. I prefer the S-shaped airlock because I get to see how active the fermentation is. I also get to hear the bubbles which I love 🙂
6. Siphon Hose
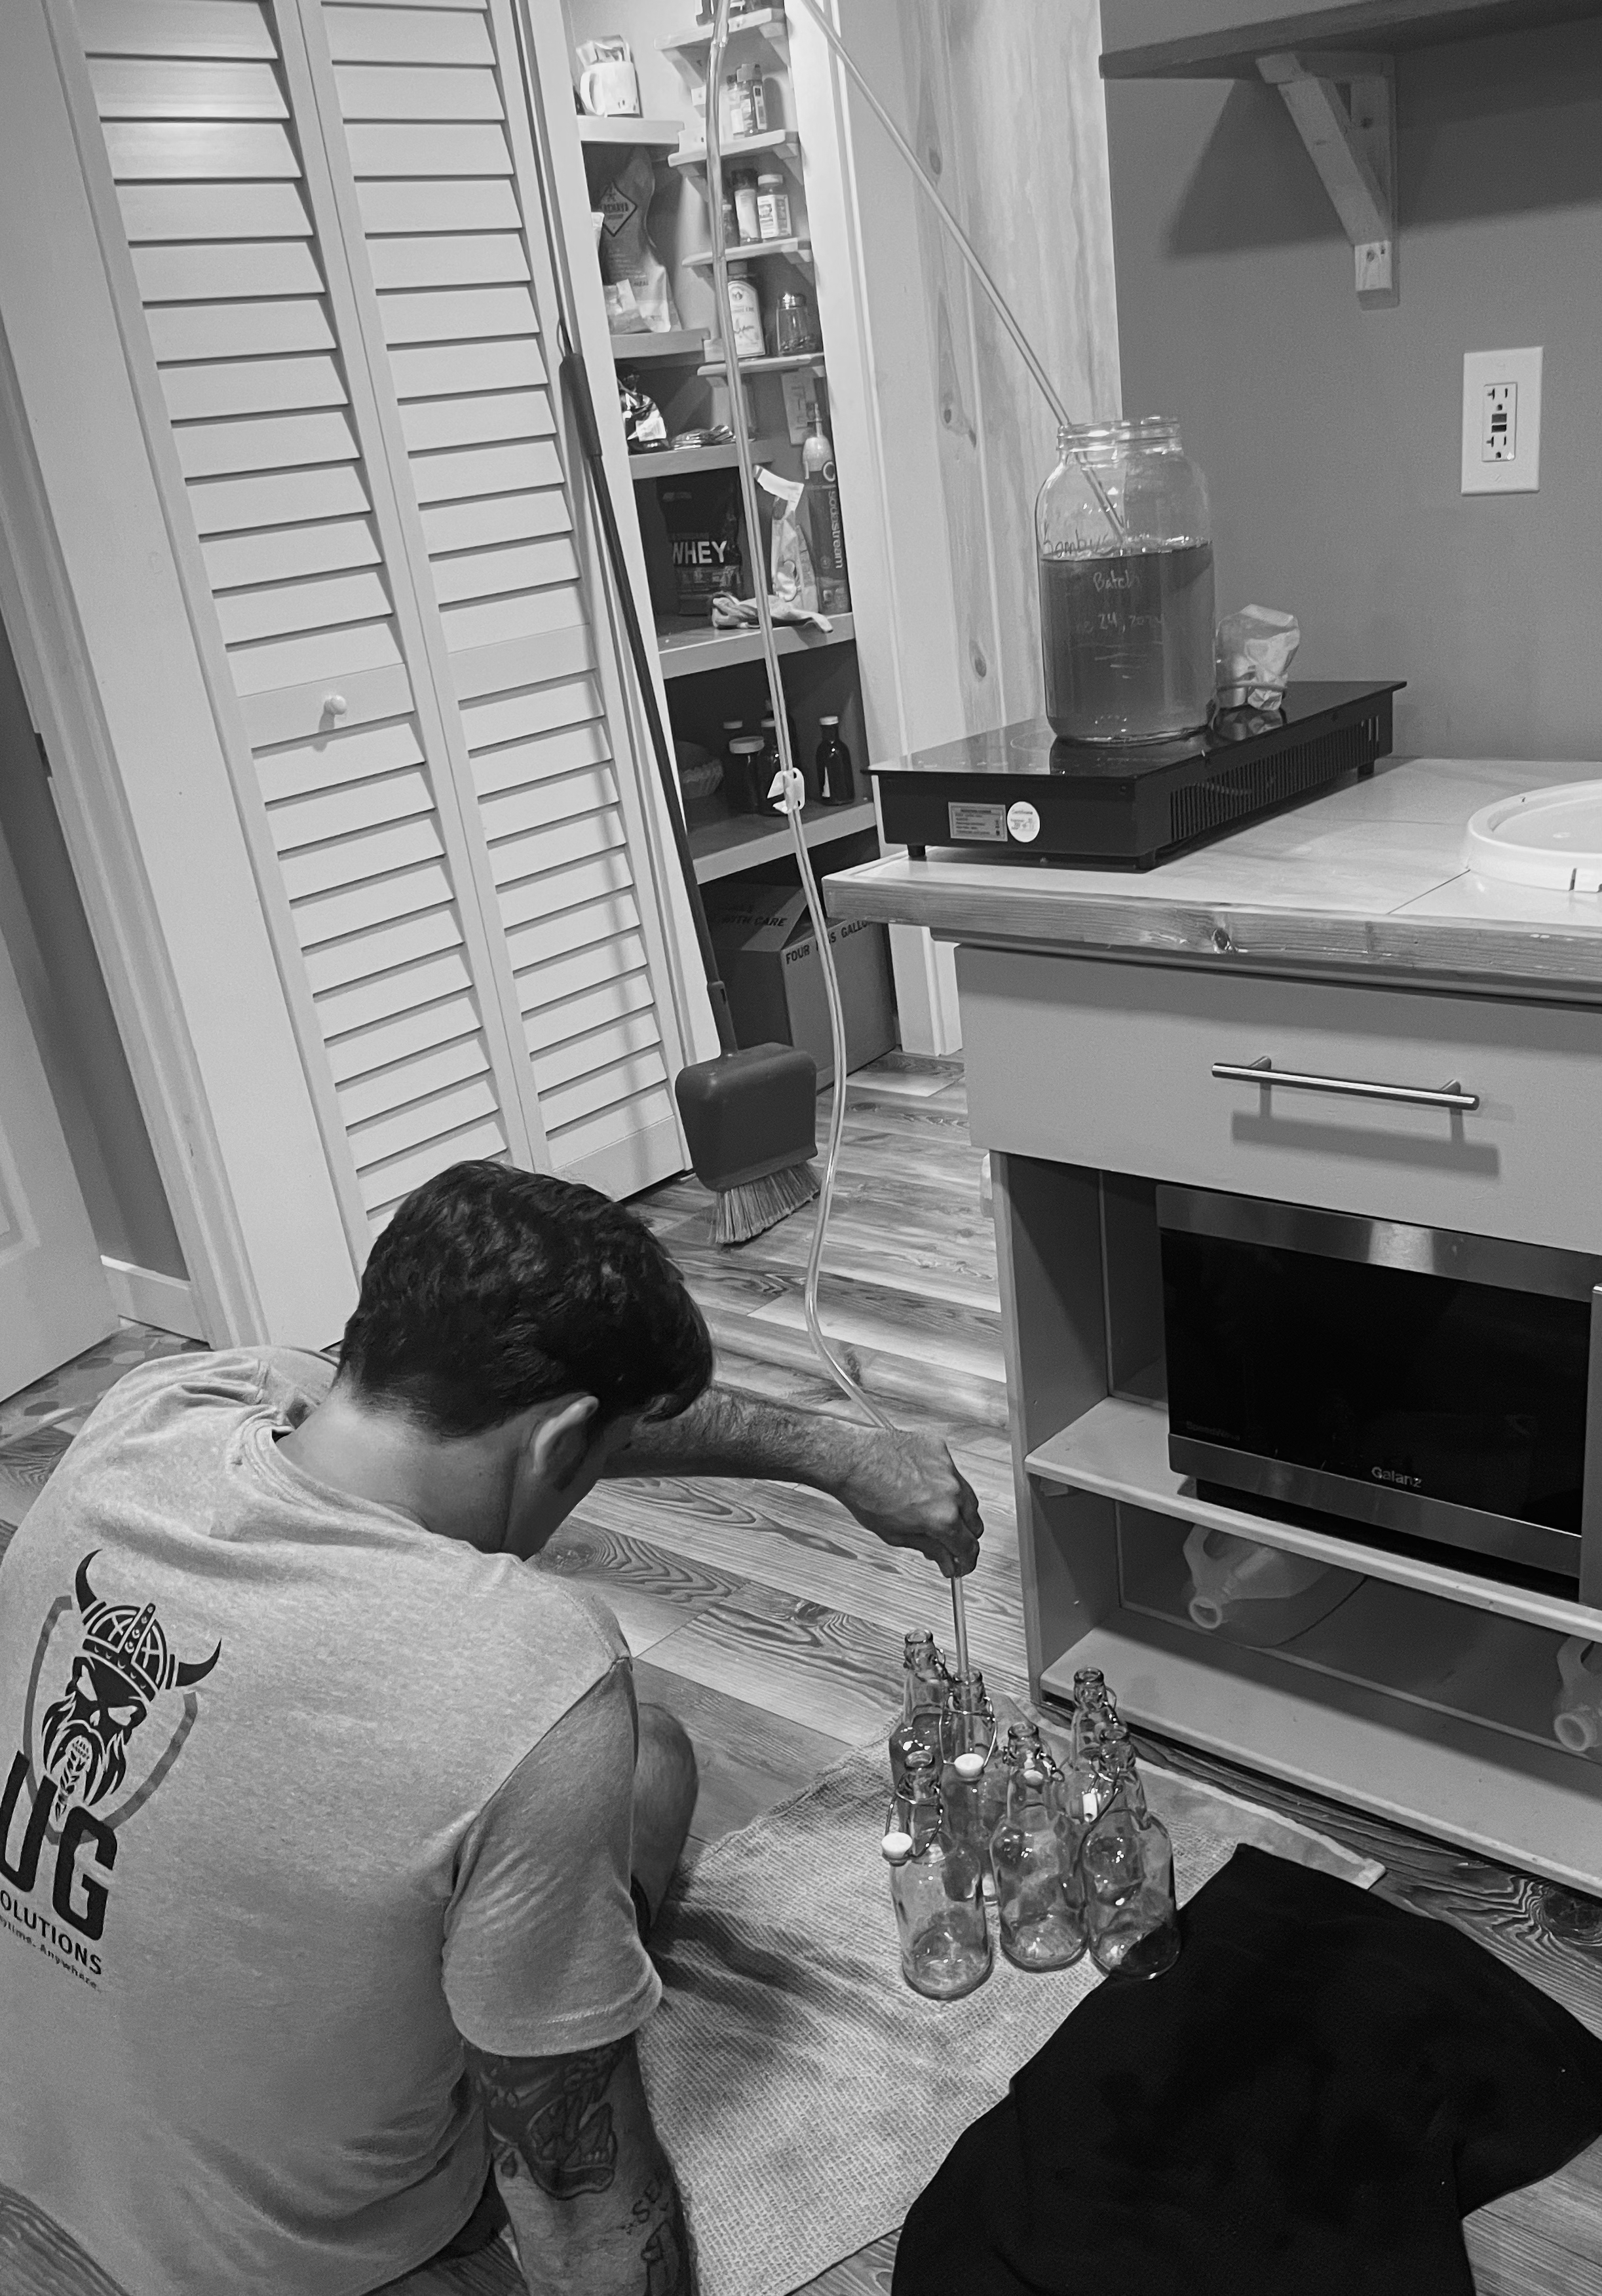
A siphon hose will be your best friend when moving your beer around to different fermenters or bottles.
Siphon hoses also have an attachment that helps minimize the amount of sediment that moves through the hose. For example, when your hops have all dropped to the bottom in about an inch of sludge… You don’t want that to go into your bottles.
Siphon’s are relatively easy to use and to clean! It takes some practice getting use to your siphon, but once you master the technique you will be a pro.
7. Funnel
Oh the funnel! Funnels are great for one gallon batches because you can pour your brew through the funnel and once the sediment starts to come close to pouring out… You stop.
The funnel is also great for bottling smaller batches and is very helpful when adding different herbs into your beers.
If you are working a larger production the funnel can be used for bottling or adding primer into your bottles.
8. Bottling Wand
When bottling, and using a siphon, the bottling wand is a life saver. This little guy attaches to the siphon hose and allows for you to fill up bottles without any mess. I would not be able to bottle so effectively without this addition!
It is really easy to clean, easy to assemble, and makes bottling day a breeze.
9. PBW
I swear by PBW. It is an industrial grade cleaner for fermentations, more specifically brewing. PBW is “powered brewery wash” and is an alkaline cleaner.
This is an amazing product, it scrubs off caked on hops, dead yeast, and all soil leftover from brewing.
After a little scoop of PBW and some hot water your equipment is as good as new!!
10. Star San
Star San is my BFF. I love using star san. It is an industrial grade sanitizer for all things fermentation. But, it is mainly used for brewing.
After using PBW and getting all the soil off of your equipment, you then use Star San to sanitize. When working with fermentations it is SO important to ensure you are sanitizing properly.
Star San is the one stop shop to cleanliness for fermentation projects. It is so easy to use, effective, and you will be 100% confident your brew will not get contaminated or jeopardized by bad bacteria growth.
RELATED POST: A Complete Guide to Beer Making for Beginners
11. Hydrometer
A hydrometer sounds like a technical piece of equipment, but it is quite simple and so easy to use. Basically, it tells you what the ABV (alcohol by volume) of your beer is.
You take the “gravity” of the liquid before fermentation and then you take the “gravity” of the beer after fermentation and before bottling. The change in the liquid’s density can tell you the ABV of the finished beer.
This is essential when you want to know the strength of your beer or if you are trying to reach a desired ABV/gravity.
12. Graduated Cylinder
We are not in a high school science lab, but a graduated cylinder is essential when using the hydrometer. You put a little bit of your fermented wort in the cylinder, pop the hydrometer in and check the gravity.
It is especially essential when you are brewing one gallon batches. A one gallon fermenter does not have the capacity, or the access, to drop the hydrometer in.
The hydrometer and cylinder are quick and easy to understand once you do it a couple times!
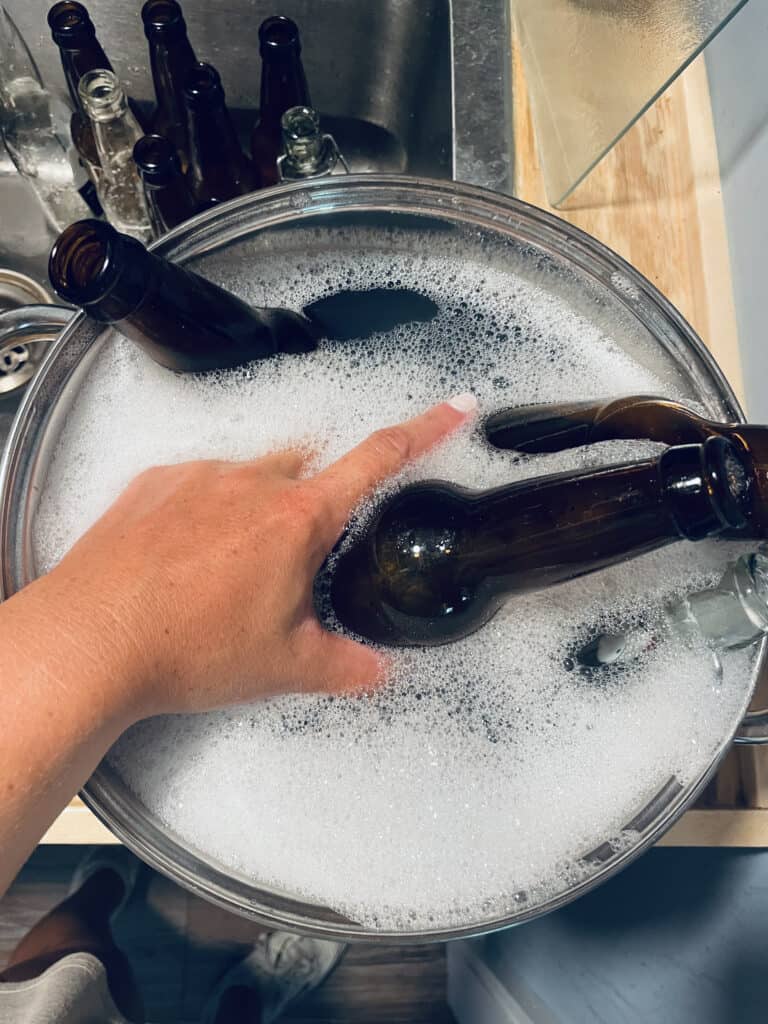
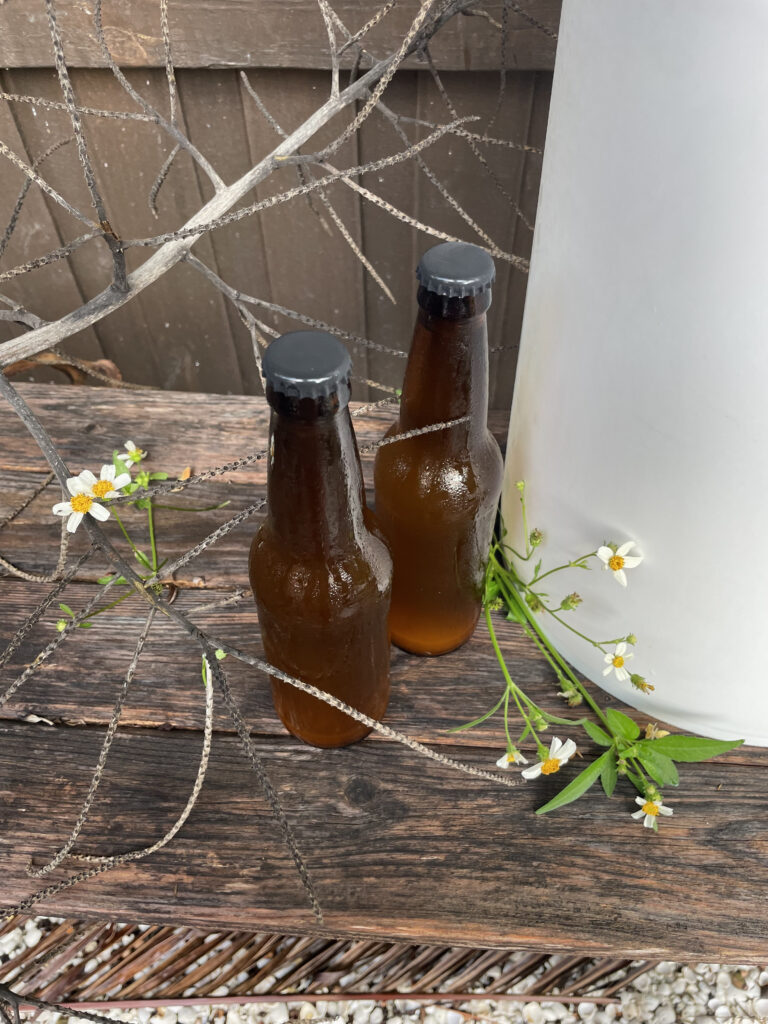
13. Amber Brown Beer Bottles
Onto the beer bottles!! Amber brown bottles are really important because if you have your beer in clear bottles or green bottles you are jeopardizing your beer to skunking!!
Skunking is the result when beer is exposed to too much light. When the light reflects on the beer in a clear bottle a chemical reaction happens and the beer can get “skunked”.
Skunking gives the beer a sulfur flavor. Use brown bottles and save yourself from skunking!!!
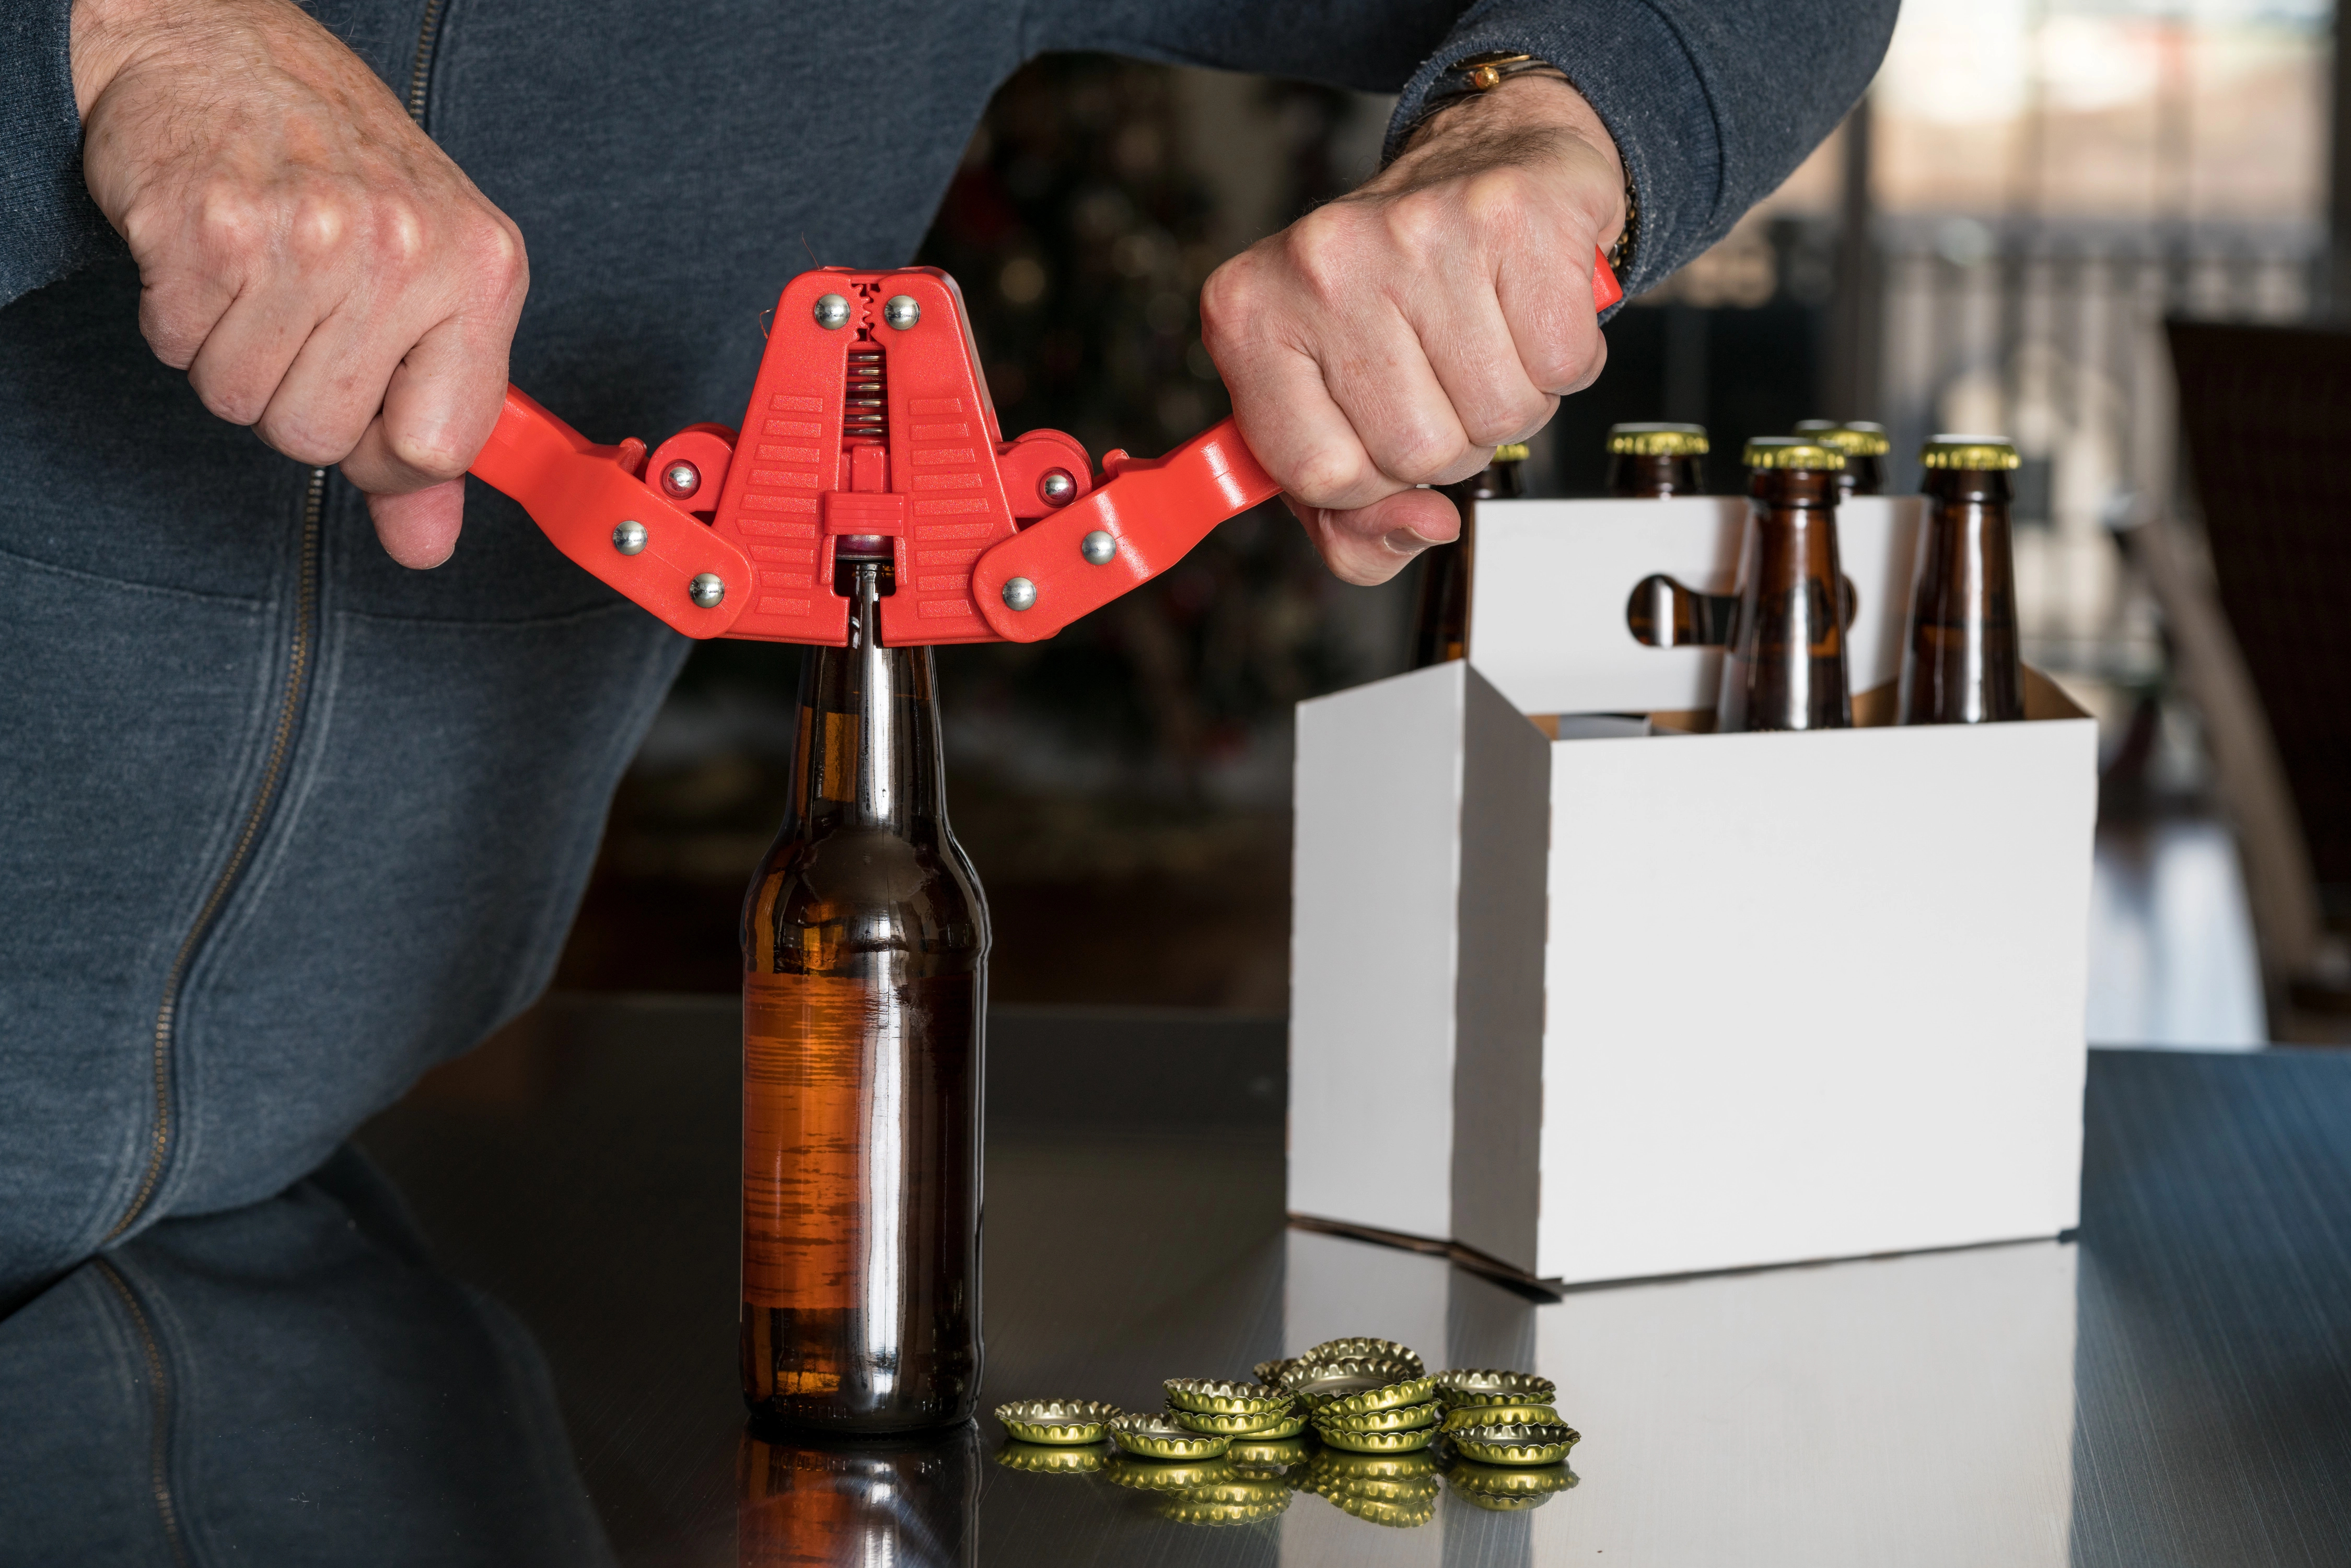
14. Bottling Capper
The bottle capper is a fun toy for brewers. It seals on the bottle caps quickly and easily!
15. Bottle Caps
Bottle caps!! These are definitely essential home brewing basics for obvious reasons 😉
I have not found anything special about the various kinds of caps out there. The ones on amazon or any home brew store are perfectly fit to use!
16. Priming Sugar
Priming sugar is the sugar used when you are bottle conditioning so your bottles will get naturally carbonated.
There are various kinds of sugar you can use when priming. Though, the kind of sugar you use will determine how long you ought to bottle condition for.
For example, Corn sugar is the quickest fermentable sugar, about 2 weeks. It is refined enough so yeast eat it up quickly. I tend to use organic cane sugar. This can tend to take a bit longer to carbonate the bottles, about 3 weeks. But, it’s organic!!
You can also use honey or maple syrup, but that will take the longest. It isn’t impossible, but takes about 4-6 weeks.
RELATED POST: Everything They Say is True | Complete Guide to Beer Making for Beginners
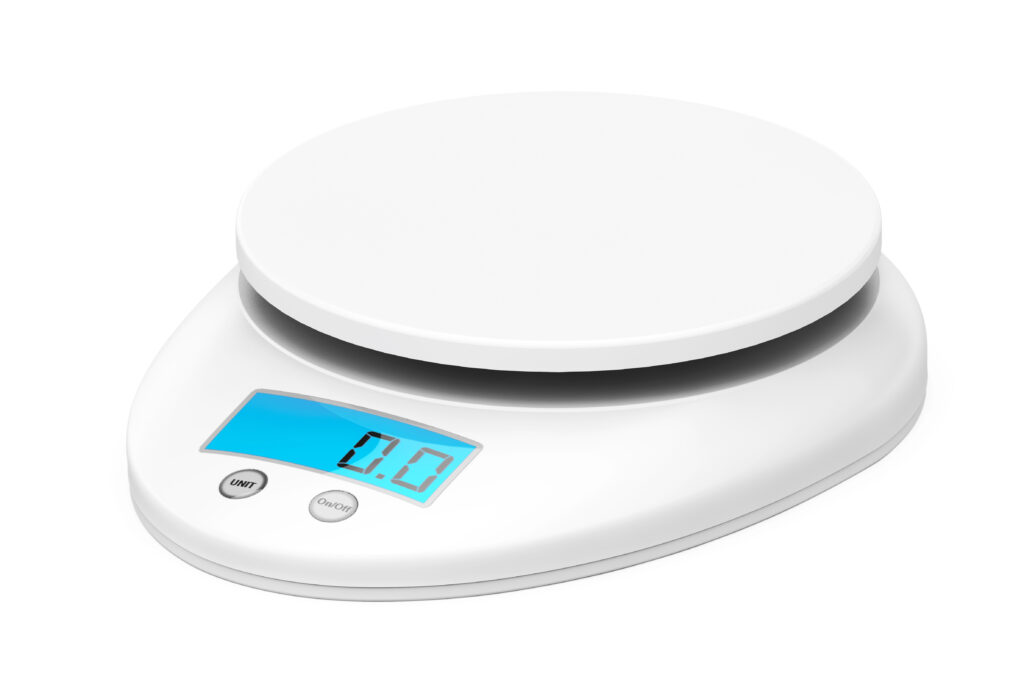
17. Kitchen Scale
A kitchen scale will be a huge game changer! From measuring your hops, dried yeast, to your priming sugar the kitchen scale will come in handy.
You do not need a high tech expensive scale. The one here will be perfect for simple measurements in brewing and can also double for other kitchen projects 🙂
18. Find near by home brewing store for ingredients
Ah, the brewing ingredients! Finding a reliable home brew shop can be challenging when you are starting out. Especially if you do not have close access to a good one.
Most shops will have home brewing basics. So, go ahead and search “home brew supply shop near me” and find your closest store!!
RELATED POST: Save Money, Ferment Better | 11 Ingredients for Homebrewing
19. Long Plastic Spoon
A long plastic spoon can seem a bit silly, but this one is important. When you are brewing your beer on the stove or when you are mixing in the yeast in the bucket a long spoon will be very beneficial.
I also recommend a large spoon specifically just for brewing because you don’t want residue from cooking or other projects to get into your brew.
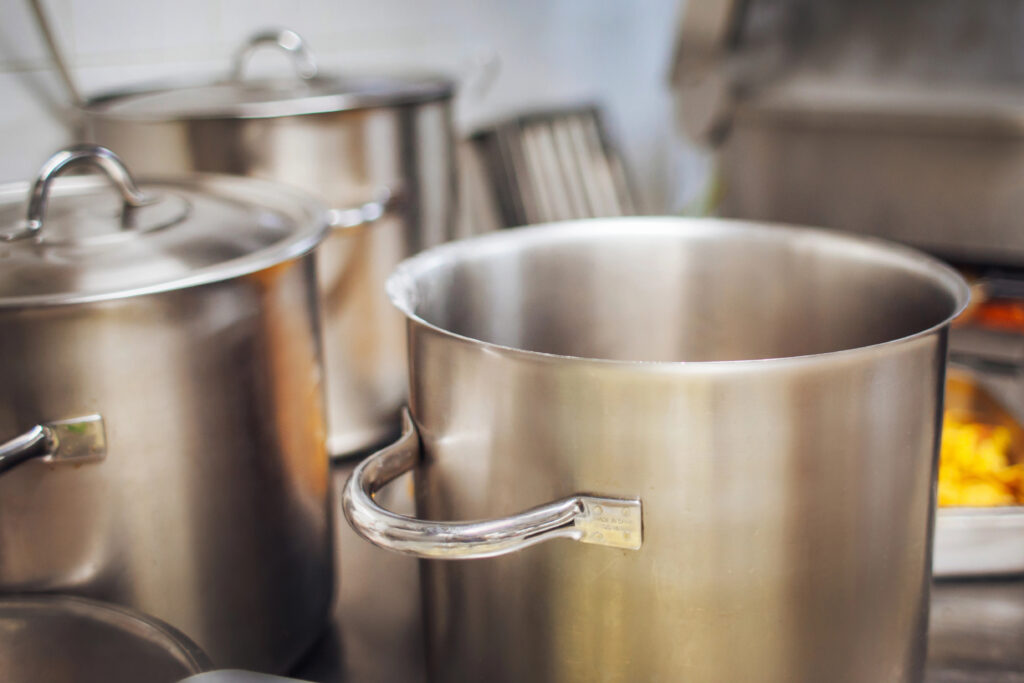
20. Kettle
The kettle is where the concoction begins! From the grains to hops to herbs, the kettle brews it all.
A stainless steel brewing kettle will ensure some great beers are made. Depending on your production size, a small 5 gallon kettle will suffice for a one gallon batch.
Though, a 7+ gallon kettle will be best for a five gallon batch. The extra room is essential for the boiling. You don’t want it to boil over!! Trust me…
21. Grain Bag
A grain bag comes in most beginner beer kits. Though, if you are making your own kit then you must remember to get the grain bag!
They are great because they are cheap, easy to clean, and you can use them over and over and over again. There really is not anything fancy with grain bags, you just need one 🙂
22. Thermometer
Much like a scale, the thermometer will make your life much easier and they are easy to store and clean.
When boiling your water to cooling your brewed wort, the thermometer will come in handy!! Any kitchen grade thermometer will work for this. No need to get anything crazy or special.
23. Ice supply
When I started brewing I would usually forget about the ice supply!! I would go to chill my brewed wort down and totally forget the ice to put in the sink…
Now, I go to my closest gas station and get 3 bags of ice and leave them in my freezer until brew days.
If you have a wort chiller than this will not be necessary. But, for all the beginners out there make sure you have ice on deck!!
This post was all about home brewing essentials.
Other Posts You May Like…
✓ This Alone Will Change Your Relationship to Alcohol | How to Stop Drinking (Home Remedies)
✓ When You Take Herbalism on a Date | Crafting Herbal Alcoholic Drinks
✓ How I Made a Homemade Beer Recipe with Lion’s Mane for Increased Cognitive Function

