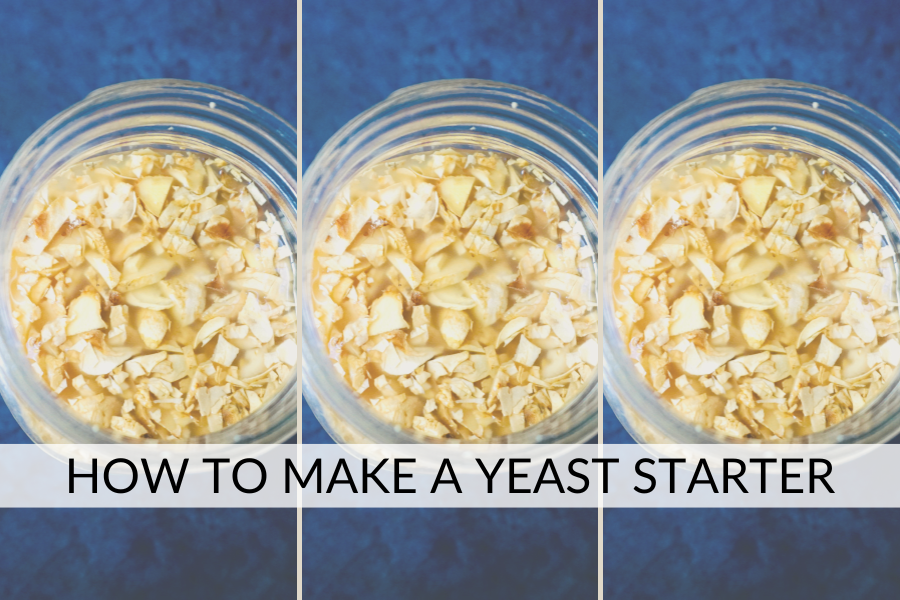
Are you wondering how to make a yeast starter? These are the 8 easy steps to making your own wild yeast starter for sodas, wine, mead, cider, and also beer! Doing so will save you money and time buying yeast packets.
As a home brewer, I swear by using my wild yeast to ferment my beers, sodas, etc. By making yeast, you save money on commercial yeast packets. You can use your homemade yeast for beer, wine, soda, cider… literally anything.
You will learn what a yeast starter is, exactly how to make a yeast starter, troubleshooting tips, and how to make a yeast starter for beer.
By the end, you will be ready to cultivate your yeast and start making some unreal naturally fermented drinks at home!!
This post is all about how to make a yeast starter with wild yeast.
What is a Yeast Starter?
A yeast starter is your cultivated yeast population from fruits, organic plant material, etc. Now, in the fermentation world, there is a difference between wild yeast and commercially produced yeast.
Dried commercial yeast packets are yeast populations that have been produced in a lab, fermented in an aerobic environment, harvest by centrifuging, dried, and packaged. (Basically, what you can do at home by making a yeast starter, without the extra work!)
But, if you think about ancient fermentation practices by other civilizations, they did not know anything about their yeasts, relatively, nor to produce them at a large scale.
So, it raises the questions… Do you need to have dried yeast to have a successful fermentation? And, how can we utilize the yeast already living on our fruits, vegetables, sticks, flowers, etc to make fermented drinks?
ANSWER: No, you just need wild yeast!!
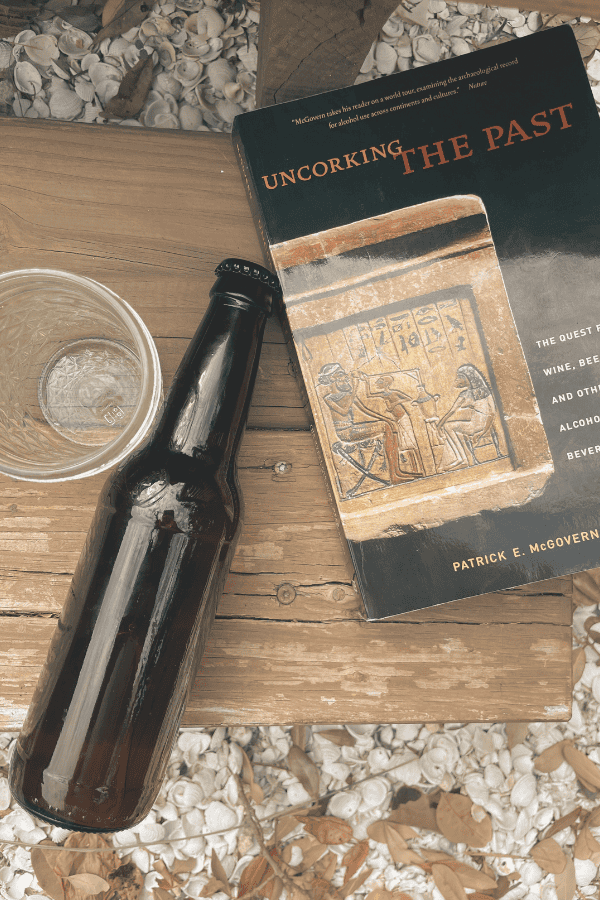
In one of my favorite books, Uncorking the Past by archeologist Patrick E. McGovern, he discusses yeasts and how people have interacted with wine, beer, and other fermented beverages:
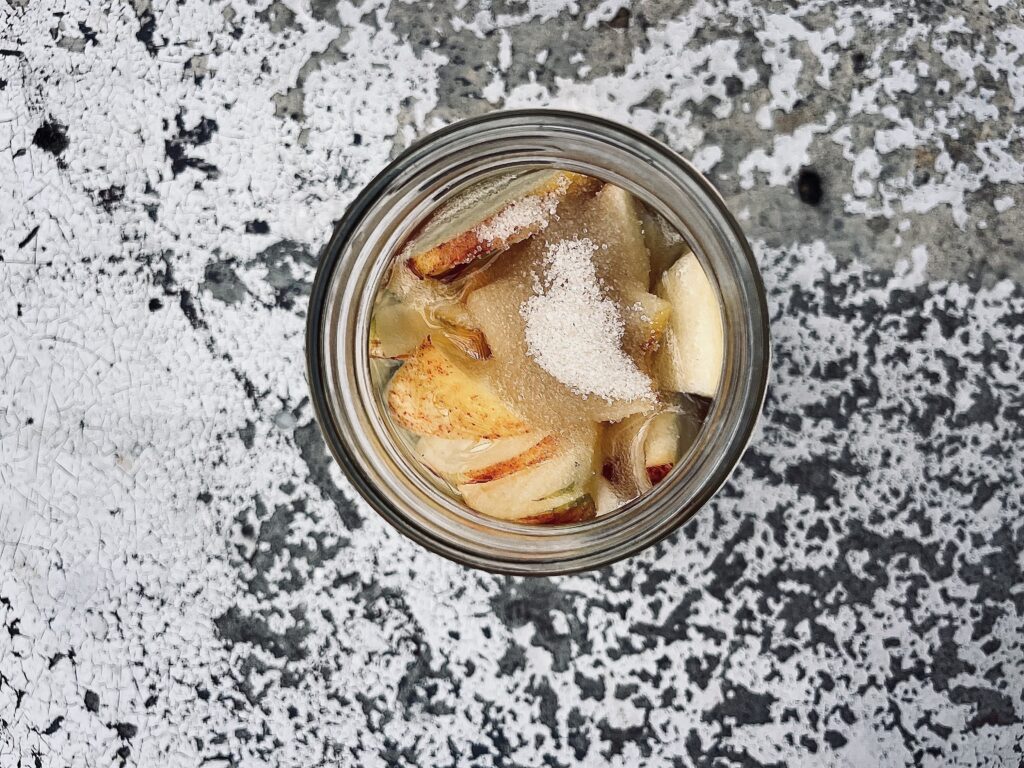
“Apples, cherries, cowberries, cranberries, lingonberries, and even cloudberries in the far north [of the Middle East] were… sources of sugar. An added bonus of apples was that their skins harbor yeast, which can initiate fermentation.” (McGovern, 2009, p.143)
Therefore, you can have a very successful fermentation using your own cultivated yeast population via a yeast starter with material that already has yeast.
Lastly, which I find fascinating, McGovern talks about yeasts in breweries in Brussels and rice-wine factories in Shaoxing, China.
Believe it or not, both factories ferment their beverages without actually adding yeast (McGovern 2009). How crazy is that!
Yeast populations are hanging out in the foundation of the buildings (they are that old!) that when there is liquid being fermented the yeast naturally inoculate it…
Yeast is all around us on plants, fruits, flowers, the air, our skin, and more. A yeast starter is simply the cultivation of naturally occurring wild yeast!
How to Make a Wild Yeast Starter in 8 Easy Steps
Ok, now let’s get down to business with the steps to make your homemade yeast population!
Now, here is the deal, you can make this starter with virtually any organic material. For example, I once went out and found sticks laying in the bayou near my house. I came home and placed them in sugar water and a couple days later, they were fermenting!
If I had kept feeding the jar with sticks and sugar, I would have easily created a starter from a stick. However, the steps below are a tried and true method to get a yeast starter from ginger root.
Step One:
Collect all necessary ingredients and equipment.
- Mason jar
- Ginger root
- Organic cane sugar
- Purified water
- Measuring cups
- Star Sans sanitizer
Clean and sanitize the mason jar! You do not want unwanted bacteria and other organisms to grow along side your yeast. I use Star Sans to sanitize, I recommend it!
Step Two:
Chop up about 1 cup of the ginger root and place in the mason jar. Fill the jar with purified water, leaving about 2-3 inches of head space.
Step Three:
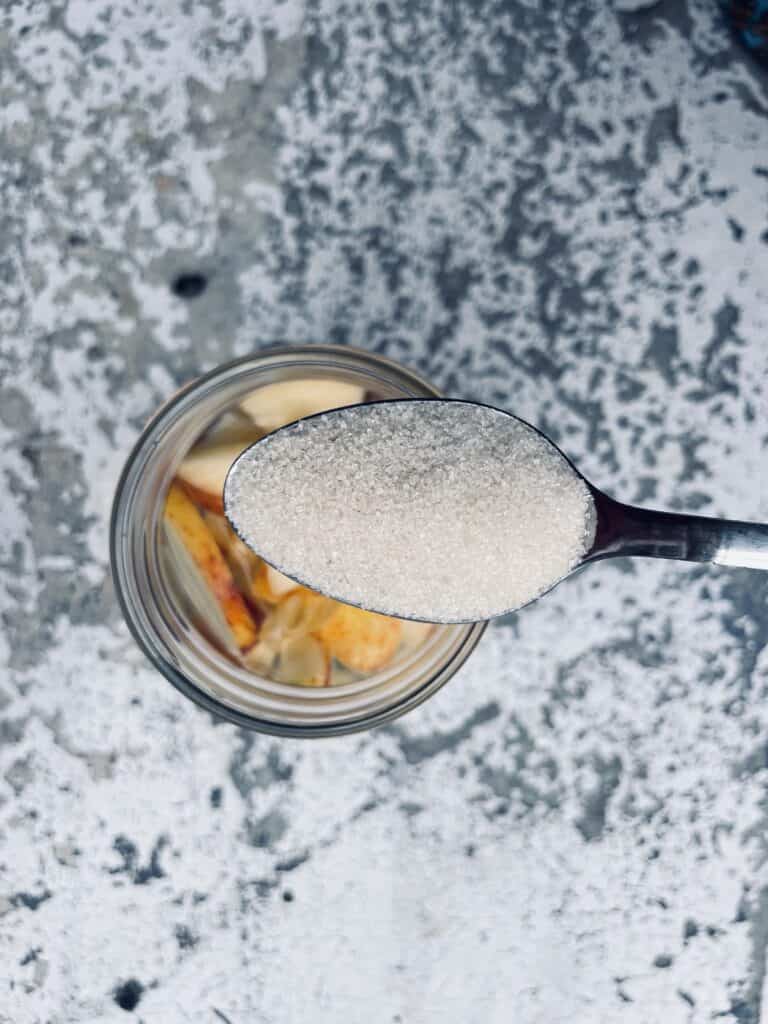
Add 1 cup of the organic cane sugar to your mason jar. Close the lid tightly and shake the jar until the sugar is mostly dissolved.
The sugar may not all dissolve, but that is okay for now. It will completely dissolve in due time!
Step Four:
Place the jar on your counter or in your pantry for 24 hours with the lid slightly off, or place a cheesecloth over the top of the jar.
Leaving the jar lid slightly off, or using a cheesecloth, will allow outside yeast from the air into the jar and help inoculate your ginger bug.
Step Five:
The following day, take your mason jar with your mixture and open it up. Add in 2 more tablespoons of the organic cane sugar and 2 more tablespoons of chopped ginger root.
Again, close the jar with cheesecloth or slightly close the lid. Leave in the pantry for another 24 hours.
RELATED POST: How to Make a Homemade Soda Recipe (That Actually Has Health Benefits)
Step Six:
Repeat step number five: add in 2 more tablespoons of ginger and sugar.
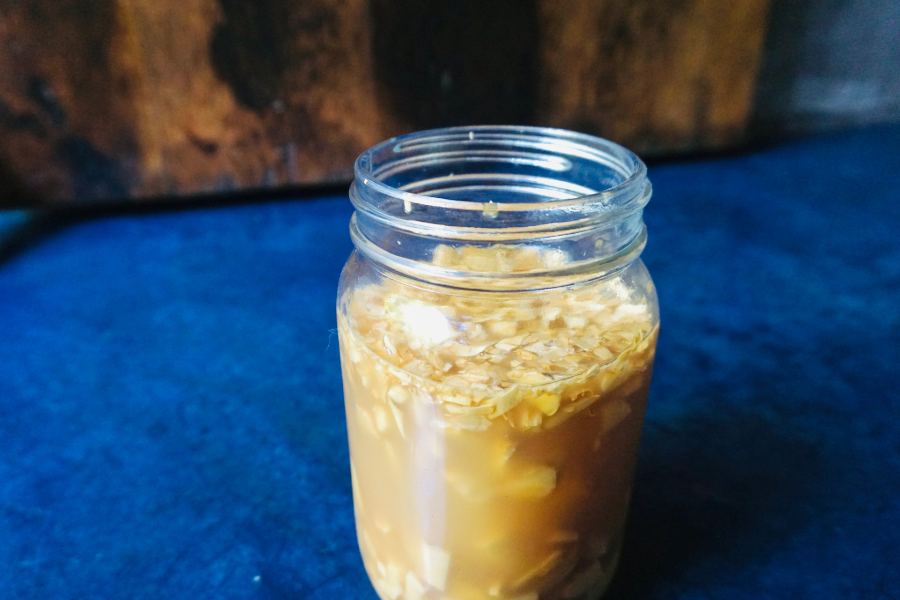
At this point you may be seeing some bubbles in your ginger bug. That is a good sign!
If you smell the mixture it should smell like ginger, but with a “bite”. The bite is from carbon dioxide gases escaping the jar as the byproduct of the yeast eating the sugar.
Step Seven:
Now, we can slow down feeding the wild yeast… Take your mason jar out of the pantry and add in just 1 tablespoon of sugar and chopped ginger.
Step Eight:
By now, your yeast starter should be bubbling. To continue to nurture your ginger bug, continue to add 1 tablespoon of chopped ginger and sugar once every week.
Even if you forget to feed your yeast starter for a while, it is really easy to revive. Just repeat Step Five until she starts bubblin’ again.
Make sure to feed your yeast starter 12-24 hours before using it in your sodas, beer, wine, etc
What if my yeast starter is not starting?
When a wild yeast starter has issues getting nice and bubbly, there can be two main reasons for this.
Reason One:
Your ginger root, or apples, have too many chemicals on them. If your starter is not starting after the above steps. Try organic ginger.
Personally, this has not yet happened to me, though, it is not uncommon. Go for organic products and try it again. Even try to extend adding 2 tablespoons of ginger and sugar by another day to really kick start the yeast!
Reason Two:
If you are attempting to start a yeast culture from other sources, like flowers, sticks, other plants, etc. Then, most likely yeast is not on that material. At least, not enough to start their population.
If you are experimenting, keep trying!! Something you put in sugar water will stick and create lovely bubbles eventually.
How to Make a Yeast Starter for Beer
To be clear, you can use the ginger yeast starter, as shown above, to inoculate any fermented beverage.
Though, if you want to make a yeast starter specifically for beer then look no further.
When making a yeast starter for beer, it can get a little more tricky with the biology and calculations needed to accomplish the task.
The goal of creating a yeast starter for beer is to get the yeast population as strong as possible and to ensure you are getting the exact yeast count you need for the volume of beer you are trying to make AND/OR building a yeast population you know is viable.
Here is an in-depth explanation.
Unlike above where we were using naturally occurring yeast in nature to create the yeast starter, here we are using commercial yeast to create a stable yeast population.
RELATED POST: 4 Top-Notch Beer Recipe Kits You Need for Insanely Good Beer
The basics to making a yeast starter for beer:
This is for a 5 gallon beer recipe. If you are brewing smaller or larger, then do some math and adjust accordingly. You can use this yeast calculator to find your specific cell count for the gravity you are trying to hit.
To get the jist of how to make a yeast starter for beer, I have layed out the basic steps below. You can change your values using the yeast calculator above!
We are essentially going to make a small batch of beer, I mean small like 1 liter… And use that to inoculate the greater batch of beer.
The 8 Easy Steps:
1. Collect your ingredients & equipment
- A small pot, or a small vessel that can be boiled.
- Mason jar
- Your desired yeast packet, like Wyeast (I LOVE Wyeast…)
- 1/2 cup of dry malt extract
- 1 L of clean purified drinking water
- Star Sans sanitizer
2. Mix the liter of water and the 1/2 cup of DME into your vessel or pot. Give it a good stir, making sure it is dissolved.
3. Sanitize your wort by boiling it for about 20 minutes. Make sure to keep stirring so the foaming does not overflow!
4. Take your boiled wort off the stovetop and allow it to cool. To make this process faster you can put it into an ice bath.
5. Sanitize your mason jar with Star Sans, gently pour in your cooled liquid, add in your yeast packet, cover your vessel with tin foil, and pop a small hole in the foil for gases to release.
6. Allow your yeast to ferment in the mason jar for about 24-36 hours and stir/shake consistently. You want it to complete fermentation!
Fermentation is done when there is a “thick yeast cake” on the bottom of the jar. This is your yeast population! 🙂
7. When your fermentation is done and there is a lovely yeast cake, slowly and gently pour the top liquid off (this liquid will give your delicate beers a funky taste). Leave a tad bit of liquid, enough to swirl and suspend the yeast in the liquid.
8. Your yeast starter for beer is complete! You can use this immediately, or store in the fridge for up to 2-3 days.
This post was all about how to make a yeast starter, wild yeast starter, and how to make a yeast starter for beer.
Other Posts You May Like…
✓ How to Make a Homemade Soda Recipe (That Actually Has Healthy Benefits)
✓ Save Money, Ferment Better | 11 Incredible Ingredients for Homebrew
✓ A Primitive Underground Wine Cellar | How to Wax Wine Bottle & Age Underground

