
As a beginner brewer, a hydrometer is a piece of equipment that can be foreign to most. Learning how to use a hydrometer can be easy, once we learn what it is, and how to work it.
When I started brewing beer, learning how to read a hydrometer led to a greater understanding of brewing and fermentation. A hydrometer can yield a lot of information that is useful to the brewer, winemaker, cidermaker, etc.
You will learn what is a hydrometer, how to use a hydrometer, how to read a hydrometer, and how does a hydrometer work.
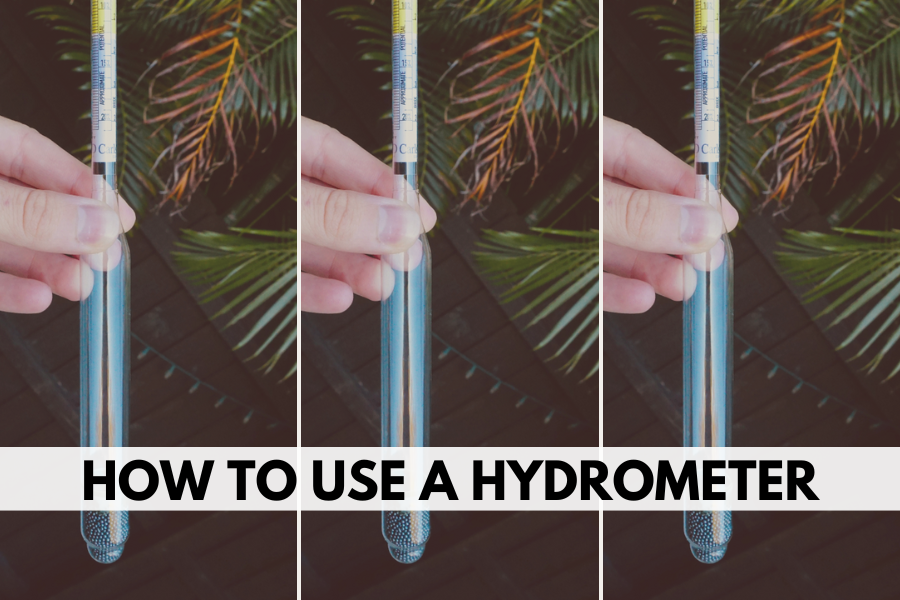
This post is all about how to use a hydrometer.
What is a Hydrometer?
Let’s begin by understanding, what is a hydrometer?
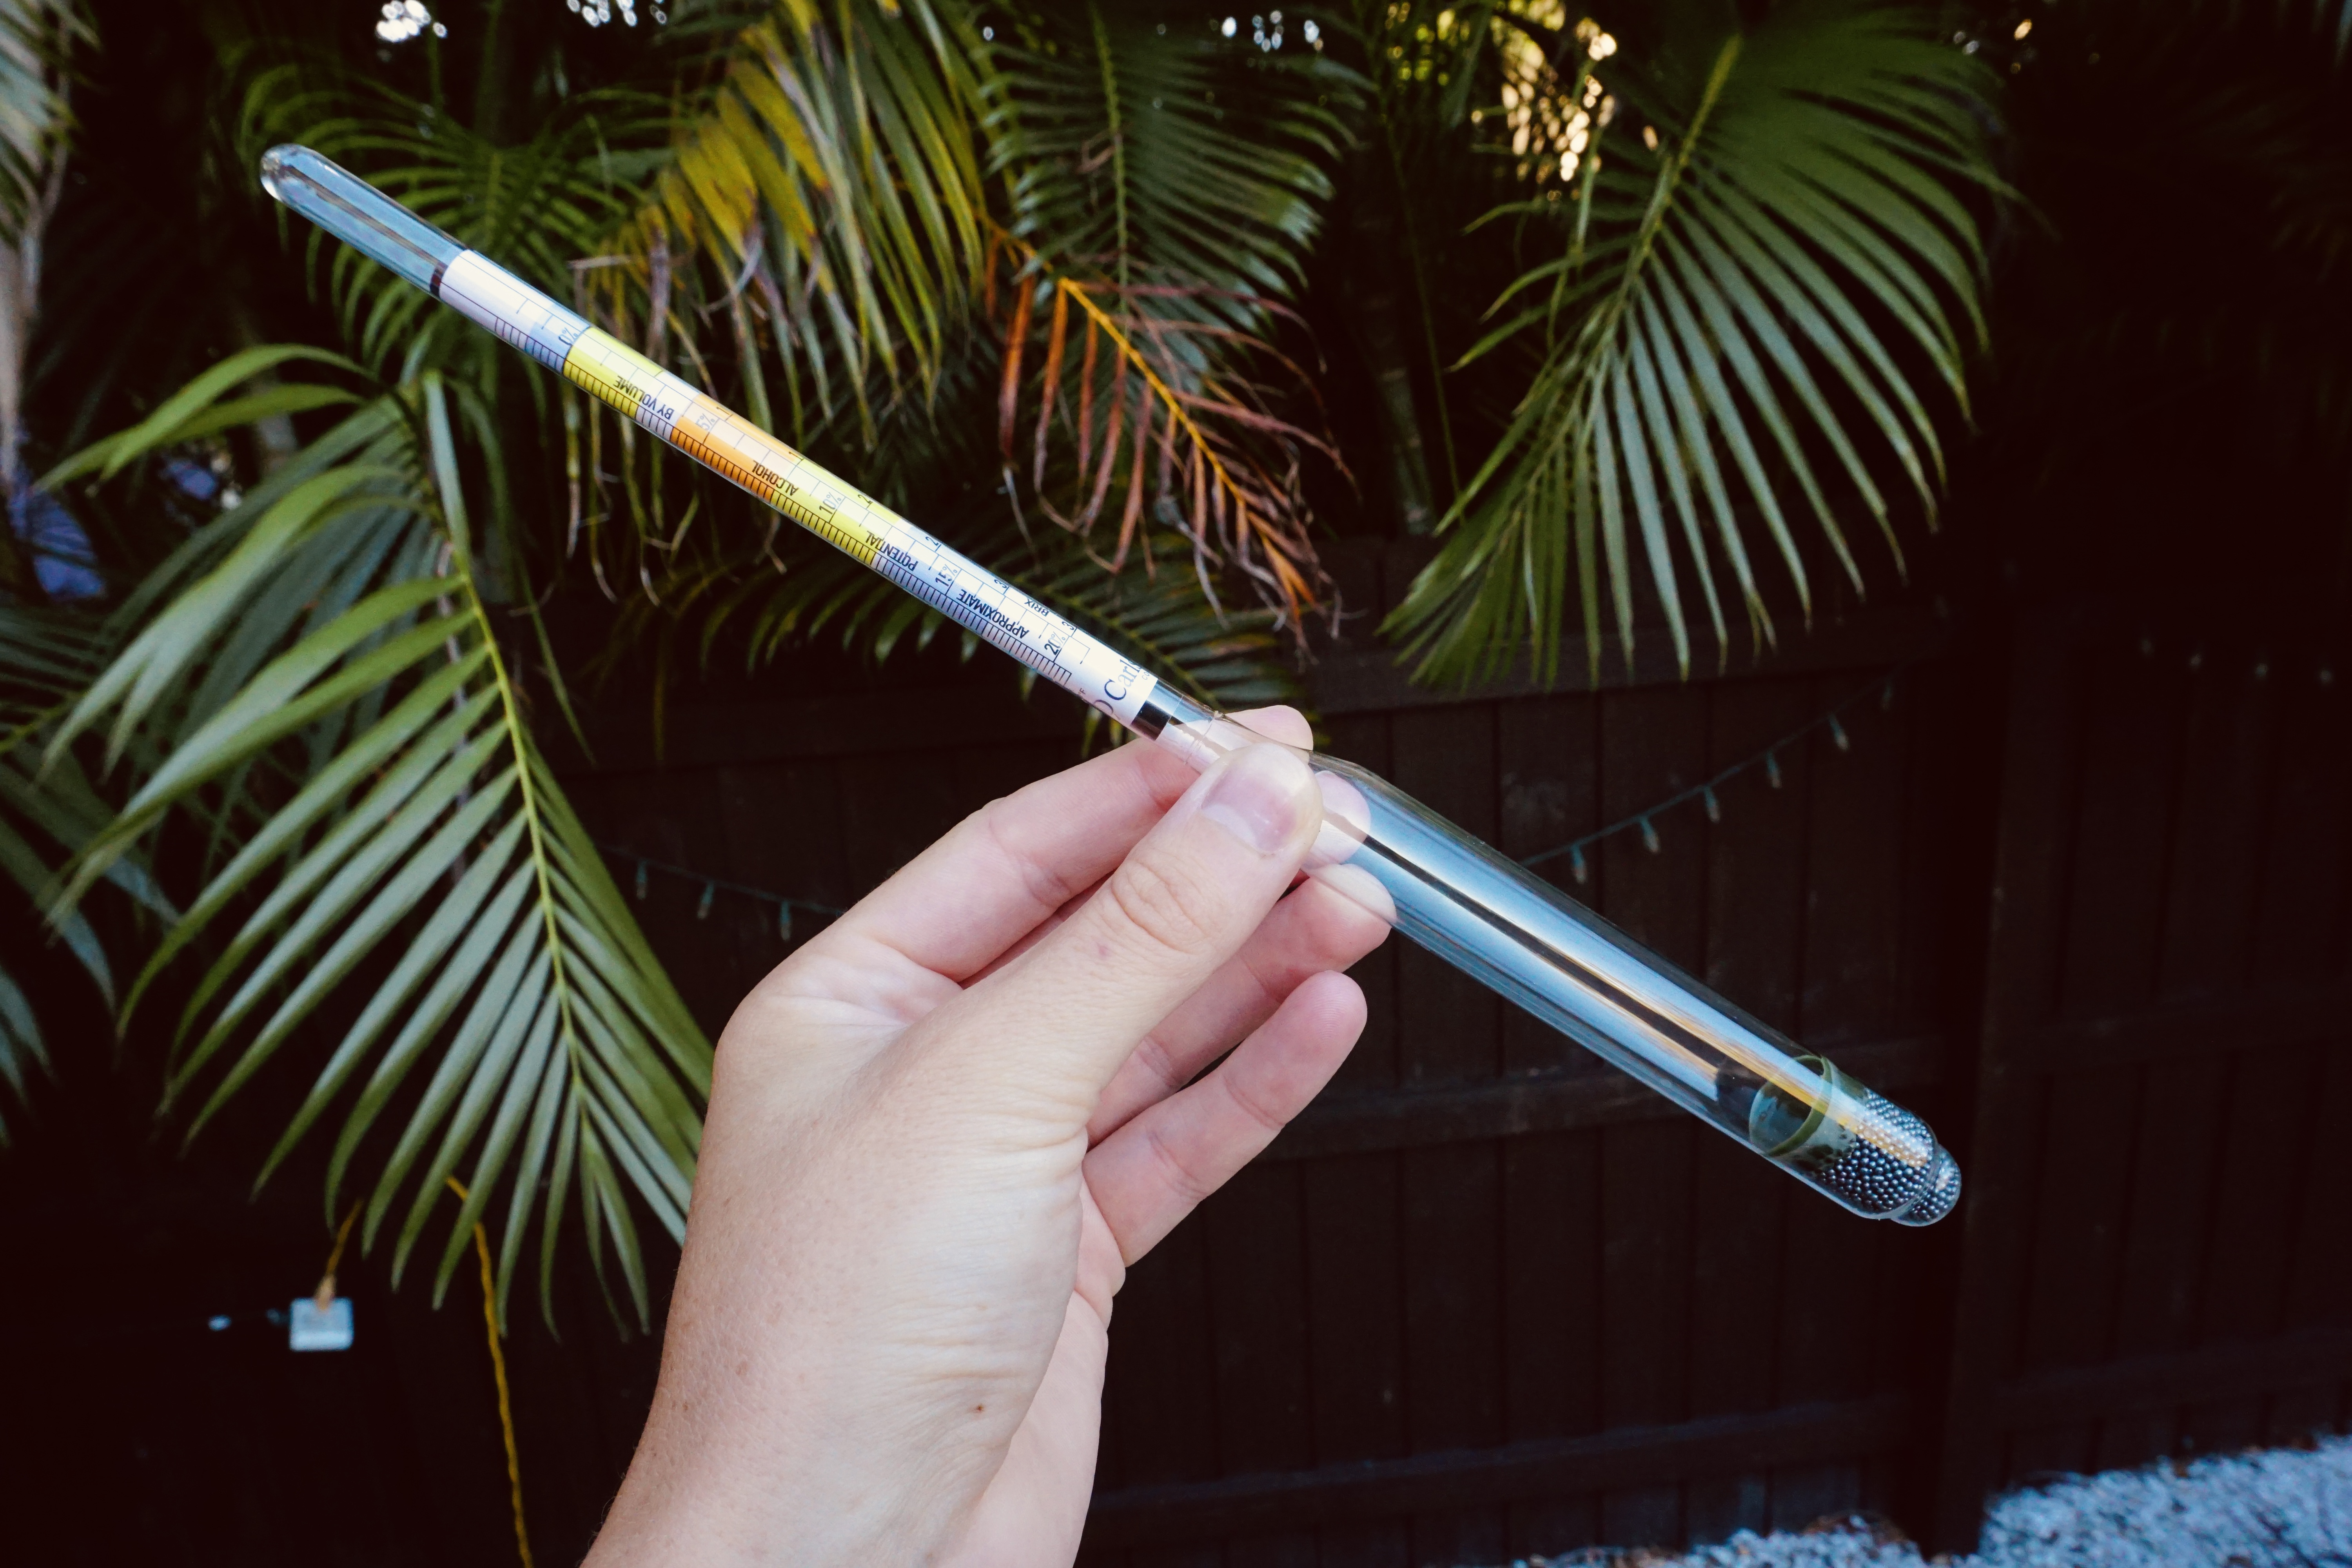
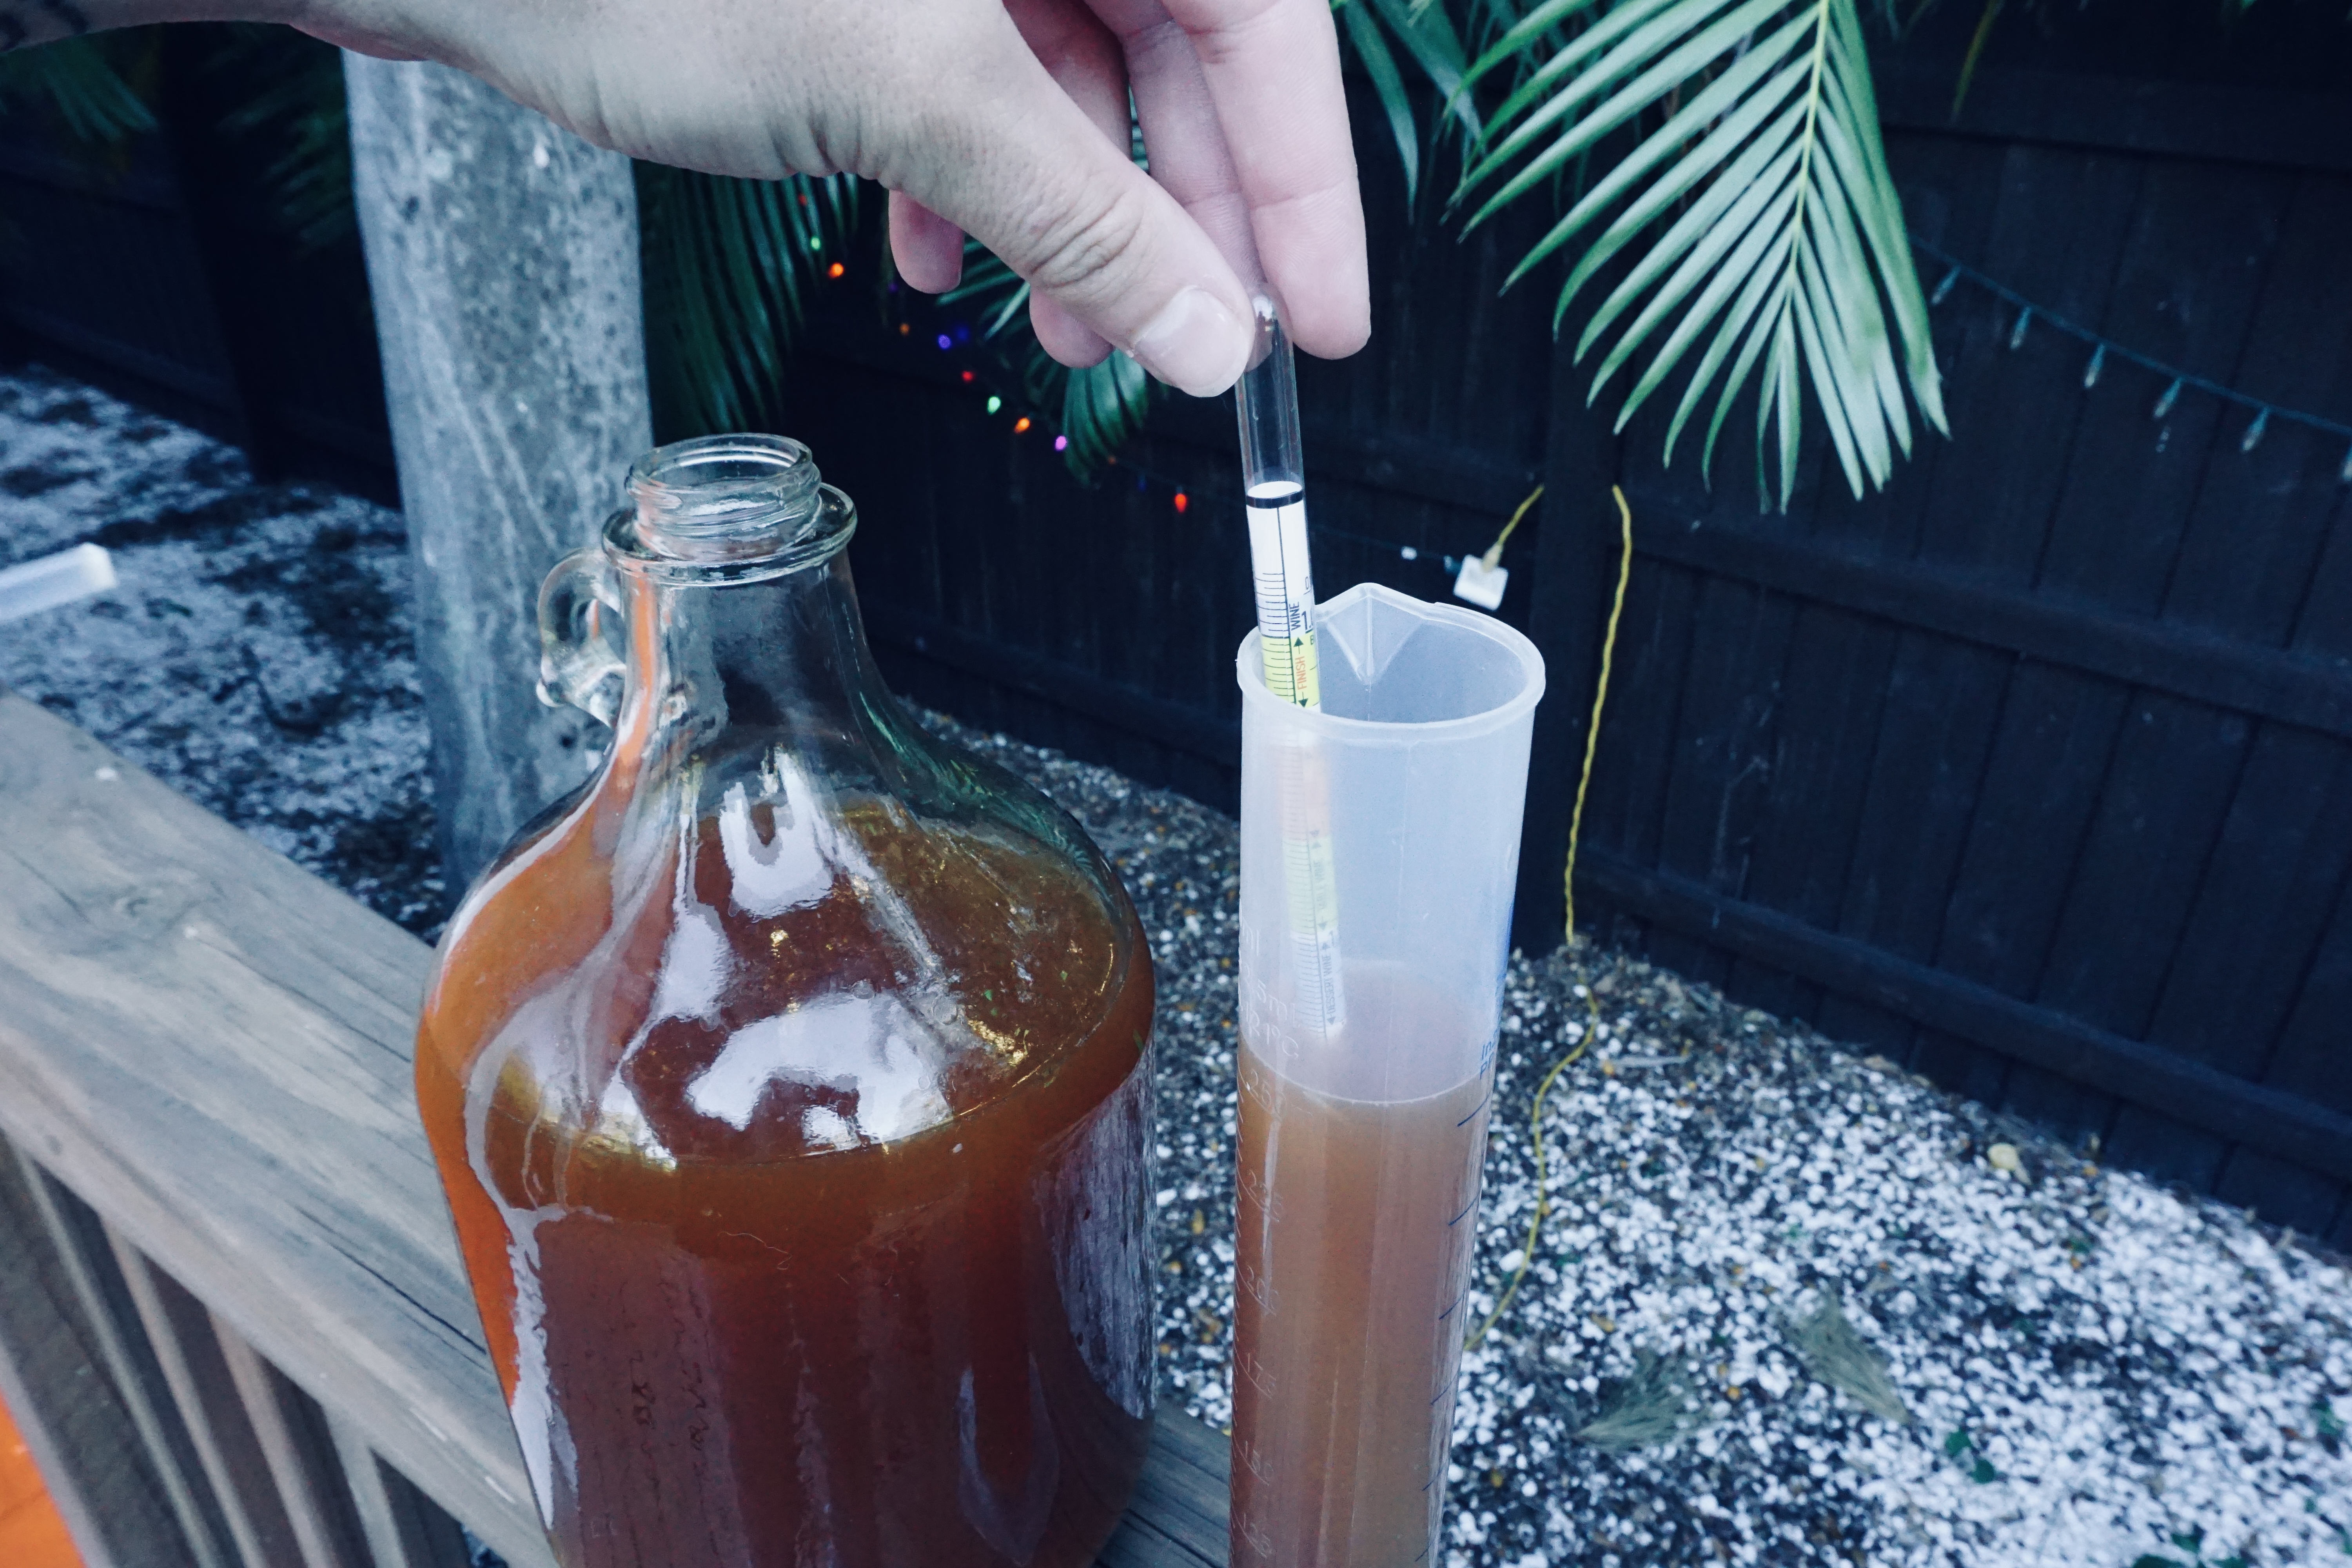
A hydrometer is a long tube-like apparatus. One end is filled with balls, of either steel or lead. The other end is a skinny tube-like structure with various numbers scaling up and down the shaft. You can also see sections that say “start” and “finish” and also “beer” and “wine”.
This funky-looking structure measures the density of a solution relative to water. As we might remember from science class, alcohol is less dense than water.
Therefore, to know how much alcohol is in our ferment we can measure the density of our brew relative to the density of water. Then, with a magic equation, we can know how much alcohol is in our brew!
In other words, we can see the ‘alcohol by volume’ or ABV of our beer, wine, etc. Which is represented by a percentage.
The hydrometer is an amazing tool for homebrewers making any kind of ferment. It allows us to know when our ferment is done fermenting. It also allows us to hit specific markers and fermentation goals along the way.
You can purchase your first hydrometer here!
How Does a Hydrometer Work
Now, we see what a hydrometer is and understand a bit of what it does. Though, how on earth does it work? What are the metrics used, and what are the nitty-gritty details?
A hydrometer works by measuring the density, as stated above, though the hydrometer measures the density through gravity. I know that does not make much sense. But let’s break it down.
If you take your hydrometer outside and just place it on the ground, it will not float and will connect with the floor, thanks to gravity.
Now, if you place a cup of water on the floor and insert your hydrometer in the water, the hydrometer will float. This is due to the upward buoyant force exerted by the water being equal to or greater than the downward force of gravity.
Since we know that alcohol is less dense than water, once there is alcohol present, the hydrometer will sink further closer to the ground, again, thanks to gravity!!
Alternatively, we can use a hydrometer to test our initial sugar content in beer, wine, mead, etc. Sugar water is more dense than regular water, therefore, the hydrometer will float even more in pre-fermented sugary liquids.
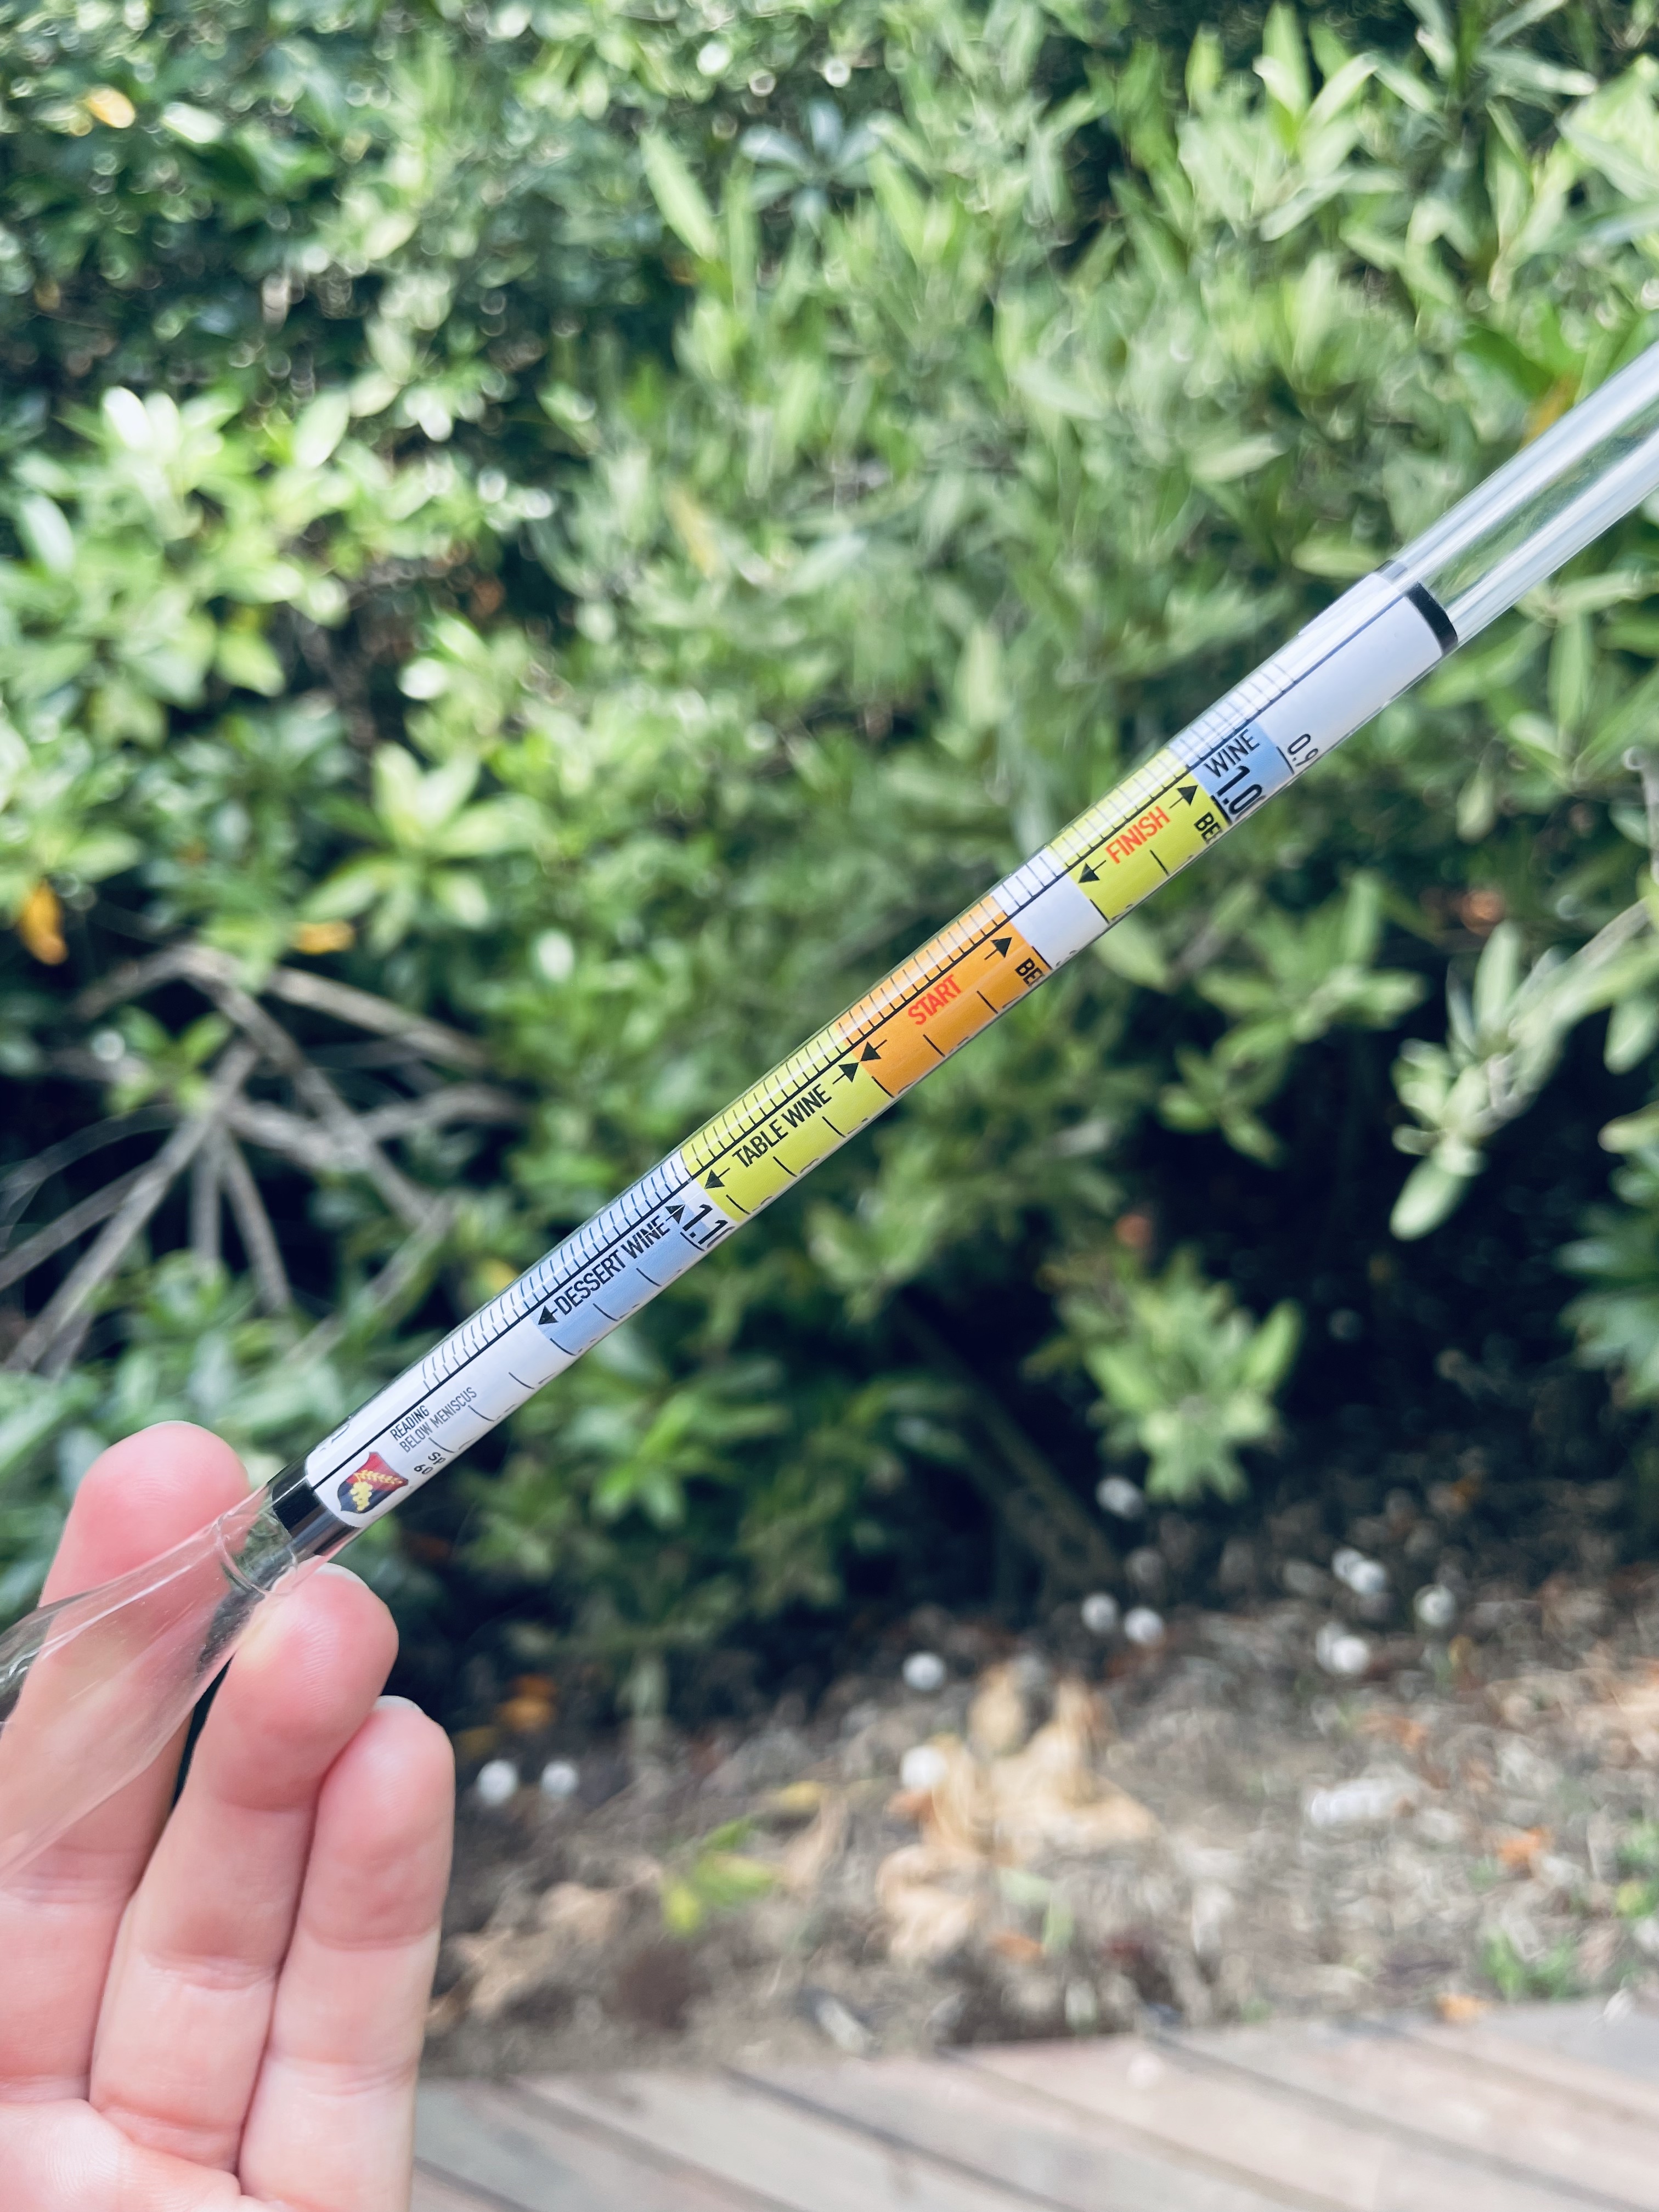
Take a look at the hydrometer above. See how it says “Dessert Wine” at the very bottom and “Wine” at the top? It also says “Start BEER” below “Finish BEER”.
The brewer/wine maker can set certain goals for the brew: have the starting gravity at “Table Wine” and finish at “Wine”.
This element to the hydrometer is something to play with. The more you use it the more comfortable you will be with it.
Hydrometers are used by floating in your ferment and wherever the liquid touches is the specific gravity.
It is important to note that hydrometers are calibrated at a specific temperature. Usually 59-60 degrees F, but some are calibrated at 70 degrees F. You can find this information in your hydrometer package.
So, if your ferment is not at the specific temperature your hydrometer is calibrated at, then you will have a “miscalculated” gravity reading. To find the specific gravity adjusted for temperature, add your measurements to this calculator.
To make sure your hydrometer is correctly calibrated, do the following:
- Check your hydrometer’s packaging and see what temperature the hydrometer is calibrated to.
- Grab some water and manipulate it to reach the temperature of your calibration (adding ice, putting it on the stove, etc.)
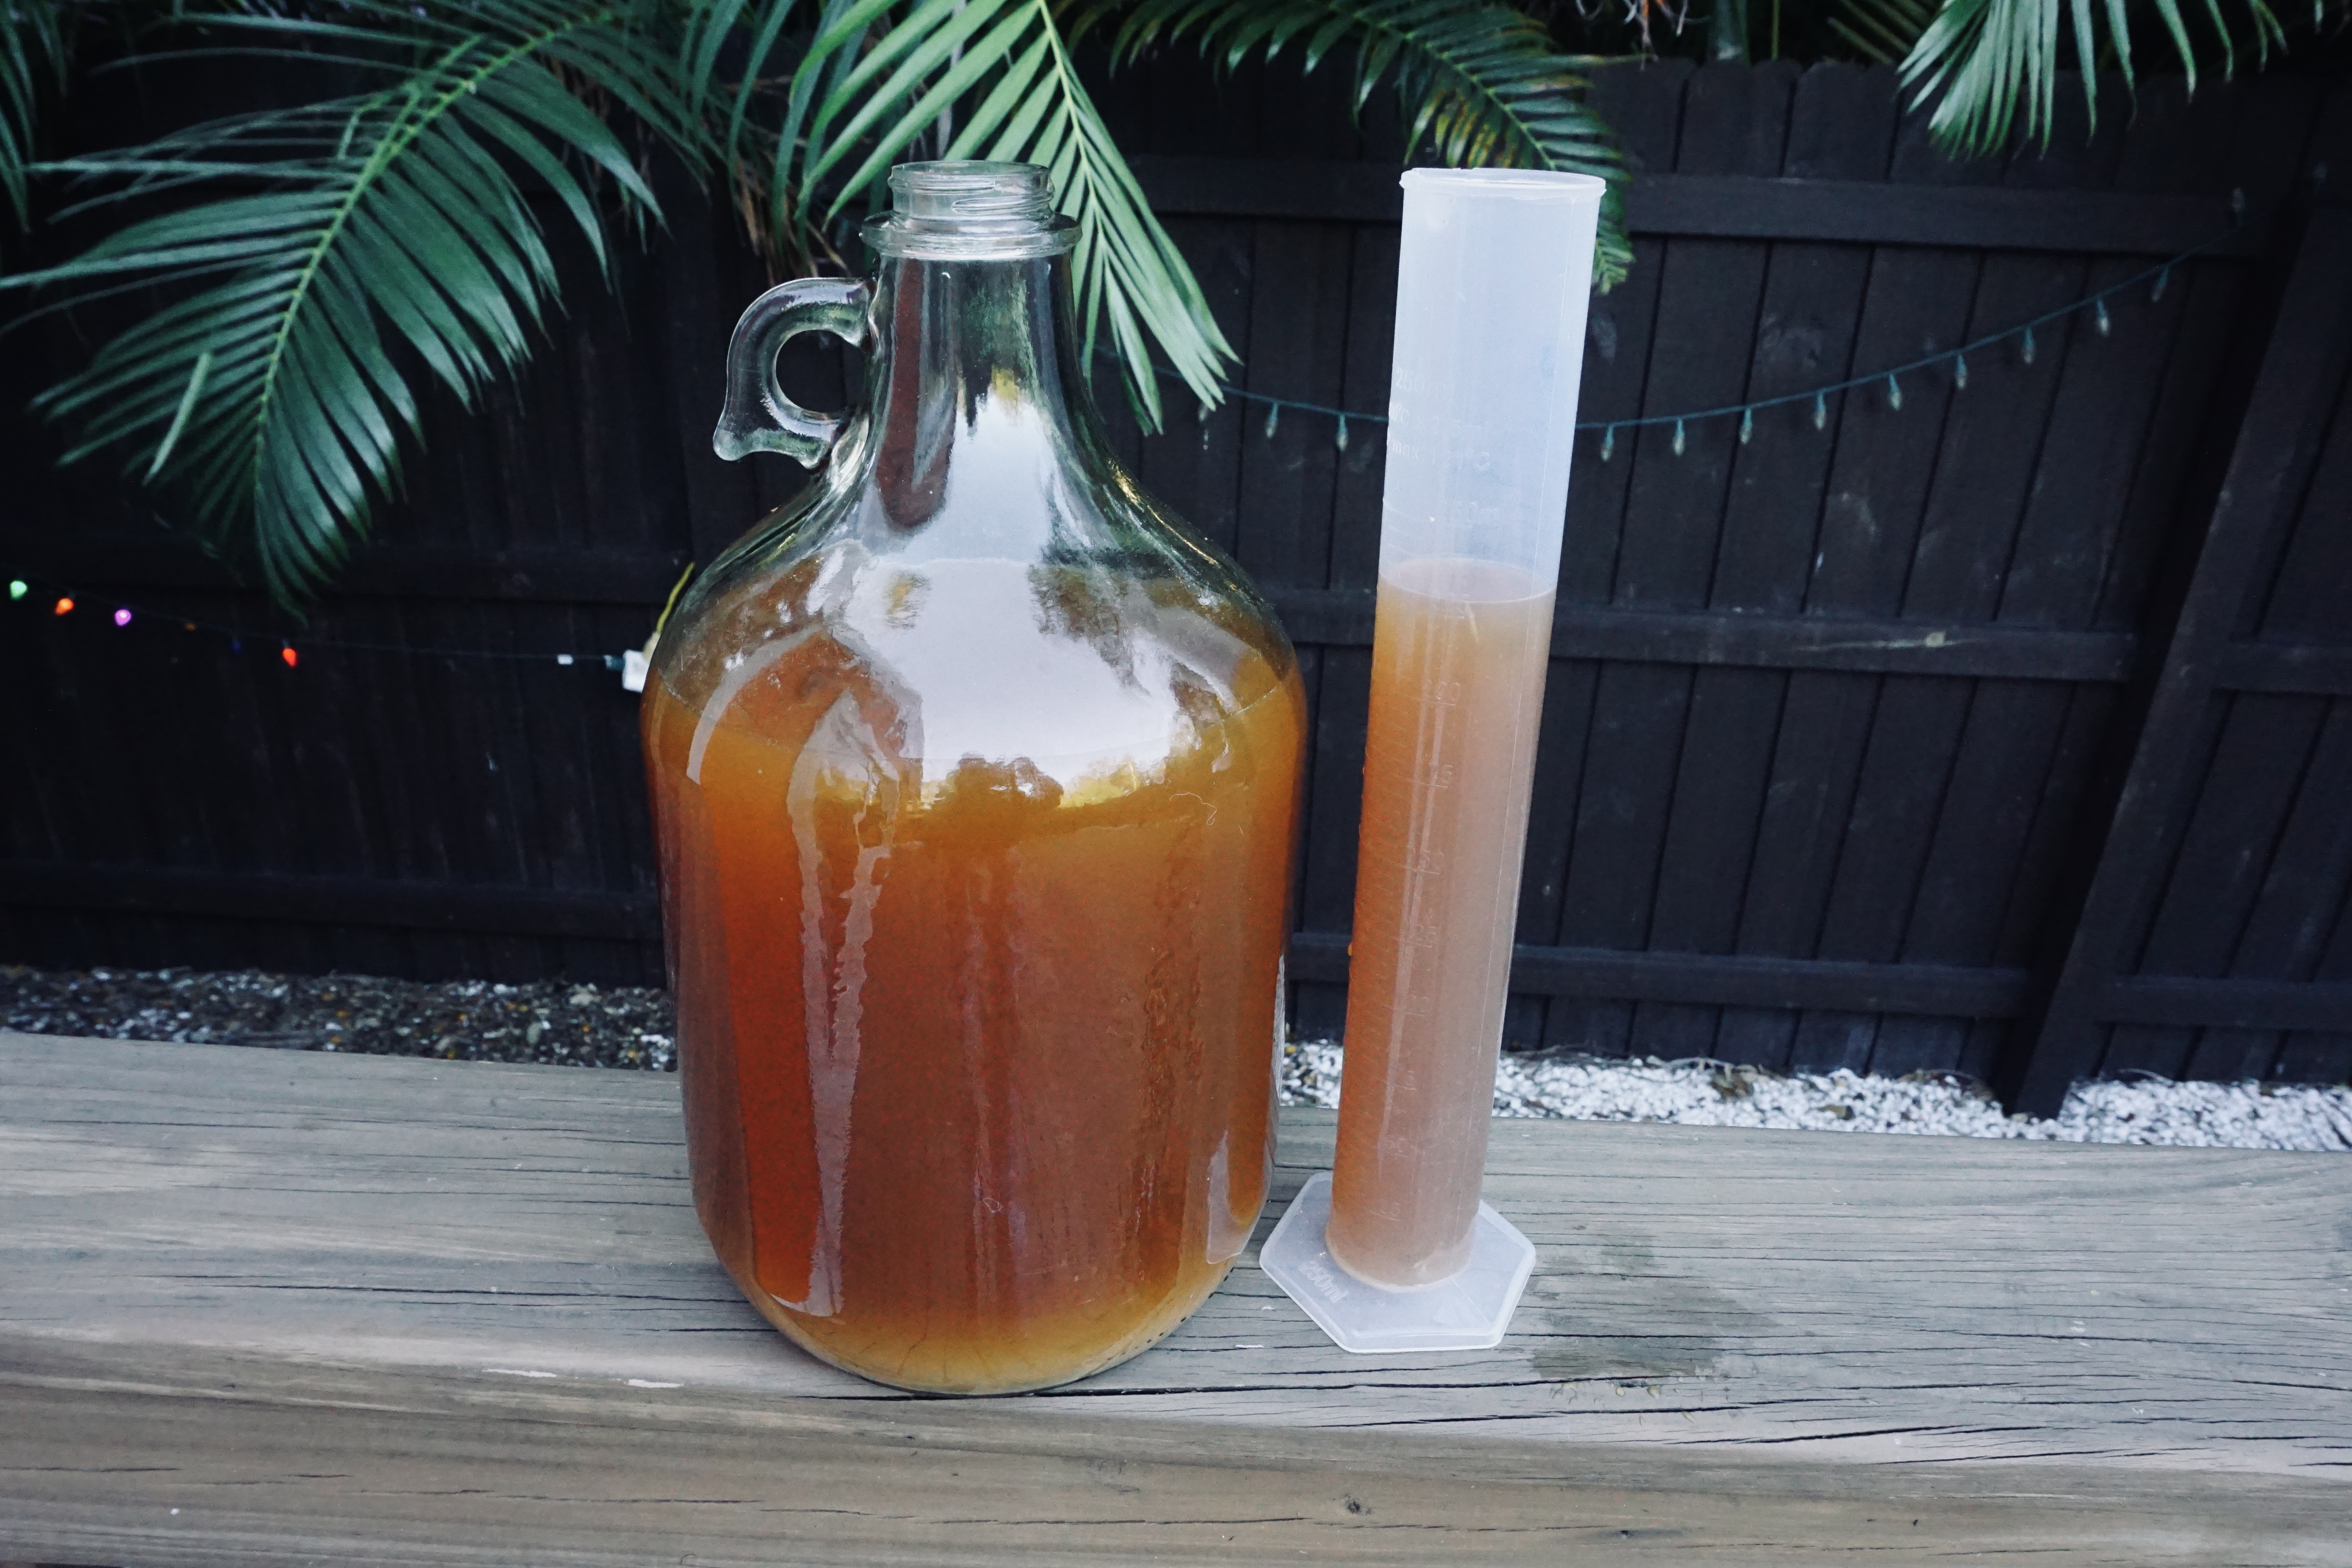
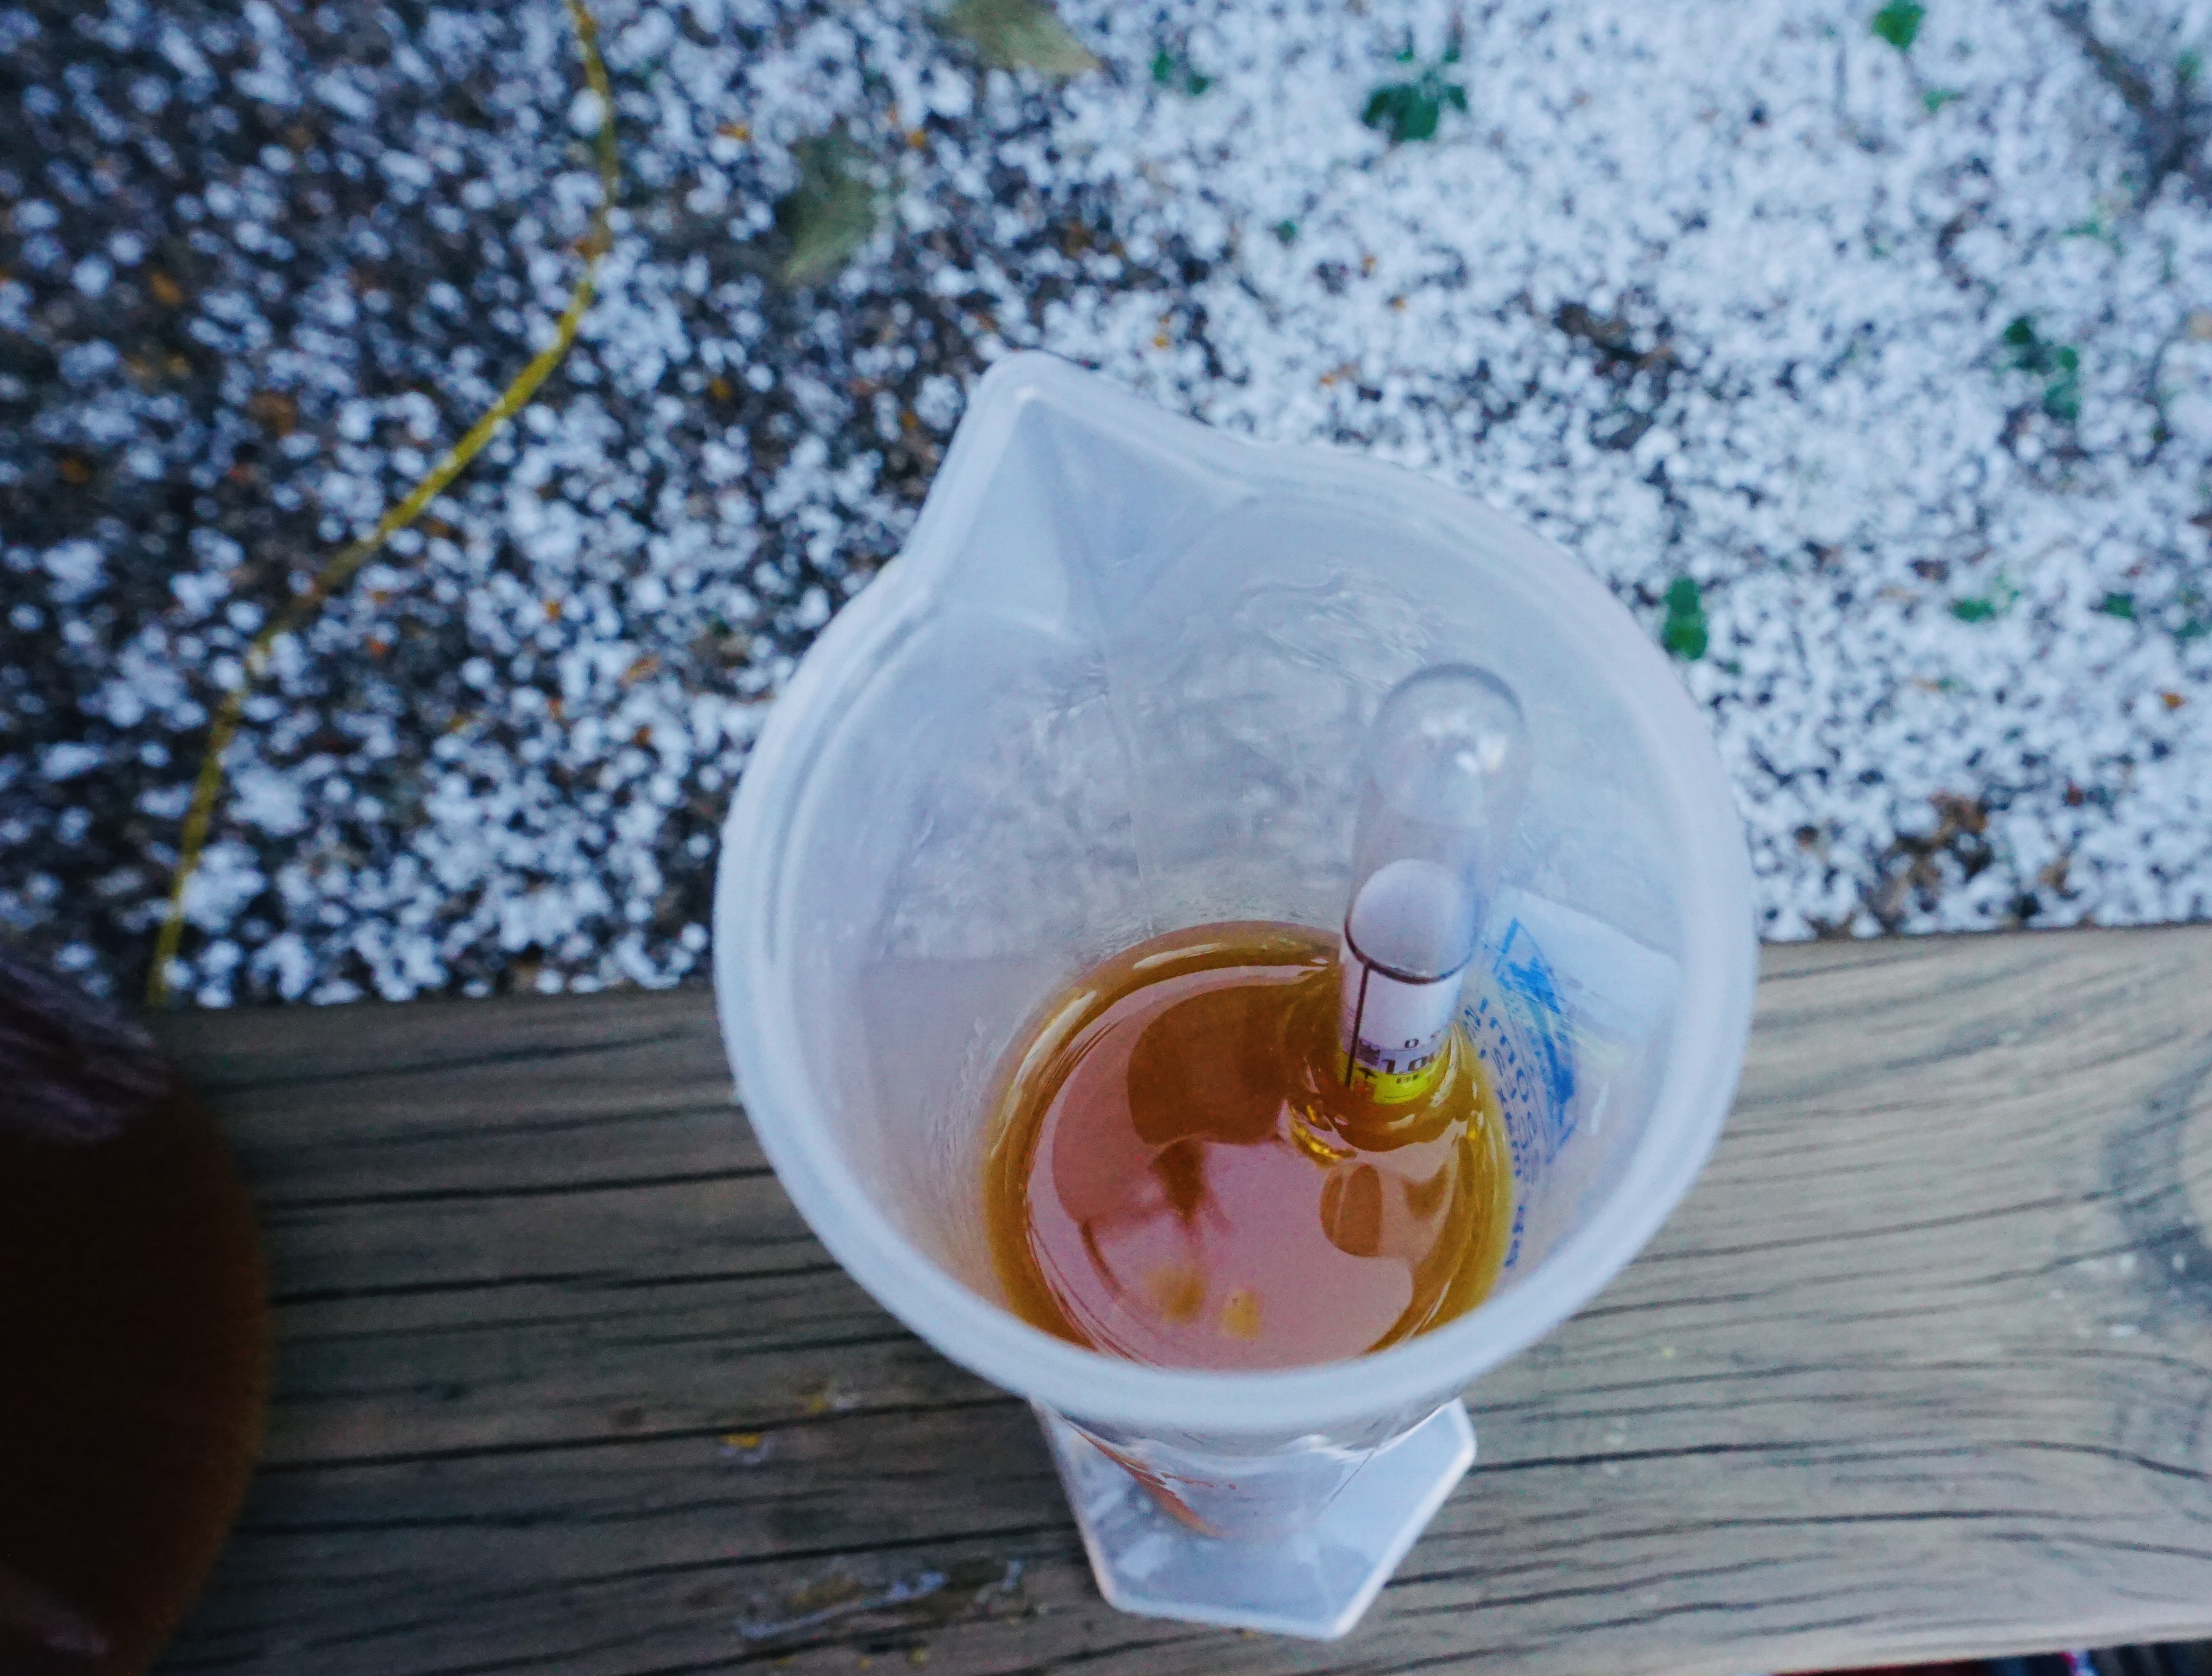
- Once the water is at the desired temperature, pour it into a graduated cylinder and gently place the hydrometer inside.
- If the hydrometer measures 1.000, then your hydrometer is calibrated correctly. If it is not, then it is either defective or calibrated to a different temperature. Contact the manufacturer!
Personally, I do not take the temperature of my brews since my brews are a more primitive style. I can understand what I need through the gravity reading itself, but it is all preference!
One flaw with hydrometers is you must take the hydrometer reading before you pitch your yeast and after fermentation slows/stops. You cannot take a hydrometer reading once and expect to figure out the ABV.
Here is why: to calculate the ABV (alcohol by volume) you need a ‘original gravity’ (OG) and a ‘final gravity’ (FG). The original gravity is taken before you pitch your yeast, and the final gravity is after fermentation or before you begin bottling.
In theory, your ferment’s FG should be about one-quarter of the OG. That would show the degree of converting sugar to alcohol at 75%. So, when your ferment hits this marker you can be sure fermentation has slowed enough and is ready for the next step (bottling).
However, don’t get stuck on this, the most important part is crafting a delicious drink. Sometimes that might be leaving your ferment for longer, or stopping it earlier. That is up to the brewer!
Now, here is how to calculate the alcohol by volume of your ferment after you have taken the OG and FG:
ABV Equation Using Specific Gravity
ABV = (OG – FG) * 131.25
As you can see, a hydrometer is vital to understanding the ABV of your ferment! Not only that, but you can take samples as fermentation progresses to see how quickly it is fermenting, when to move it into secondary fermentation, or other various markers.
RELATED POST: Everything You Need to Know About Secondary Fermentation
An important note: There is nothing fundamentally different between using a hydrometer for beer vs wine vs cider. The only difference is the range of gravities. The fundamental idea, and the procedure, are the same across all ferments.
How to Use a Hydrometer Step-by-Step
Now, we finally understand what is a hydrometer, and what a hydrometer does, and now we can dive into the steps on how to use it.
What you need:
- Your ferment
- Hydrometer and graduated cylinder
- Star Sans sanitizer
How to use a hydrometer step-by-step:
1. Gather your equipment and your ferment, either before you pitch the yeast or before you begin the bottling process.
2. Sanitize the hydrometer and graduated cylinder with Star Sans (see the instructions on the bottle).
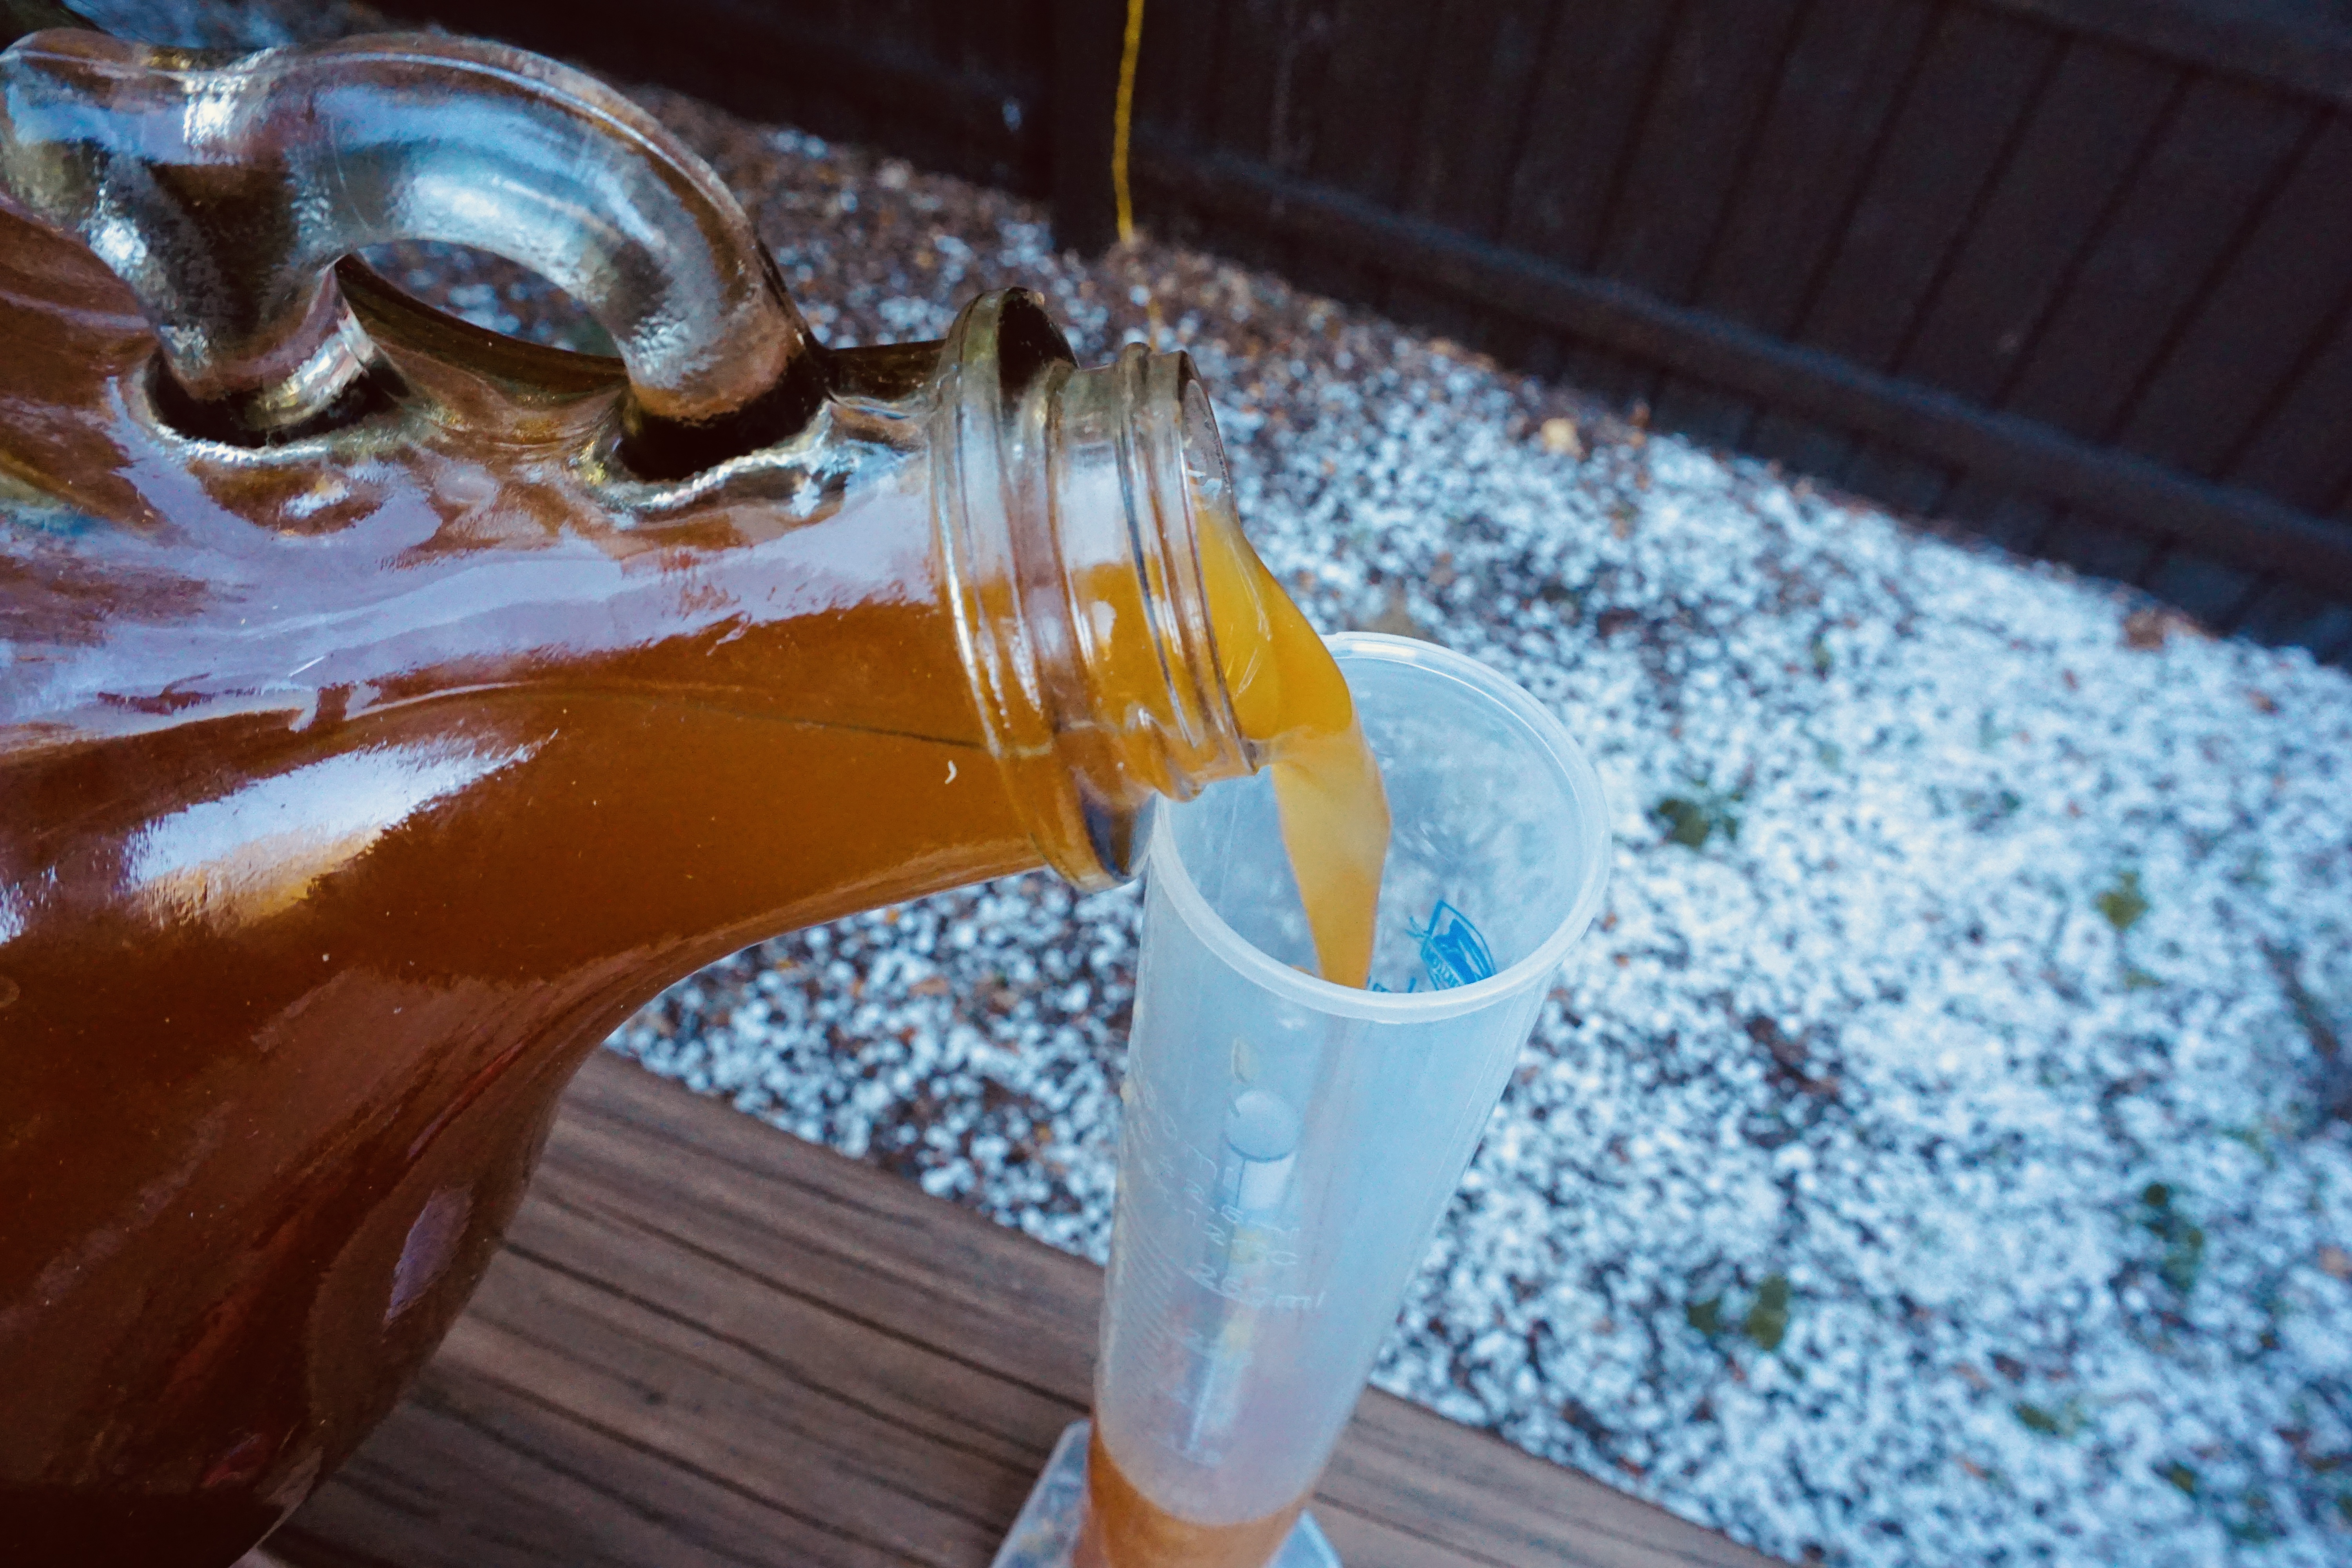
3. Gently place your sanitized hydrometer into the graduated cylinder and pour the ferment into your sanitized graduated cylinder.
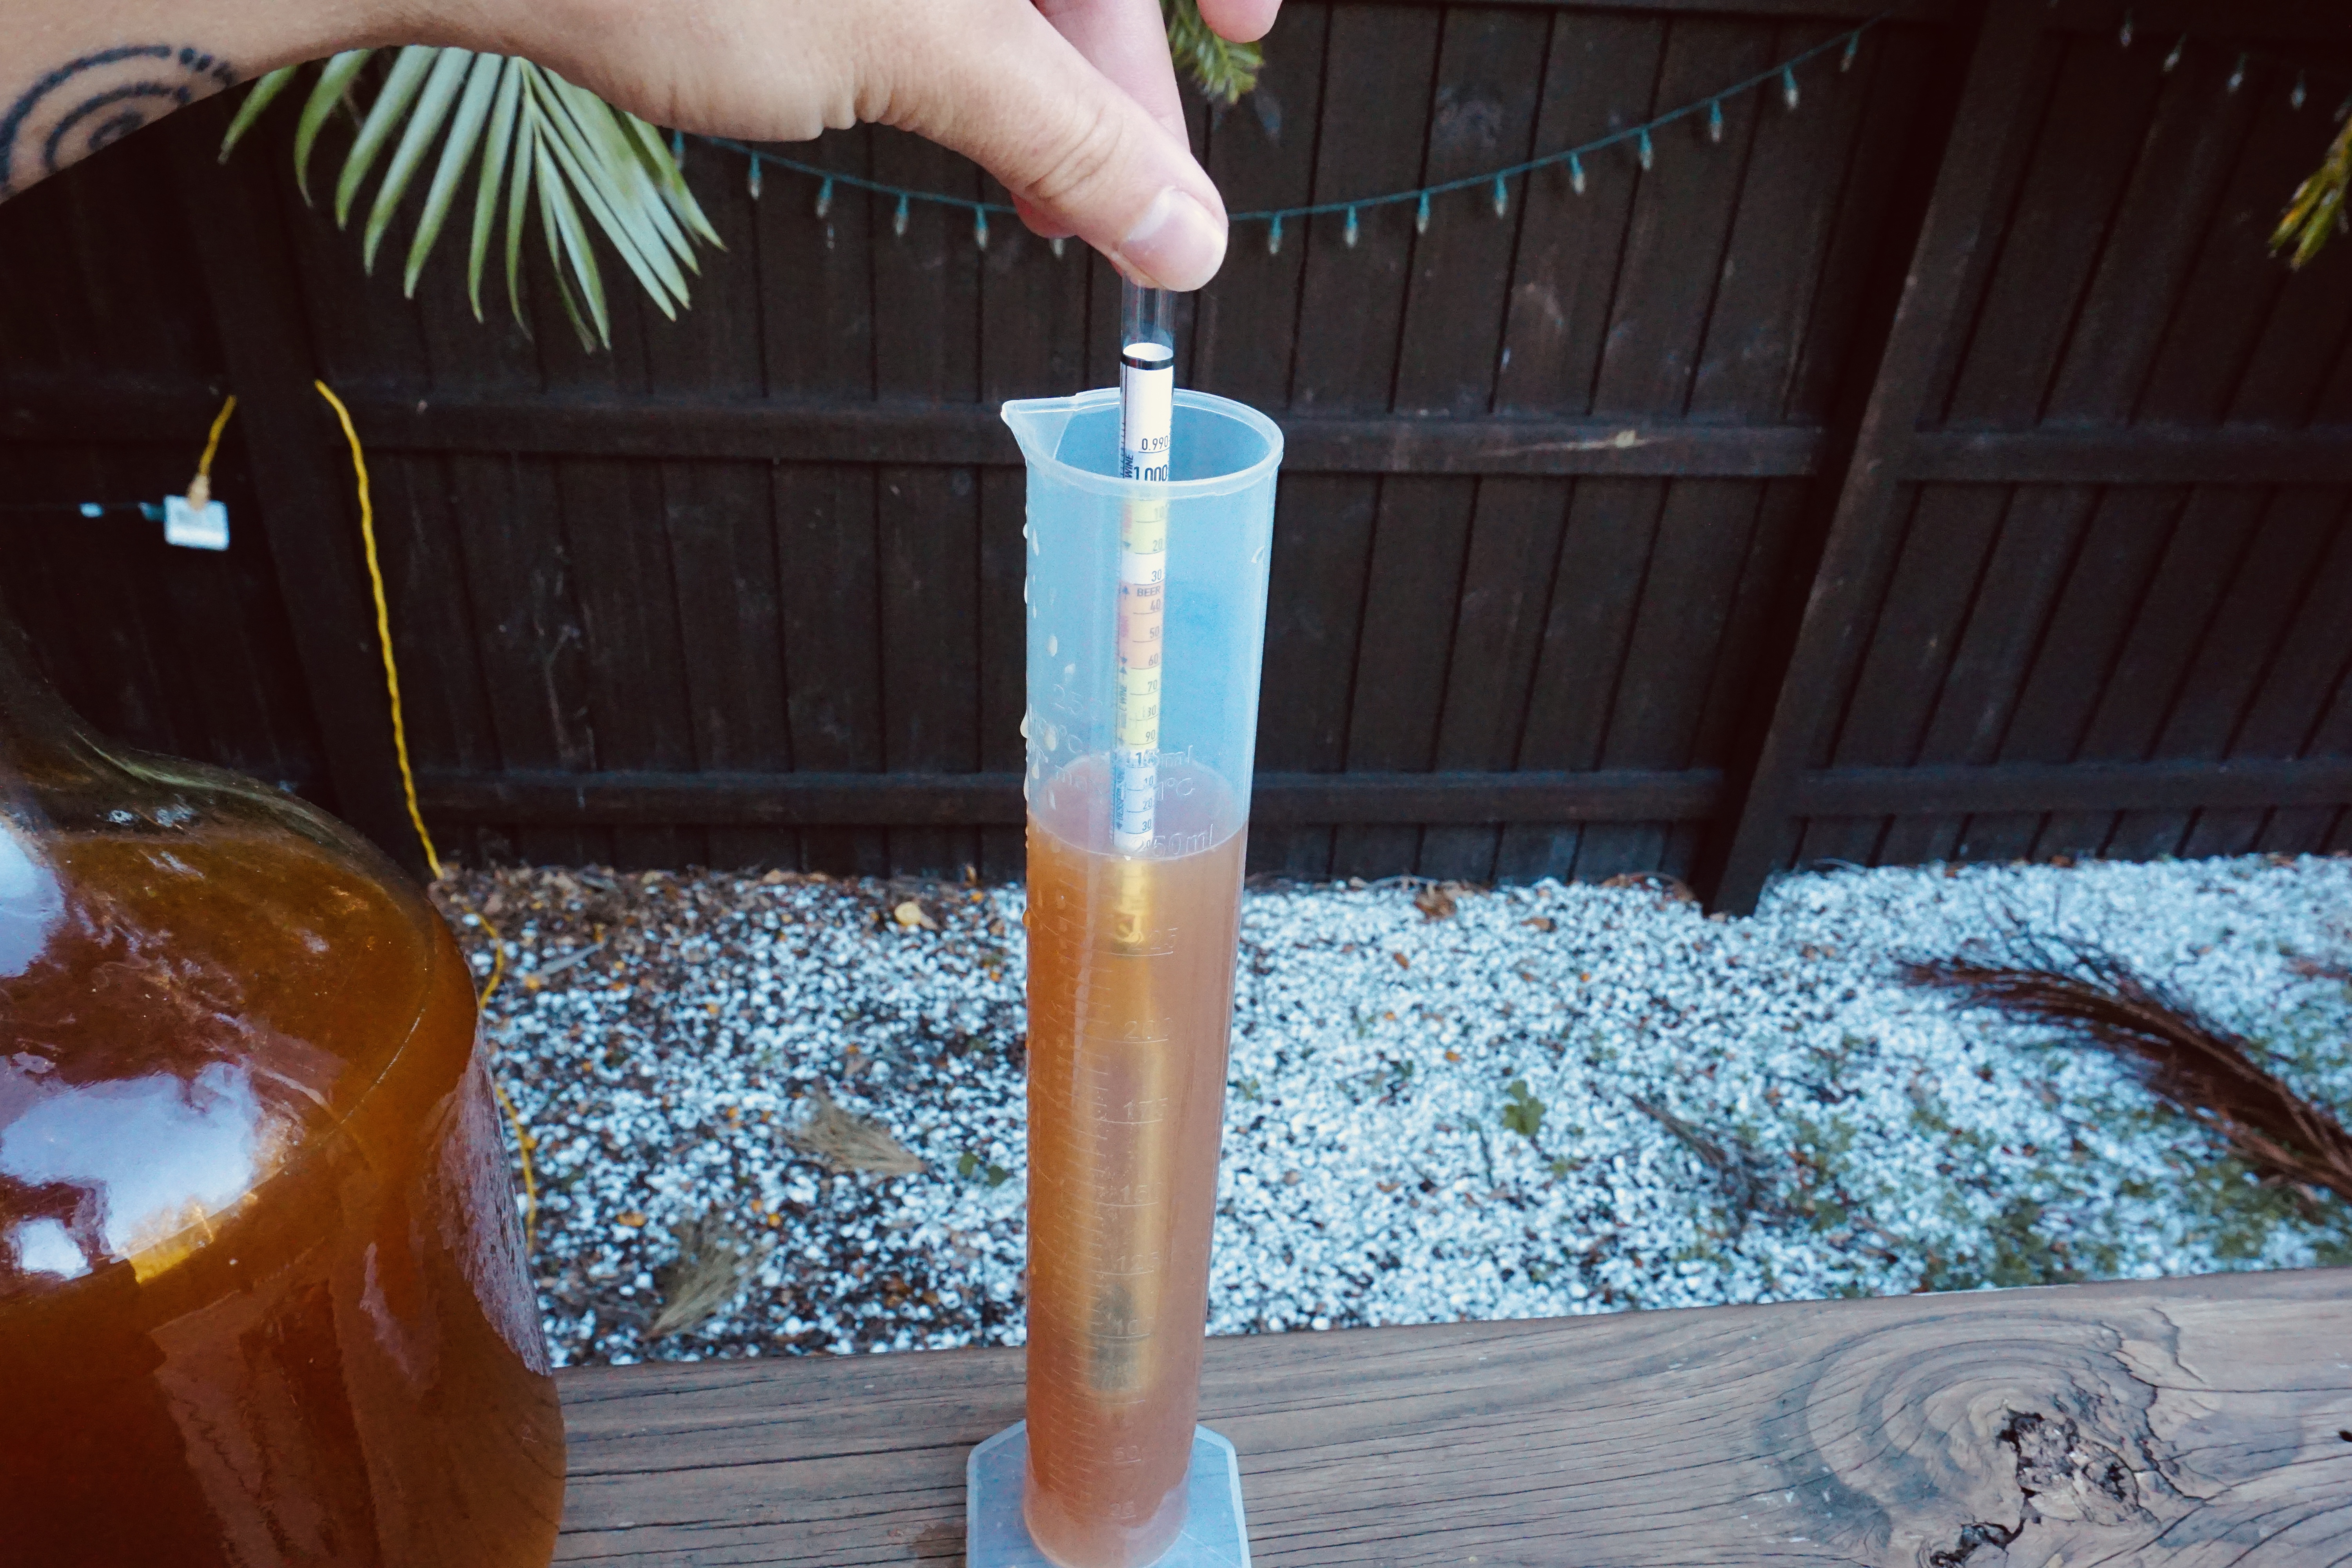
4. Allow the hydrometer to bob up and down until it settles. Make sure there is enough liquid in the cylinder so the hydrometer has enough room to float and is not touching the bottom.
5. Then, looking at where the liquid touches the hydrometer is your gravity reading. Write that down for future reference, or place it in the equation written above.
This procedure is most accessible for one-gallon ferments after secondary fermentation. However, if you have a 5-gallon brew and looking to use the hydrometer, the procedure is essentially the same. You will not pour your brew into the cylinder, you might have to siphon or use the nob on the bottom of your bucket to grab a sample.
After you have grabbed your sample of your brew in your cylinder, please do NOT pour your sample back into your fermenter. This is a contamination issue, and we want to make sure our ferments stay nice and clean!
This is a great time to sample your brew to see how the flavors have developed. Then, you can assess if there are any more modifications to make as you progress further along the process.
This post was all about how to use a hydrometer.
Other Posts You May Like…
✓ A Complete Guide to Beer Making for Beginners
✓ Easy Pine Needle Beer Recipe for Beginner Brewers High in Vitamin C & Antioxidants
✓ 19+ Spectacular Beer Gift Ideas Guaranteed to Make Them Smile