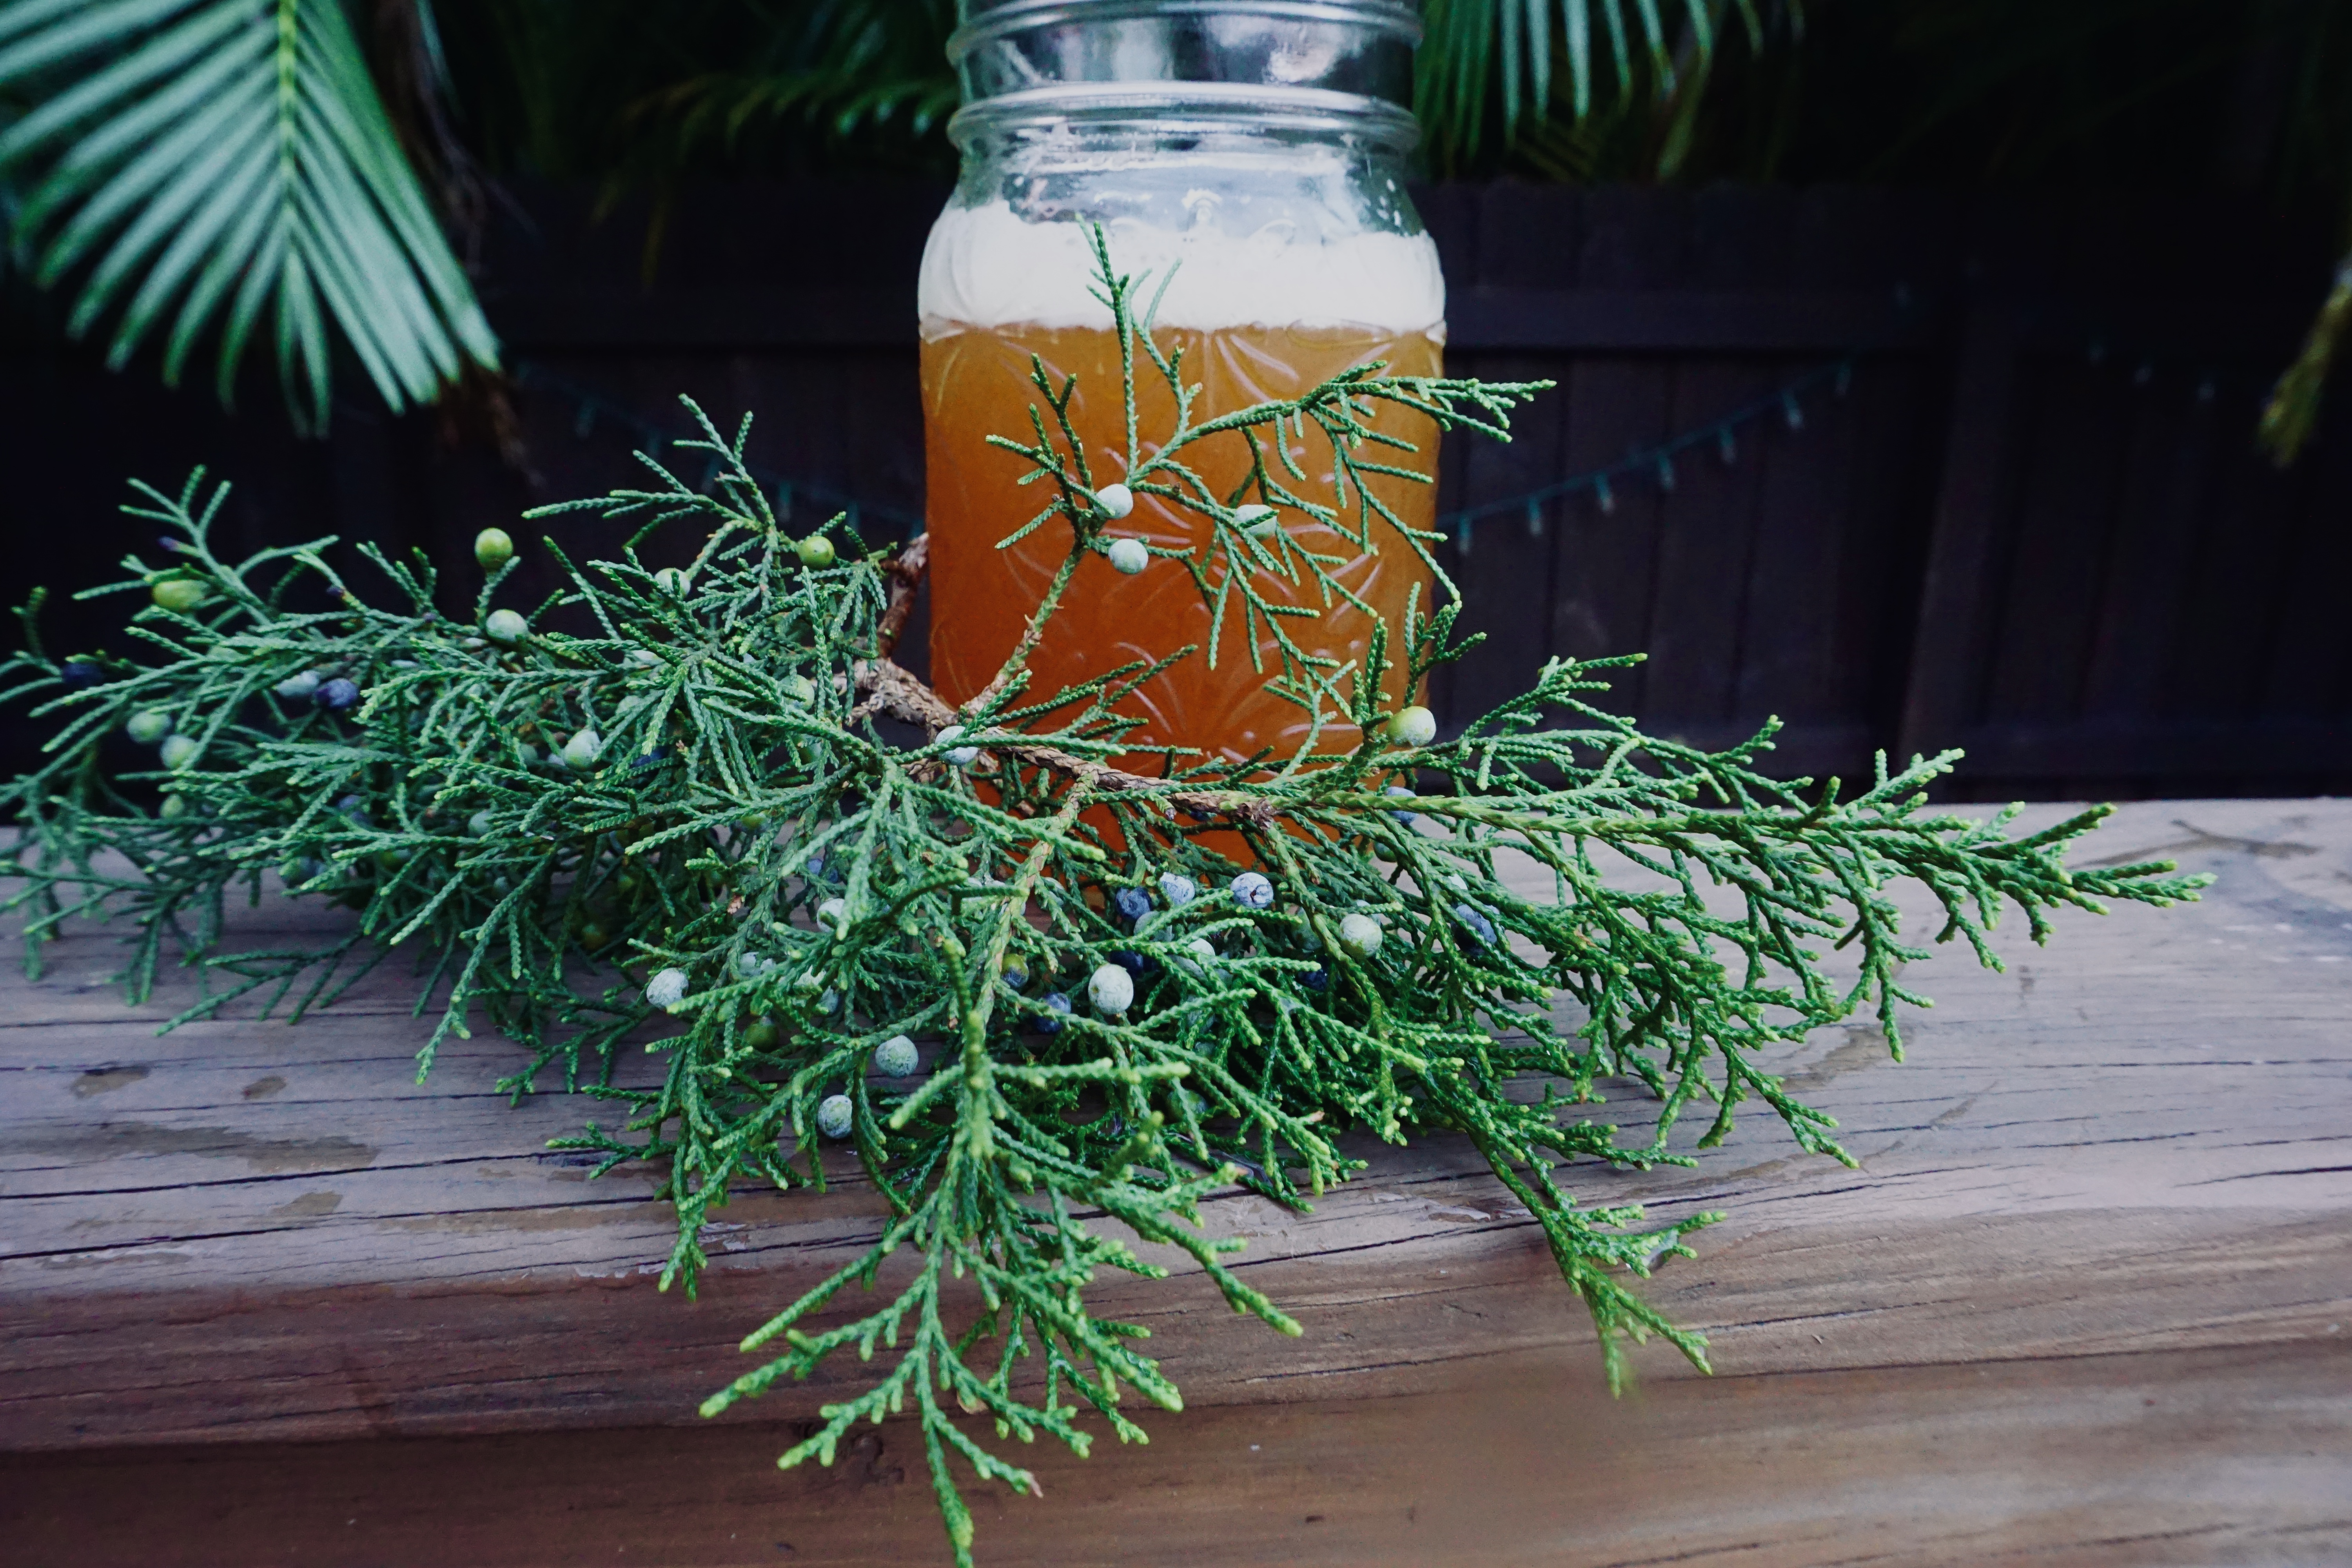
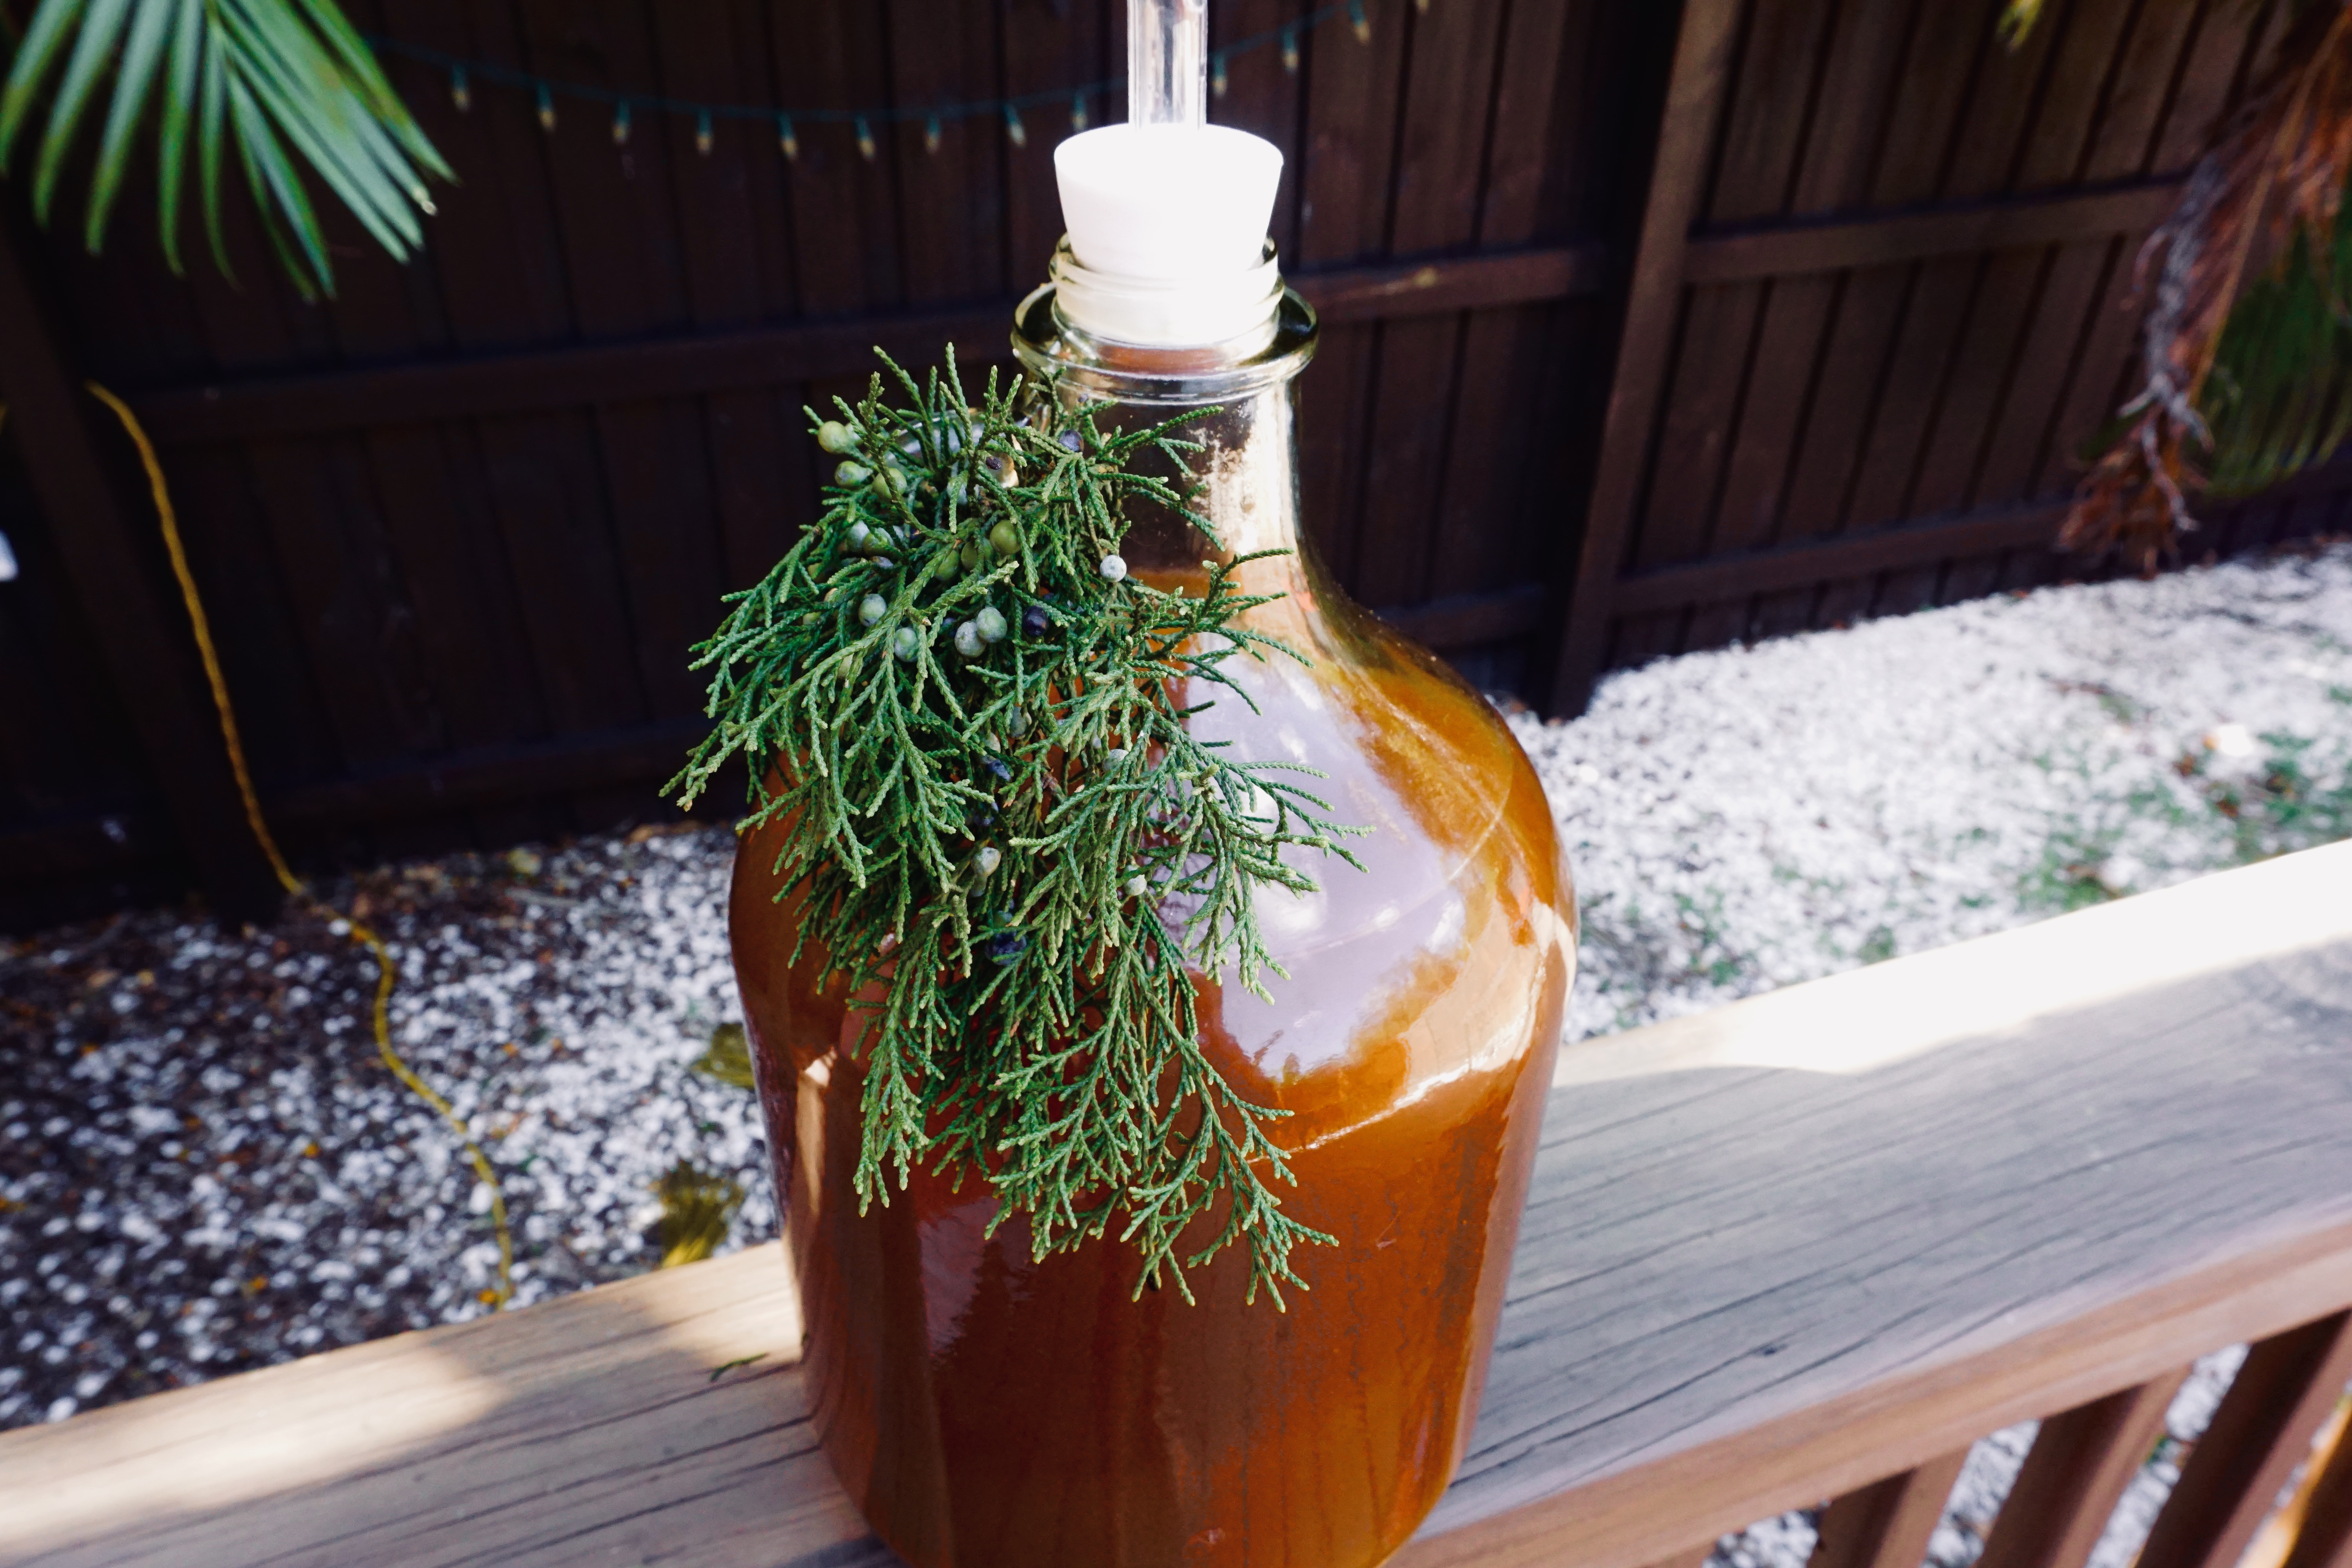
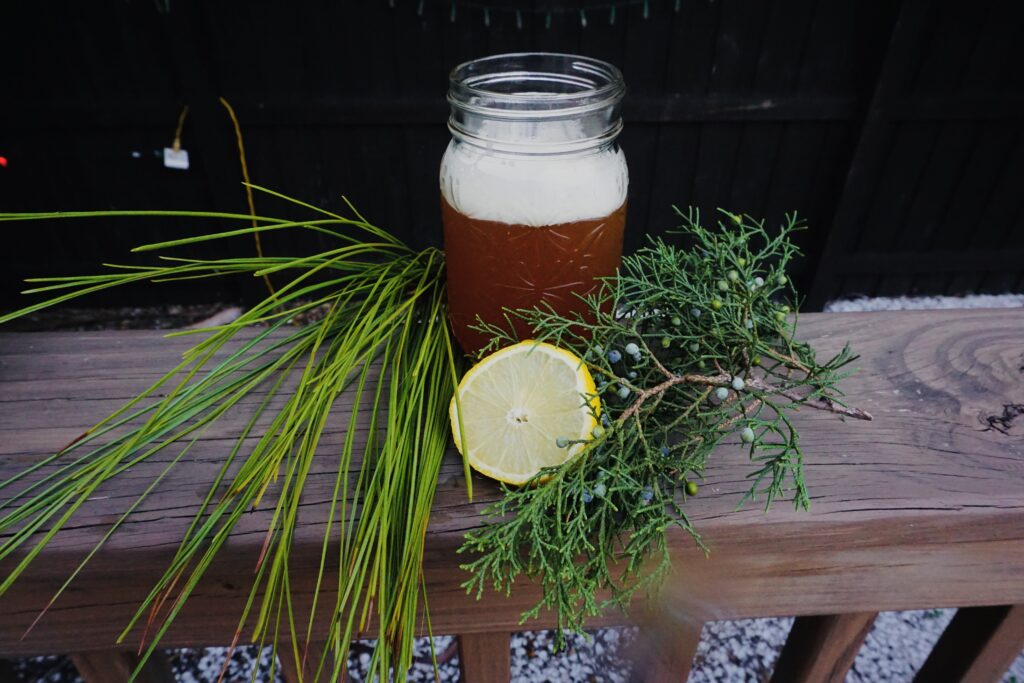
Walk in the woods and enjoy a pine needle beer with spruce tips. This recipe is easy to follow and perfect for beginner brewers interested in natural ingredients!
As a homebrewer, I love using herbs and natural ingredients to make beer and other fermented drinks. I have seen spruce beer ideas but have never experimented with them—until now.
You will learn how to make an easy pine needle beer recipe perfect for beginner brewers and some of the medicinal benefits of pine beer!
This post is all about pine needle beer.
Easy Pine Needle Beer Recipe
This pine tree beer makes one gallon! To brew five gallons, multiply all ingredients by five. This pine needle beer recipe fills approximately six 16-ounce bottles. It yields an ABV of around 4.5-6% ABV.
Identifying pine trees or spruce trees can be complex due to the vast amount of different species. Here is a resource to help identify pine trees.
RELATED POST: 11 Beautiful & Traditional Fermented Drinks for Gut Health From Across the Globe
What equipment you need for this recipe:
- One-gallon fermenter and airlock
- Funnel
- Thermometer
- Pot/kettle and stove
- Long spoon for stirring
- Ice machine or ice that is available to purchase
- Optional: hydrometer to measure the ABV (alcohol by volume)
- Star Sans for sanitizing (or hot soapy water can also work, but I recommend the sanitizer. A lot can grow with fermentation so you have to be careful!)
RELATED POST: How to Make a Yeast Starter in 8 Easy Steps for Unreal Fermented Drinks
What ingredients you need for this recipe:
- One gallon of fresh, purified water (do not use tap water). Check out my guide on brewing water here.
- Ice from your ice machine, or bagged ice
- A pot full of pine needles and/or spruce tips
- One lemon
- 25 grams of fresh chopped ginger
- 1 lb (454 g) dry malt extract
- 2.3 grams safale us-05 yeast OR 0.75 cup of wild yeast starter
If using wild yeast starter, ensure it is active by feeding it 12-24 hours before using!
- Optional: 10 grams dried yarrow
- Optional: 7 grams of dried hop flowers
RELATED POST: Save Money, Ferment Better | 11 Best Ingredients for Homebrew
How to make pine needle beer:
1. Collect your ingredients and equipment listed above.
Pro Tip: Either cut up your pine needles OR use a mortar and pestle to gently grind the needles to extract flavor. The fibers of pine needles are strong, so carefully breaking them down helps with the extraction process!
2. Sanitize ALL equipment that will touch your beer with Star Sans. Check the bottle for instructions on how to do so!
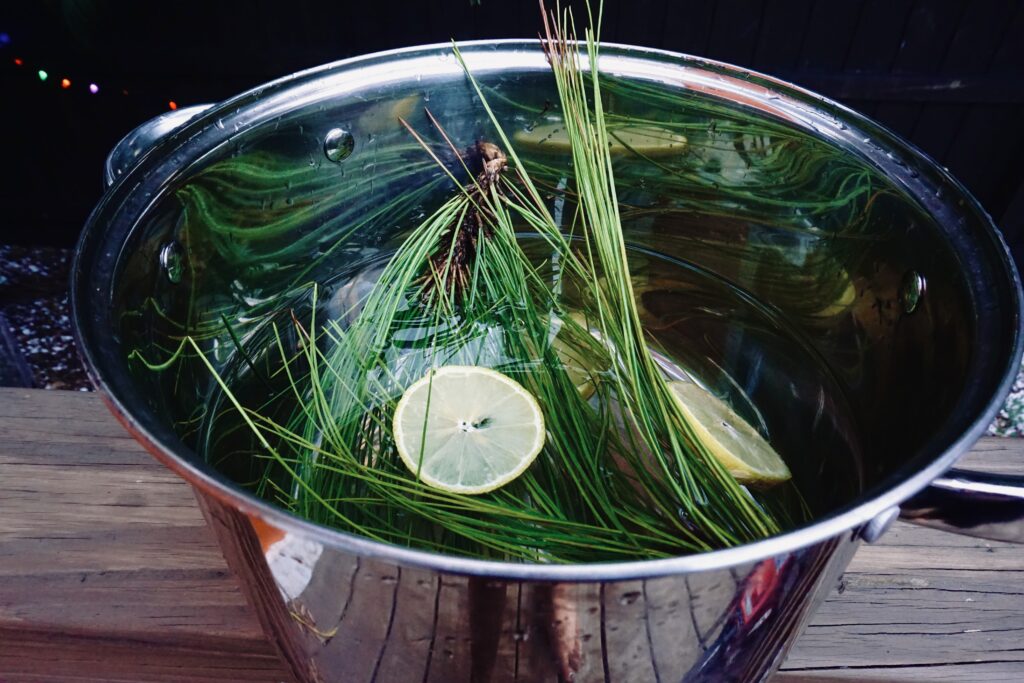
3. Put water, pine needles, yarrow, lemon, ginger, and hops into your pot.
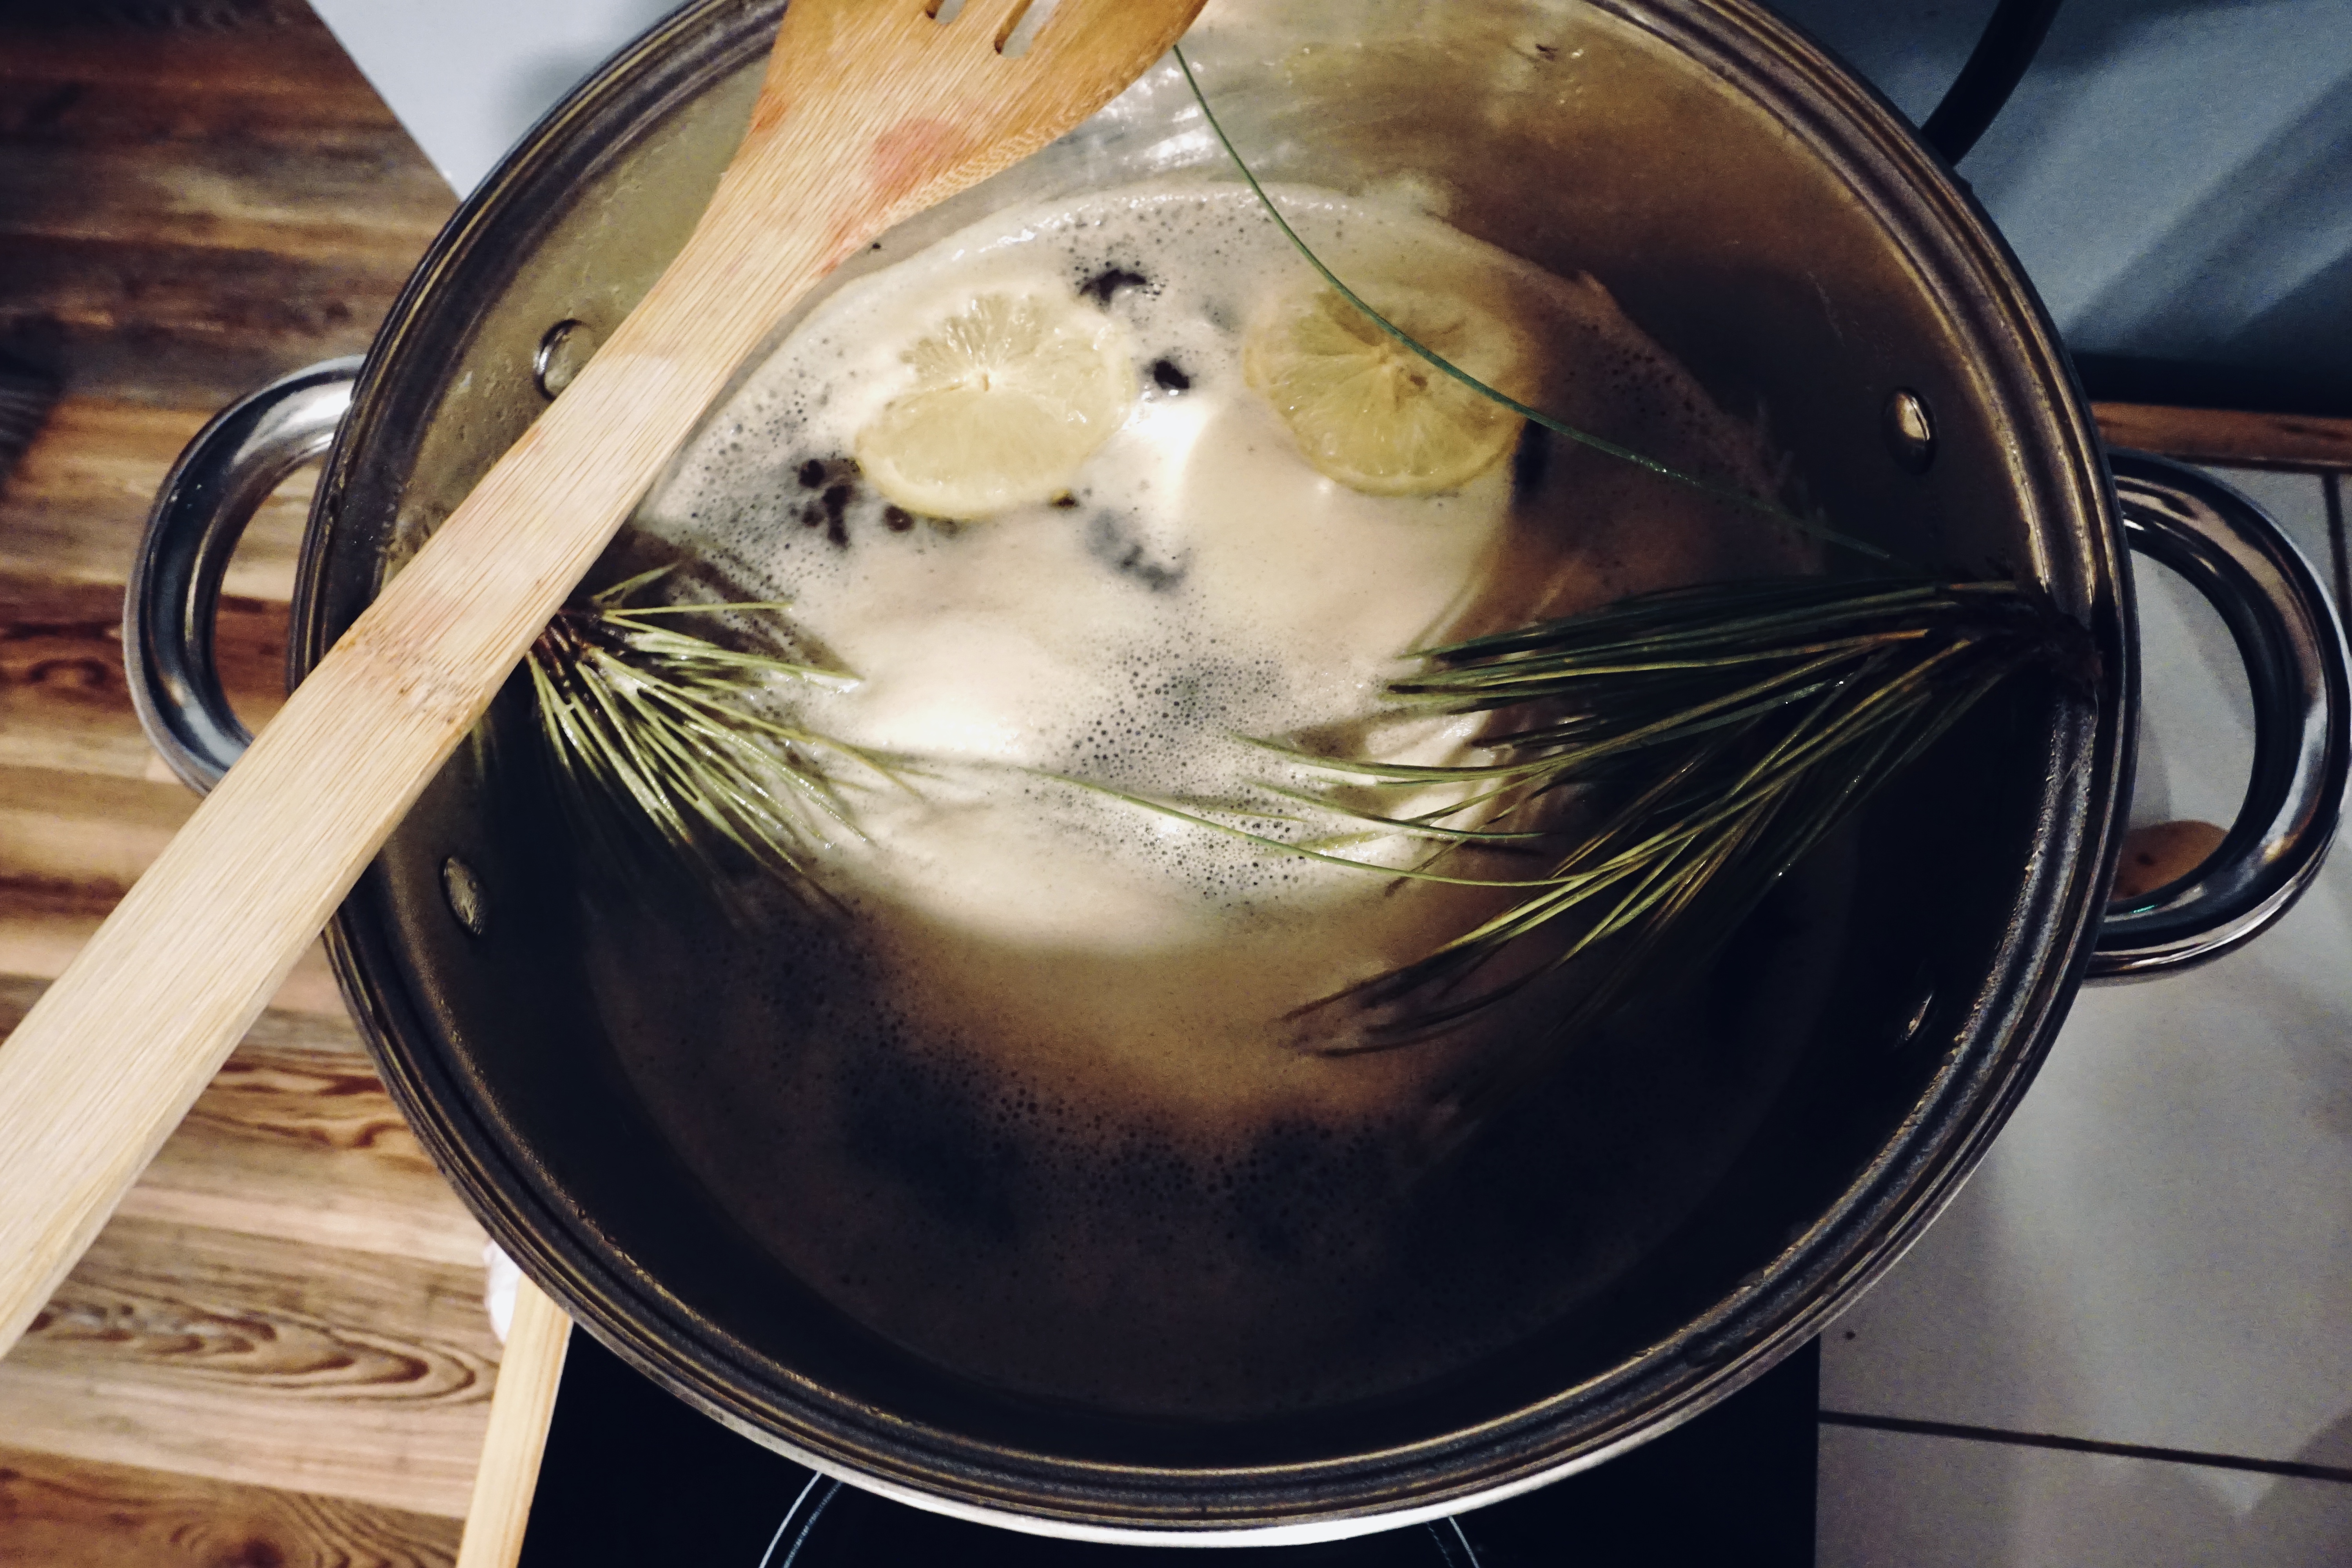
5. Place the pot on the stove and turn on high heat.
6. When the water gets warmer, add your dry malt extract and stir well. Some chunks might float, but that is okay; they will dissolve.
7. Bring the mixture to a boil and IMMEDIATELY turn it off.
8. Make an ice bath in your sink while the water is warming up. Plug the sink drain and add cold water and ice until the sink is filled about 6 inches.
9. Place bagged ice, or ice from your ice machine, into the bath in your sink, then gently place your pot in the ice bath.
10. Using your thermometer, check the temperature of your brew every 20 minutes. You can even swirl the water around the pot, stir the pot, etc to release as much heat as possible.
11. Once your beer reaches 70-75 degrees F take it out of the ice bath.
12. Now, carefully scoop out the pine needles, lemon, ginger, etc using a spoon or sanitized strainer.
13. Then, using your funnel, gently pour the beer wort into your one-gallon fermenter. And take your first gravity reading if you want to calculate your ABV!
RELATED POST: Understand the Content | How to Use a Hydrometer in 5 Easy Steps
14. Again, using your funnel, add in your preferred yeast: safale us-05 or wild yeast starter!
15. Vigorously shake/stir in the yeast to get it fully inoculated.
16. Add your airlock to your fermenter and allow it to ferment.
Optional: After 5-7 days of fermentation, you can transfer your beer into secondary fermentation. This is when you can add in more flavor additions to boost your beer flavor and aroma!
RELATED POST: Everything You Need to Know About Secondary Fermentation
You can add more pine needles, yarrows, hops, and/or lemons! Taste your beer to see what flavors are needed, you can add any of the ingredients!
17. After 12-14 days of fermenting, you are ready to bottle whether you practiced secondary fermentation or not. Before bottling, measure your final gravity to calculate your ABV!
RELATED POST: The Ultimate Guide to Bottling Homebrew for Beer, Cider, or Soda
18. Once bottled, allow the beer to sit for 14 days to get carbonated in the bottles.
19. Then, you are free to enjoy your pine tree beer!
Benefits of Pine Beer & Pine Needles
Believe it or not, pine needles have great nutritional value. Aside from being used in this pine needle beer recipe, pine needles are often used in teas, tinctures, and salves.
Pines are high in vitamin C, vitamin A, flavonoids, antioxidants, and more.
In this recipe, we bring the ingredients to a boil, then immediately turn off the stove because high temperatures affect the vitamins in the pine needles.
Alcohol inflames the body when over-consumed, but when we can dose ourselves correctly beer and wine can have beneficial effects on our body.
Pine is an anti-inflammatory when dosed correctly!
Additionally, lemon, yarrow, hops, and ginger all play a role in the medicinal benefits of this pine beer recipe.
This post was all about pine needle beer.
Other Posts You May Like…
✓ The Problem is the Solution: Best Water for Brewing Guaranteed
✓ This Alone Will Change Your Relationship to Alcohol | How to Stop Drinking (Home Remedies)
✓ 11 Beautiful & Traditional Fermented Drinks for Gut Health From Across the Globe

