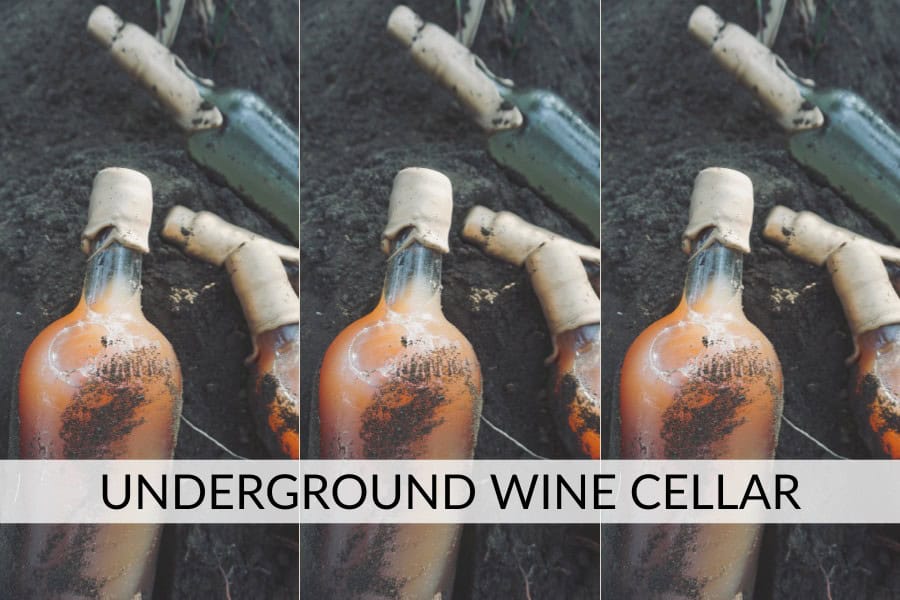
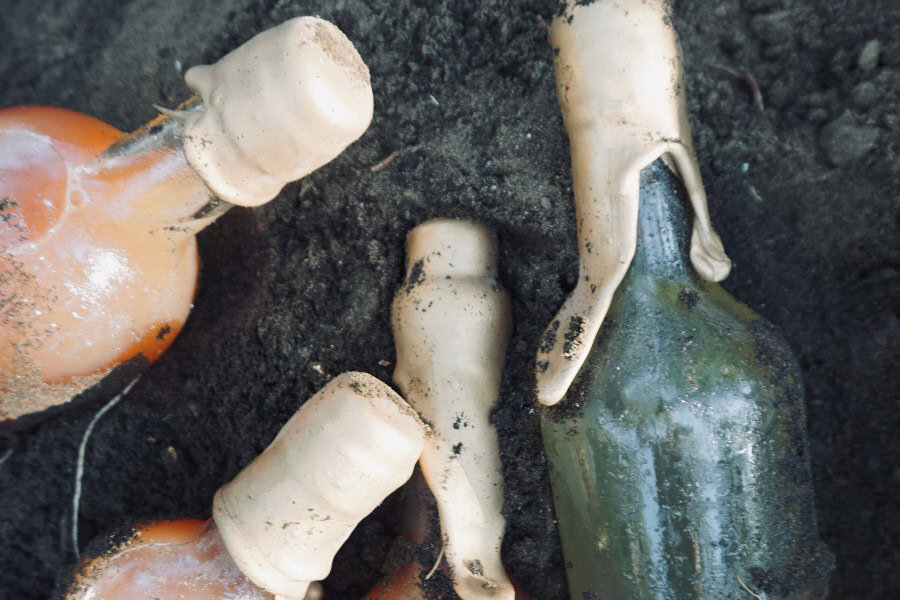
An underground wine cellar, to me, is primitive. Underground, the Earth, stays a consistent temperature, which is perfect for aging wines with a “go natural” spin.
As a fermenter, I adore natural ways of fermenting, aging, and crafting. From using herbal additions to creating a primitive underground wine cellar.
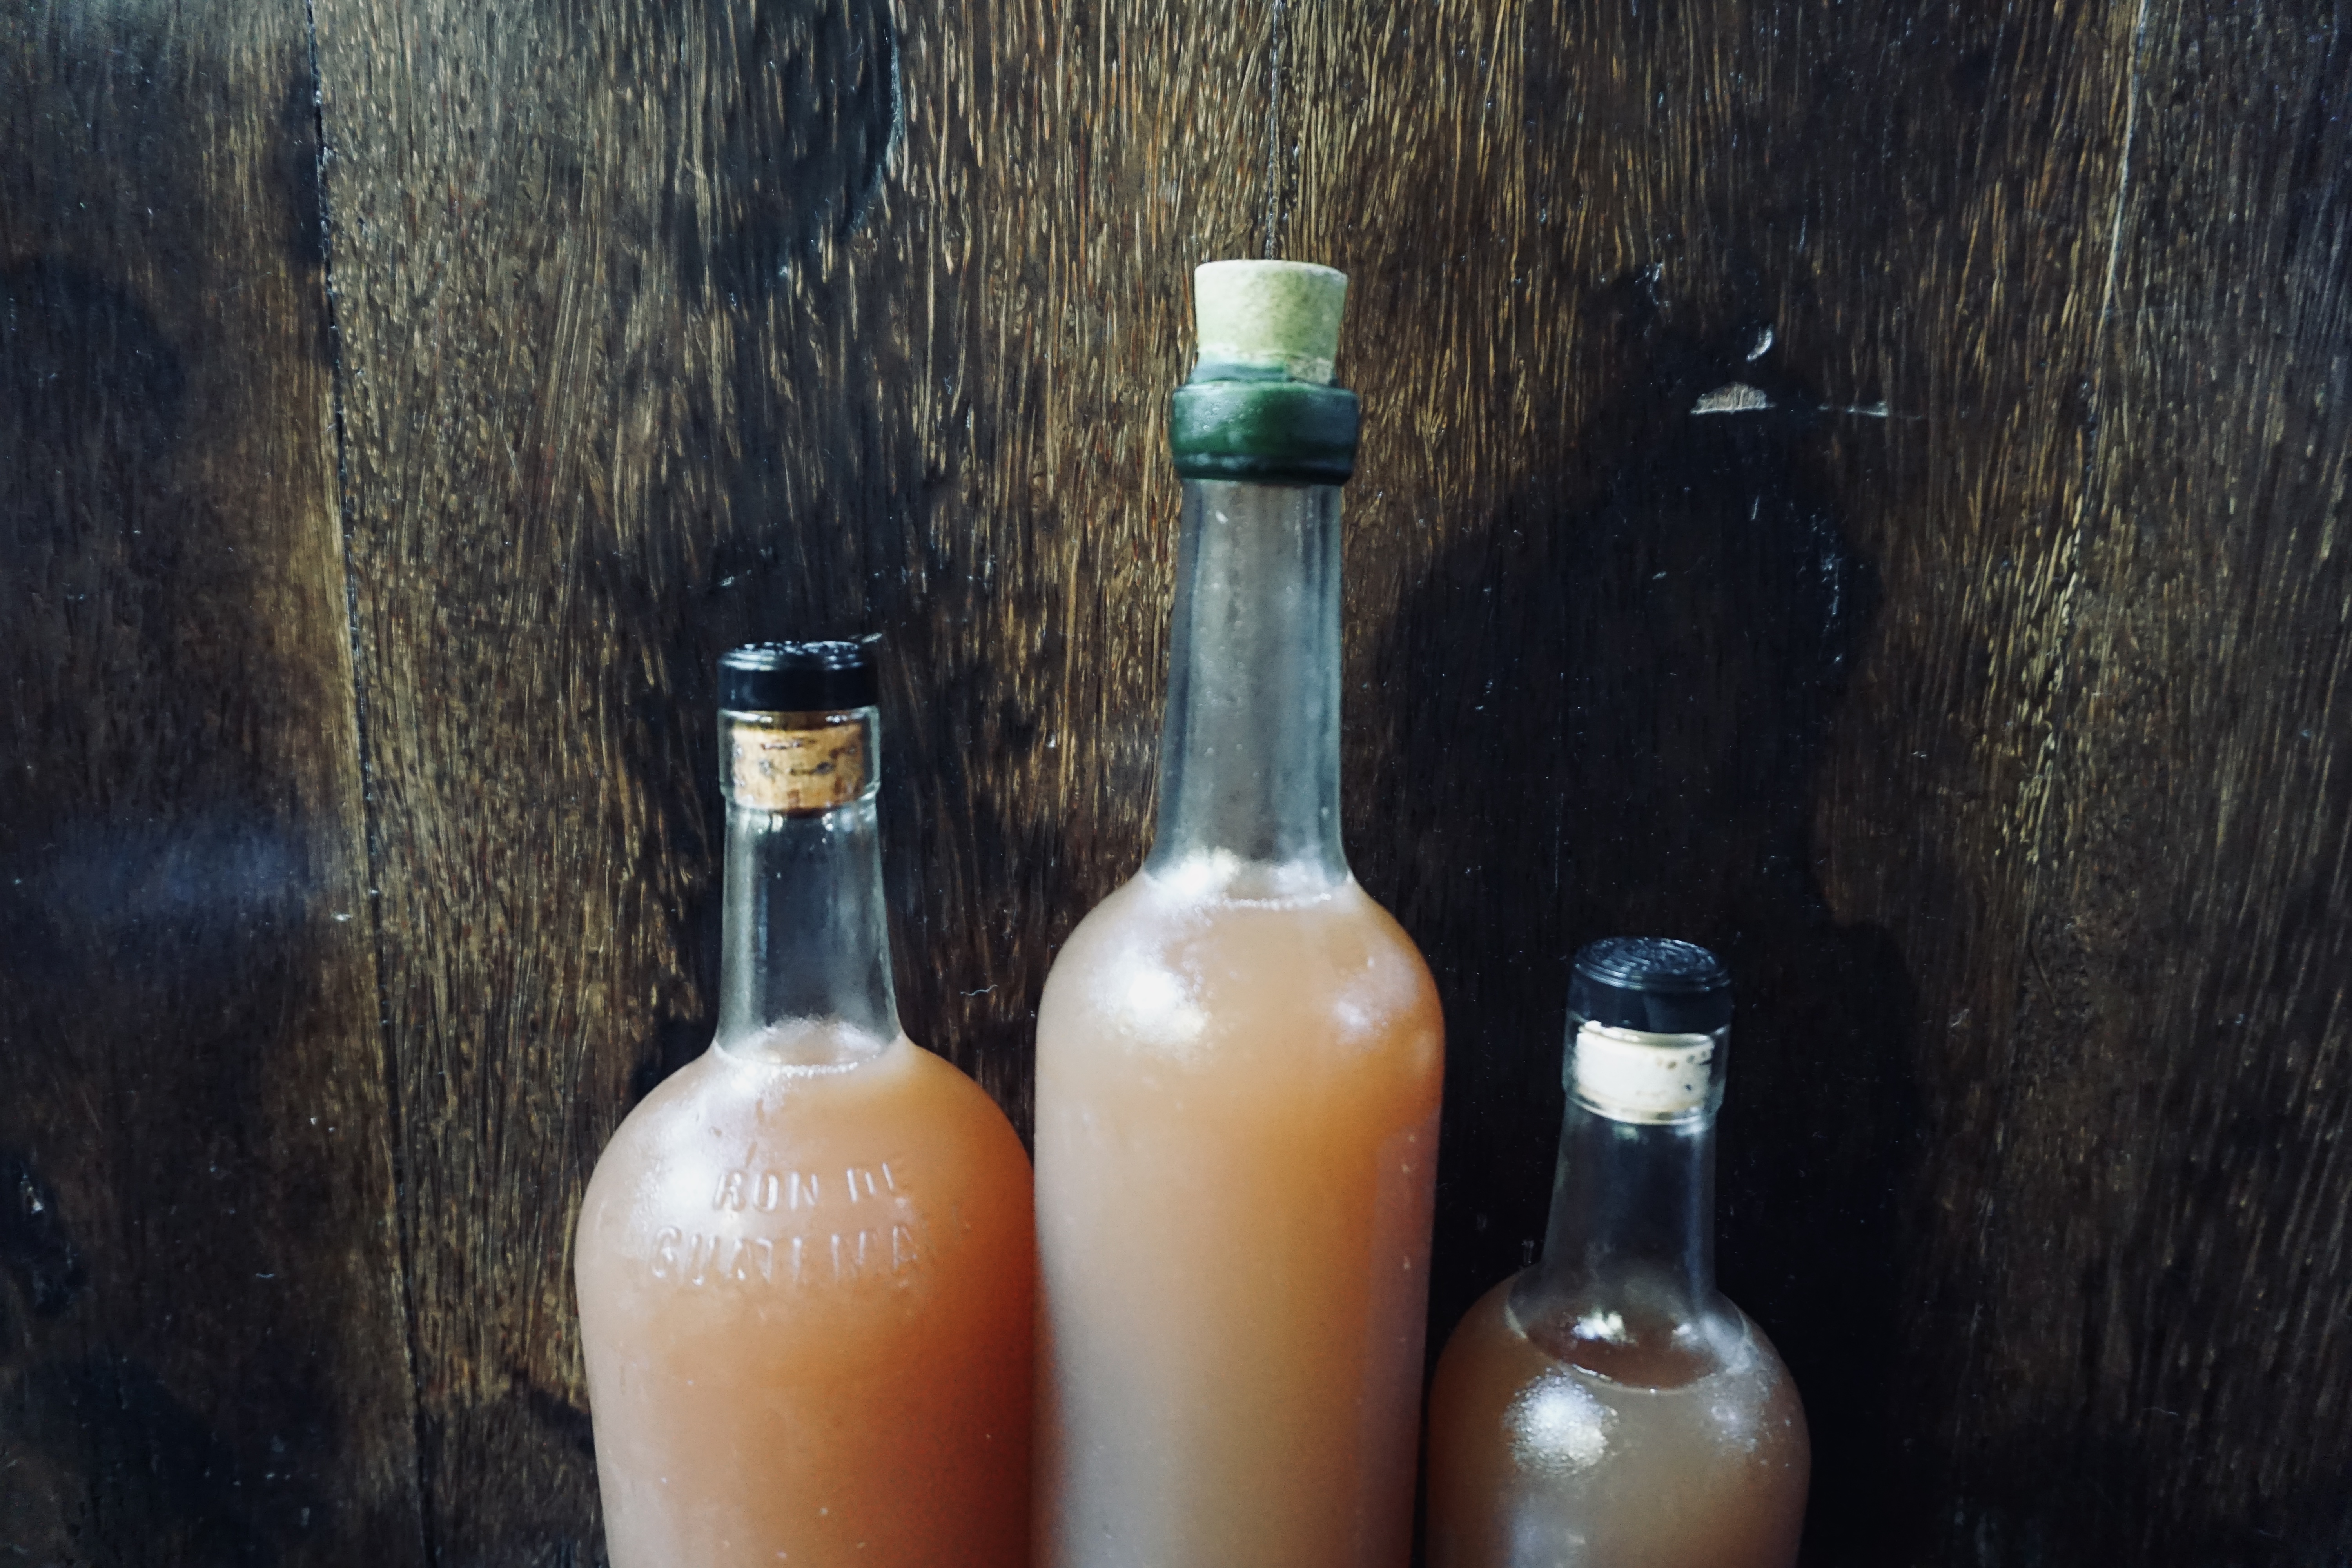
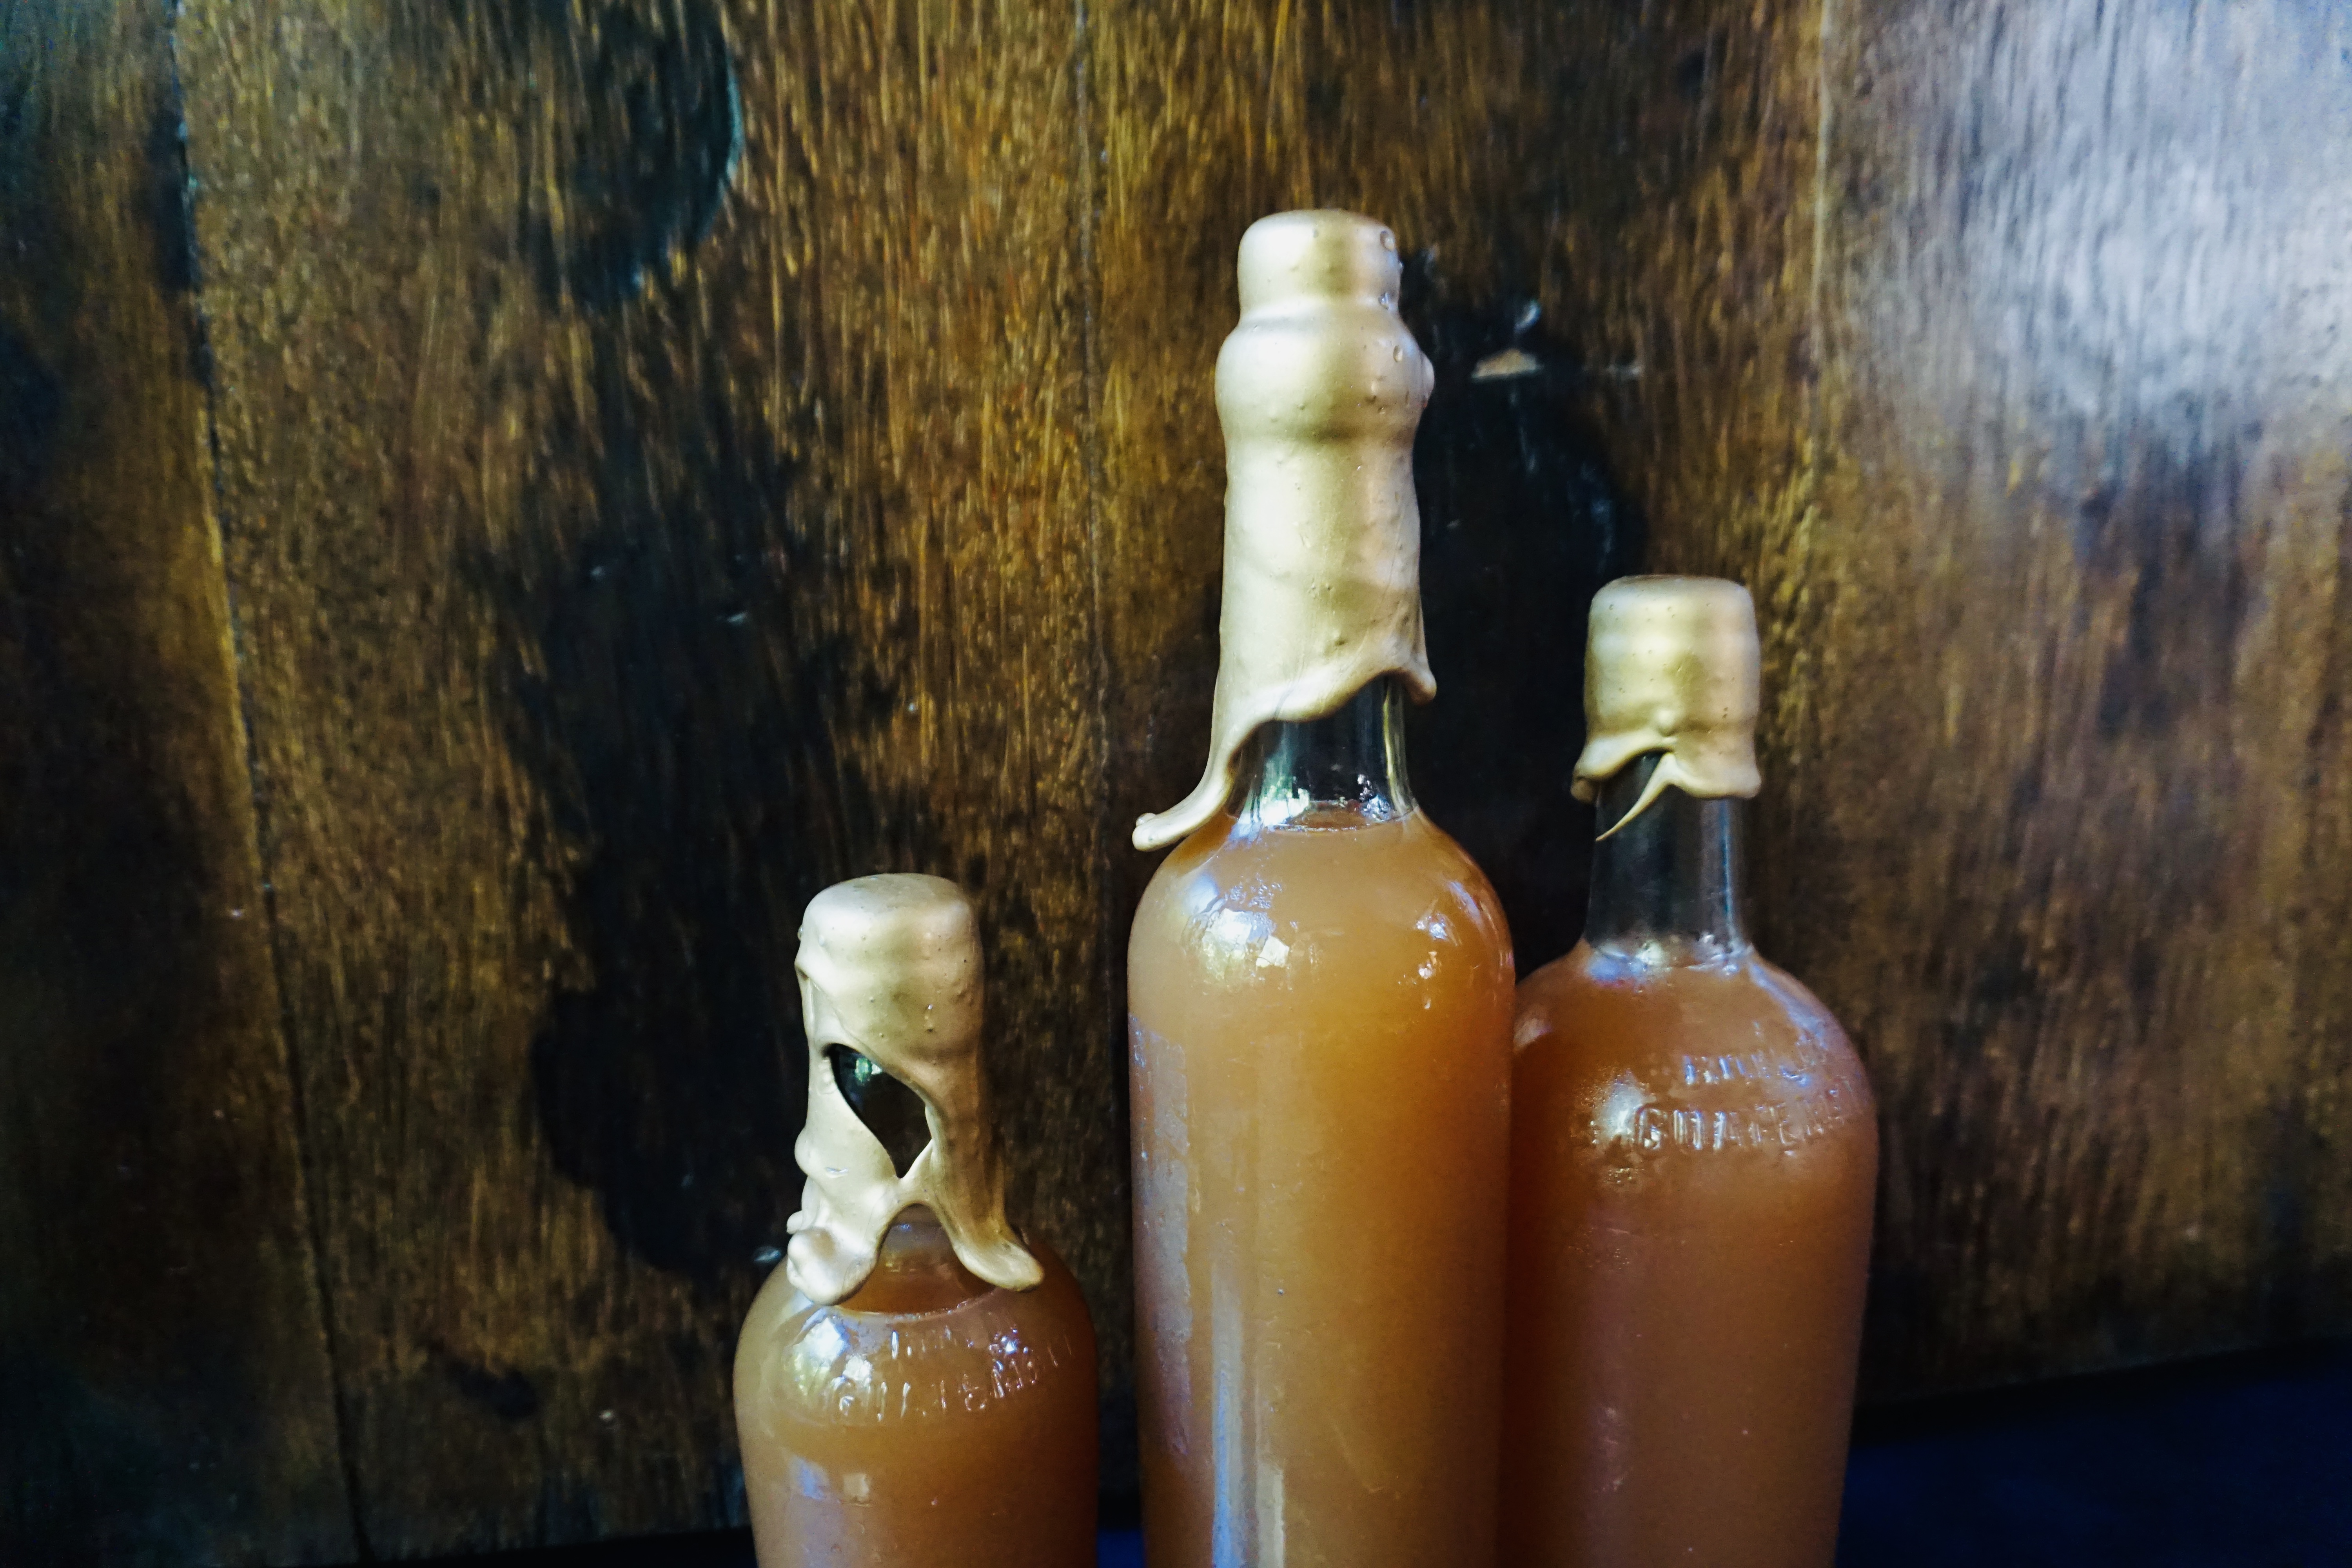
The waxing portion of our underground wine cellar is crucial because it prevent dirt and any bugs from finding their way into your bottles. And, let’s be real, it looks good.
You will learn exactly how to use wine bottle wax to seal your wine bottles, what to look for when burying wine underground, and more!
This post is all about an underground wine cellar.
The Primitive Underground Wine Cellar You Never Knew You Wanted
Recently, I made a plum and yarrow homemade wine. At this point, it is ready to bottle and to age. I thought it would be really fun to wax the bottles and age it underground.
You might be confused as this is no ordinary underground wine cellar. Here we return to nature and use what the Earth has already given us to age our hard-earned wines.
RELATED POST: Wine Making for Beginners | Learn the Best Tips & Tricks for Making Wine
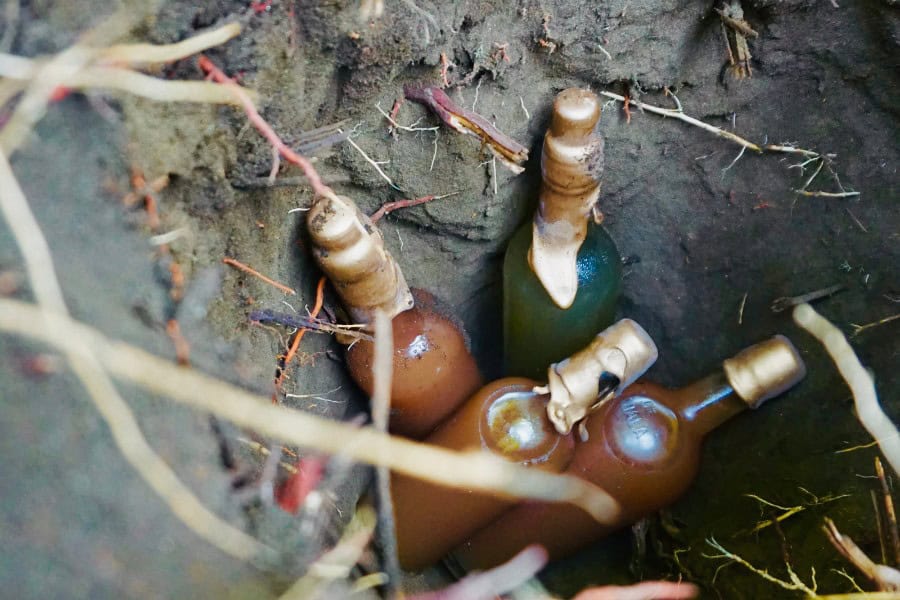
Aging wine underground works because if you get deep enough, the soil stays a consistent temperature. Usually around 50-55 F. Which is optimal for aging wine.
Though, you will see later in this post how that temperature can vary.
RELATED POST: Top 5+ Life-Changing DIY Adult Projects You Don’t Want to Miss
For this specific element to our underground wine cellar, we are going to use wine bottle wax and a refurbished wine bottle. Option to also use label paper to label your creation.
- Wine bottle wax
- Wine bottle (if you need some bottles)
- Label paper
The amazing part is this underground wine cellar is easy and inexpensive.
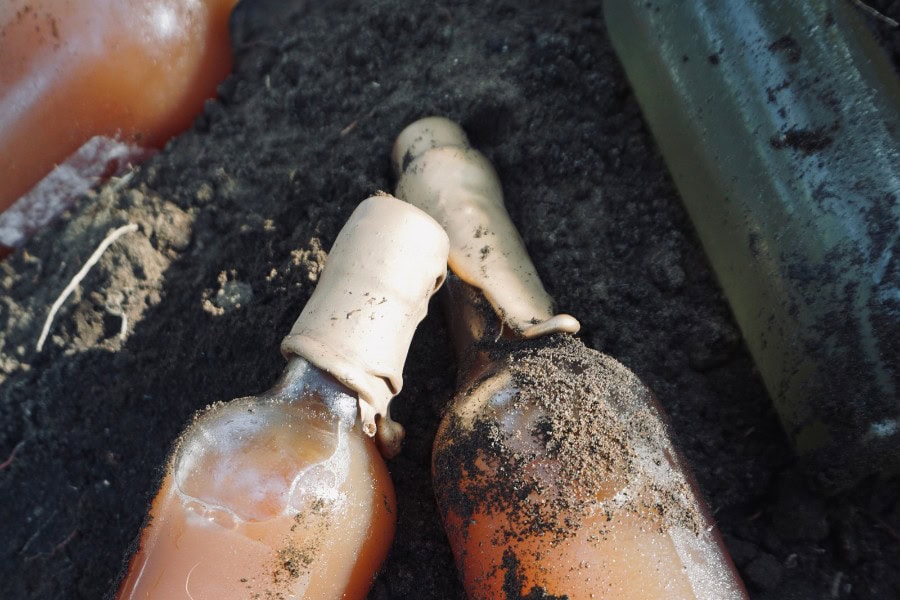
There are plenty of ways to seal up your wine bottles for underground aging, but waxing your bottles adds an elegant and primitive touch to your end product.
So, let’s begin!
What You Need to Wax Your Wine Bottles:
- Wine bottle wax
- Wine bottles
- Double boiler pot set
- Small pot for warm water/stainless steel bowl
- Plastic spoon
RELATED POST: Get Everything You Need in 1 Click: Wine Making Equipment List
How to Wax Your Wine Bottles:
I want to explain how to use this wine wax. There are instructions on the bottle, but they are a bit vague and also don’t give you tips and tricks on how to perfect this craft.
1. Gather all ingredients and equipment. There really is no need to sanitize since nothing will be touching your wine.
2. You need warm water to seal the wax once it is dipped. To do that, you need a bowl of warm water. You can either use a tea kettle, or another pot to get the water warm. So, start a pot of water or heat up your kettle!
3. Place the double boiler pot on the stove with about 2 inches of water. Turn the stove on low and bring the water to a gentle simmer.
4. Once the water is gently simmering, place the double boiler into the pot.
5. Finally, add your wax! The amount of wax will vary depending on the amount of bottles you want to seal. But, use your judgement, you can always add more!
I liked using more wax than I thought to get good coverage on the bottles.
6. Once your kettle, or pot, warms up the water, gently pour it into the stainless steel bowl.
7. Then, using your plastic spoon, begin to stir the wax as it melts.
Caution: Do not mix too aggressively as this creates air bubbles in the wax and will put air bubbles on your bottles!! A gentle stir is perfect.
8. Ensure your bottles are completely sealed with quirks or screw caps. Gently turn the bottles upside down to check for any leaks.
Now, this is when the creativity of your wax design comes into play! You can dip your bottles into the wax and turn the bottles, set them upright, etc to move the wax how you wish.
9. Dip the tip of the bottle into your wax. Option to lean the bowl so the wax falls to one side.
10. After you play with the wax around the bottle, turn it sideways and roll the waxed tip into the warm water. This will seal the deal.
11. That is it! Now, place your wine in a cool space to age.
For me, I will be placing my bottles underground. To do that, read on!
What to Look for When Aging Wine Underground
Now time to get in the dirt, here you will see what to look for when creating your underground wine cellar for aging your masterpieces.
When thinking about your underground wine cellar, it is really dependent on your location. In the tropics you have to get much deeper to reach a constant temperature.
But, for places like Canada, or in mountain ranges, you won’t have to dig so deep to get to a cool temperature.
I encourage you to look up your region and see how deep into the ground until the temperature remains the same.
It could be anywhere from 3-20 feet. I know, that seems impossible to dig!
However, play with the depths and the different areas on your property. Even aging wine at 65F can work. So, connect with the ground and analyze the temperatures, places, etc.
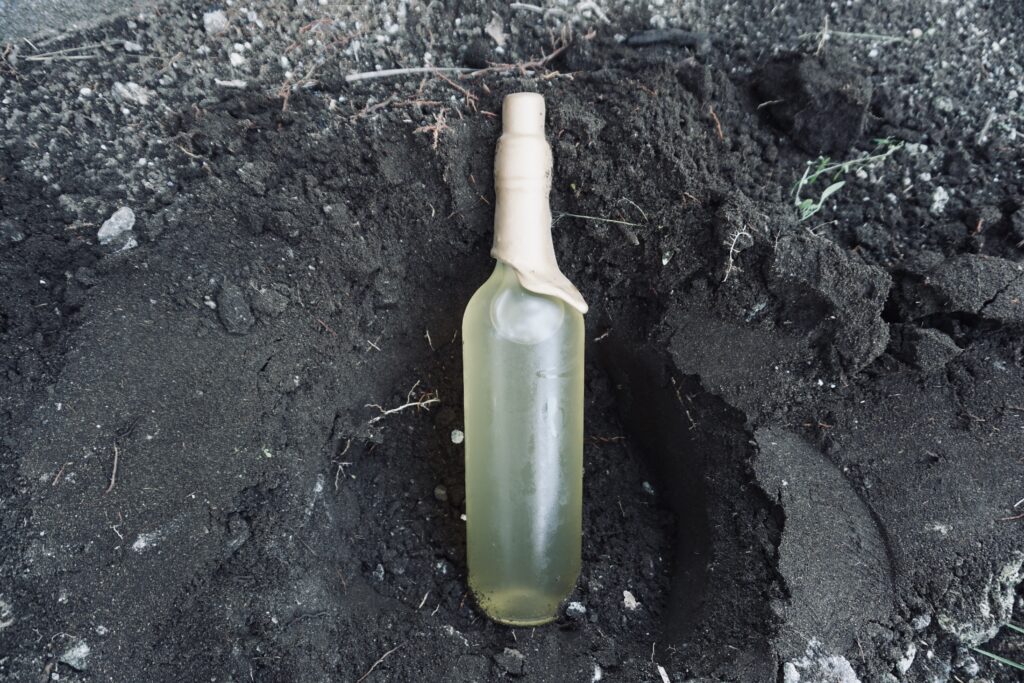
For me, I dug about 3-4 feet underground and I am in the tropics. This might be a little too warm for the wines, but I will find out in 6 months.
And, the best part is the wine is being created by the natural environment, no matter how deep you go.
Things to Keep in Mind About Ground Temperature:
- Deeper soils experience less variation in temperatures than shallower soil.
- The geothermal gradient layer varies between regions.
- At some point (60 miles deep), the soil reaches heights of 2,400F! (More so a fun fact)
The thing with creating an underground wine cellar, is finding the perfect area to place it.
For me, on my property, I am on a hillside. On one end, the water table is right at the surface. That is not a great place for an underground wine cellar. I’m sure you can guess why.
However, at the top of the property we can dig, probably, 7 feet until we hit water.
So, where is the best place for an underground cellar?
What to look for when creating an underground wine cellar:
- Make sure it is on your property.
- Find a tree, or a bush, that provides a little bit of shade.
- Ensure it is not close to a water table, or a lake, stream, etc. (When it rains does this area overflow?)
- Make sure you can dig a deep hole, probably around 3-6 feet.
Option to have a thermometer on hand when you begin to dig your hole.
The thermometer will allow you to check the temperature of the soil and you can take note of the temperature when you first place the bottles, then check again at the end of the aging process.
Also, knowing the temperature underground will give you good insight into the wine once you pull it out from underground and get to taste it.
As you can see waxing your wine bottles and placing them in an underground wine cellar is an amazing way to age your wines, homemade or store bought!
Don’t get too hung up on the temperature of the ground, allow the natural rhythms of the Earth develop your wine in the aging process. Then, tailor your underground wine cellar over time as you connect with the property.
This post was all about an underground wine cellar.
Other Posts You May Like…
✓ This Alone Will Change Your Relationship to Alcohol | How to Stop Drinking (Home Remedies)
✓ 11 Beautiful & Traditional Fermented Drinks for Gut Health From Across the Globe
✓ Herbalism for Beginners | Start With Tea, End with Vitality

