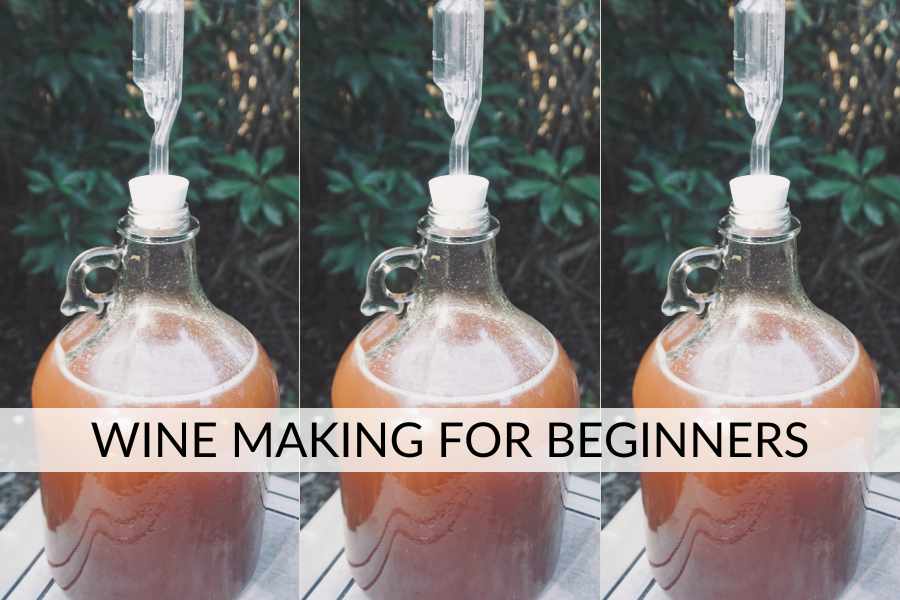
Have you been inspired by those gorgeous photos of wine? Well, this wine making for beginners guide is a great place to start making your own!
When I worked in Napa Valley in a winery I learned just how incredible wine making is. The best part is you can make great fruit wines right at home from local fruits, and even herbs!
In this guide, you will learn the basics for wine making for beginners, the wine making process, and what equipment you need to start wine making at home, and how to prepare for common wine making issues.
This post is all about wine making for beginners.
Guide to Wine Making for Beginners
First of all, wine is made from three ingredients: fruit, water, and yeast.
You might know that wine comes from grapes, but more specifically wine comes from a variety of grapes.
A cabernet sauvignon wine is made from the cabernet sauvignon grape varietal. As goes for pinot noir, pinot gris, etc. Each type of wine is from one specific grape varietal (unless it is a blend).
RELATED POST: Uncomplicated Guide to Easy Wine Making at Home in Minutes
That rule alone gives winemakers a clear direction and focus when making each style of wine. They ensure each grape varietal is to the standards before harvest, then ensure the wine making process is tailored to that varietal.
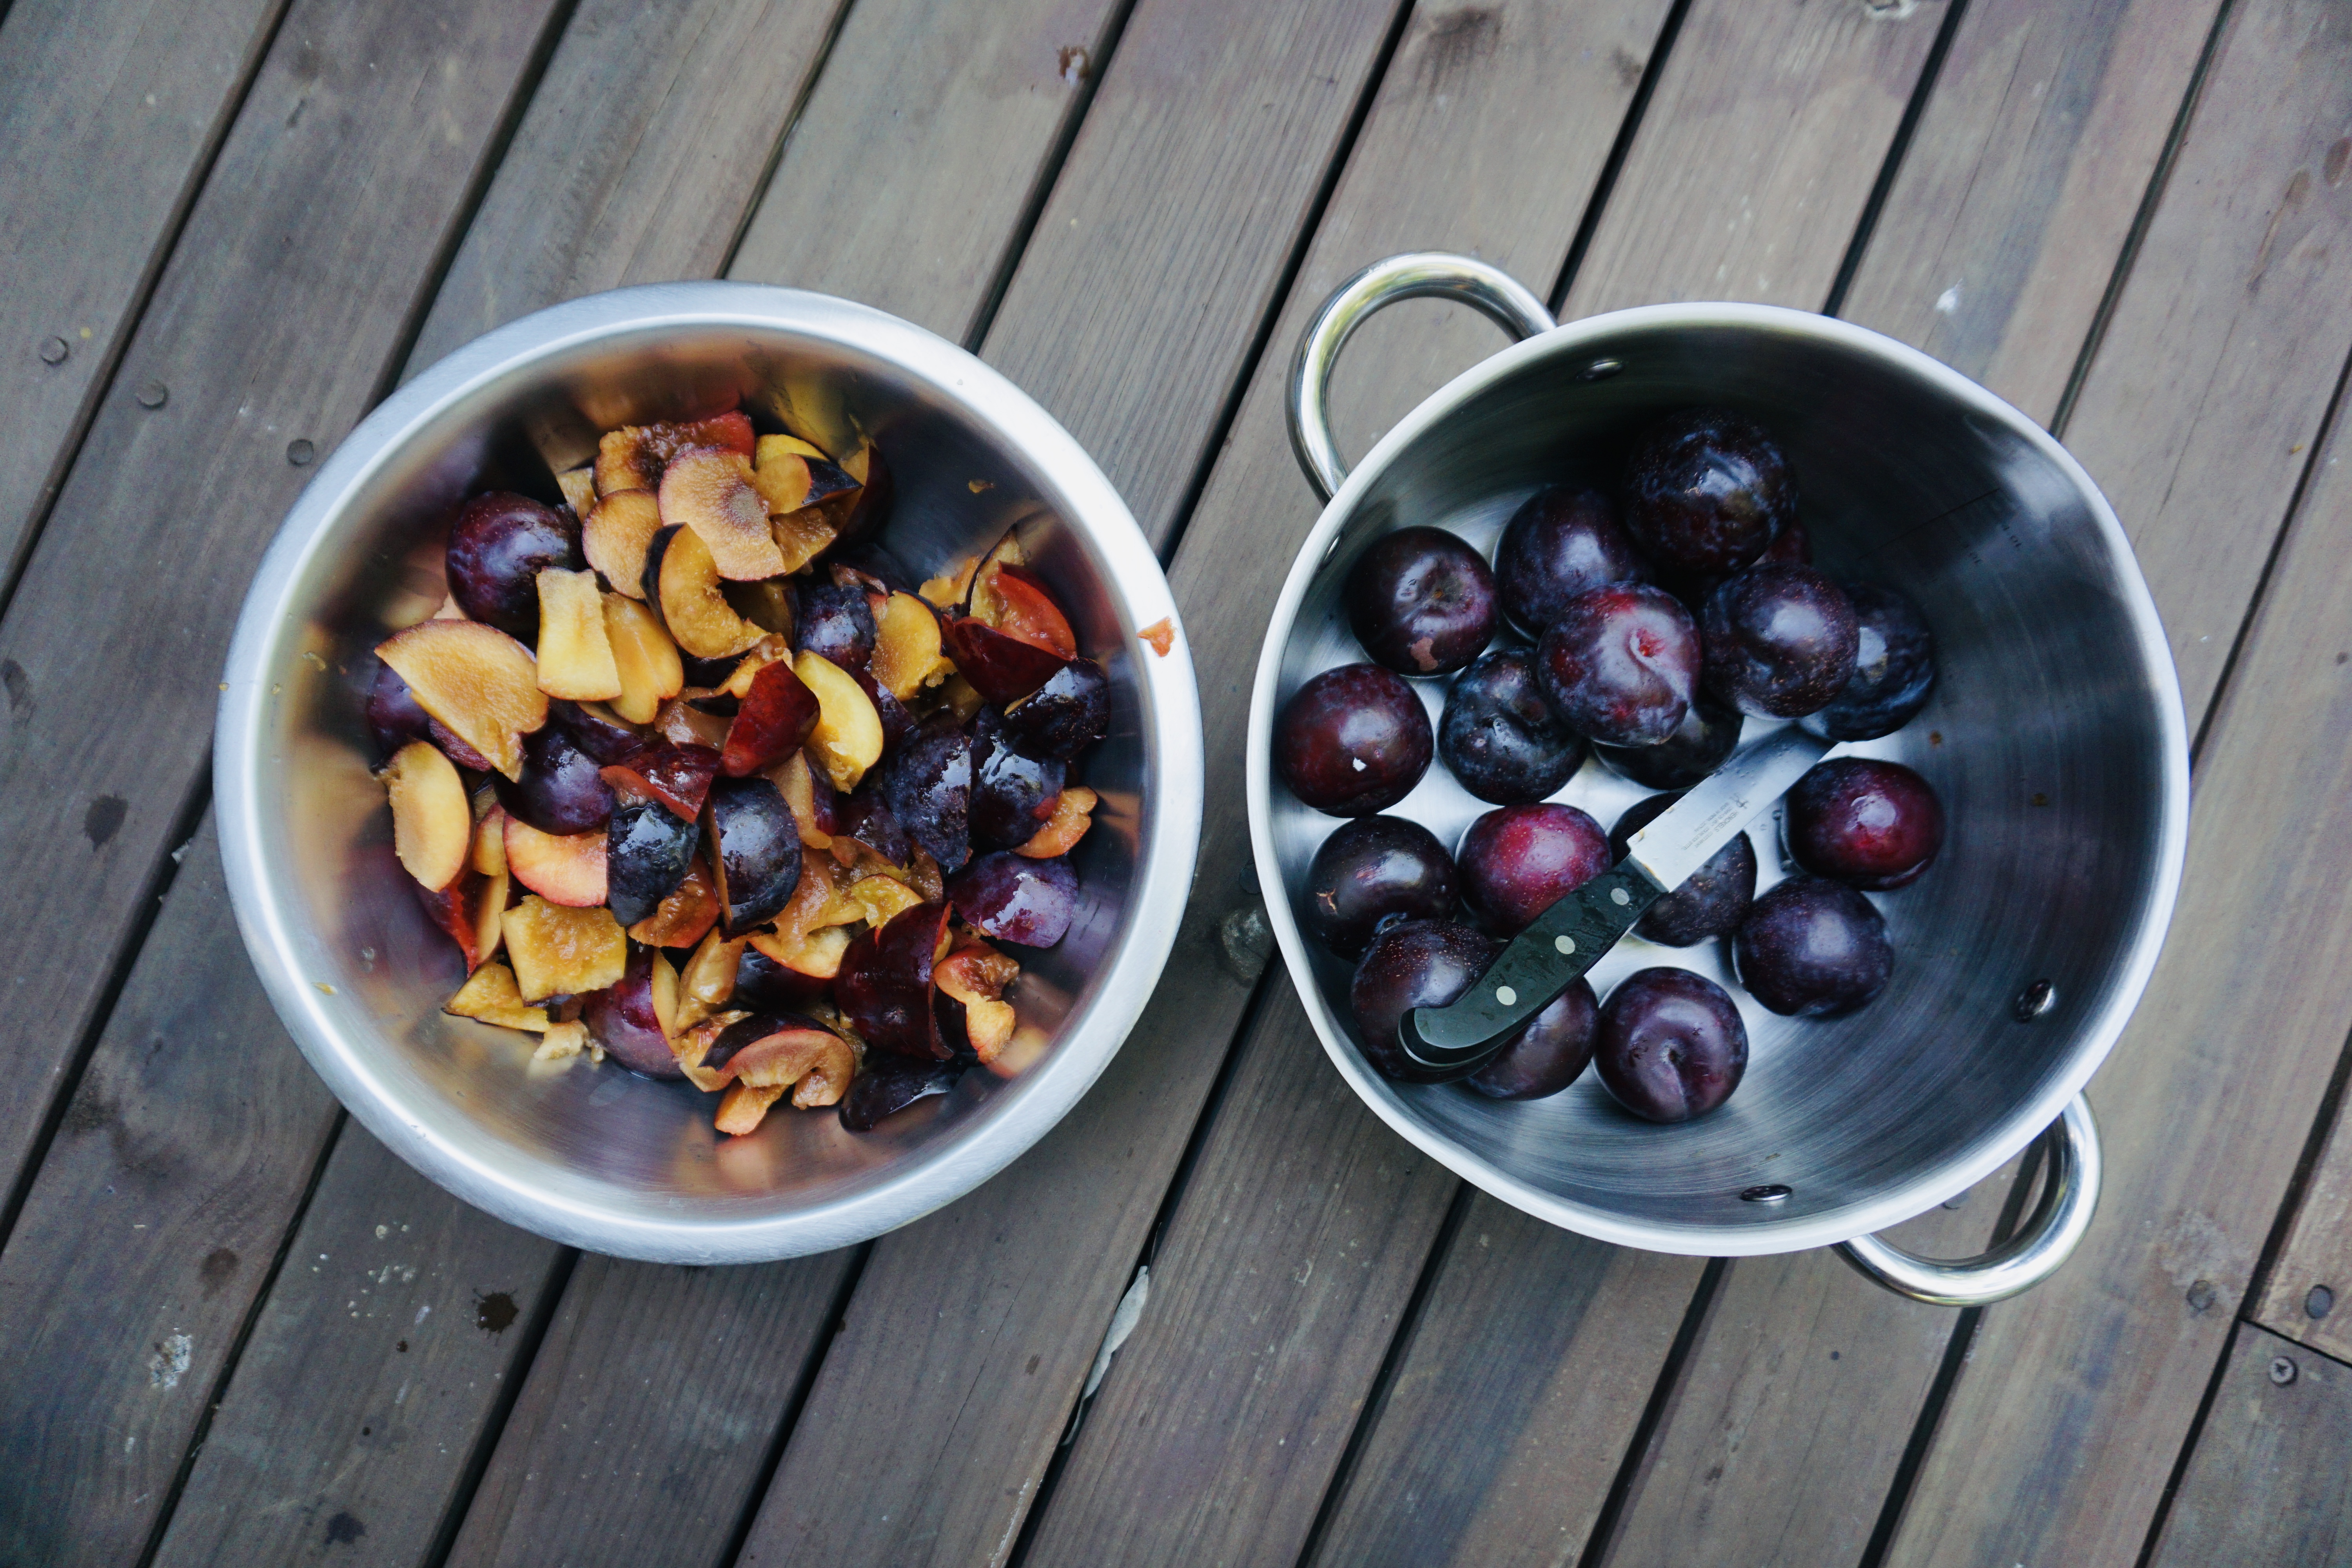
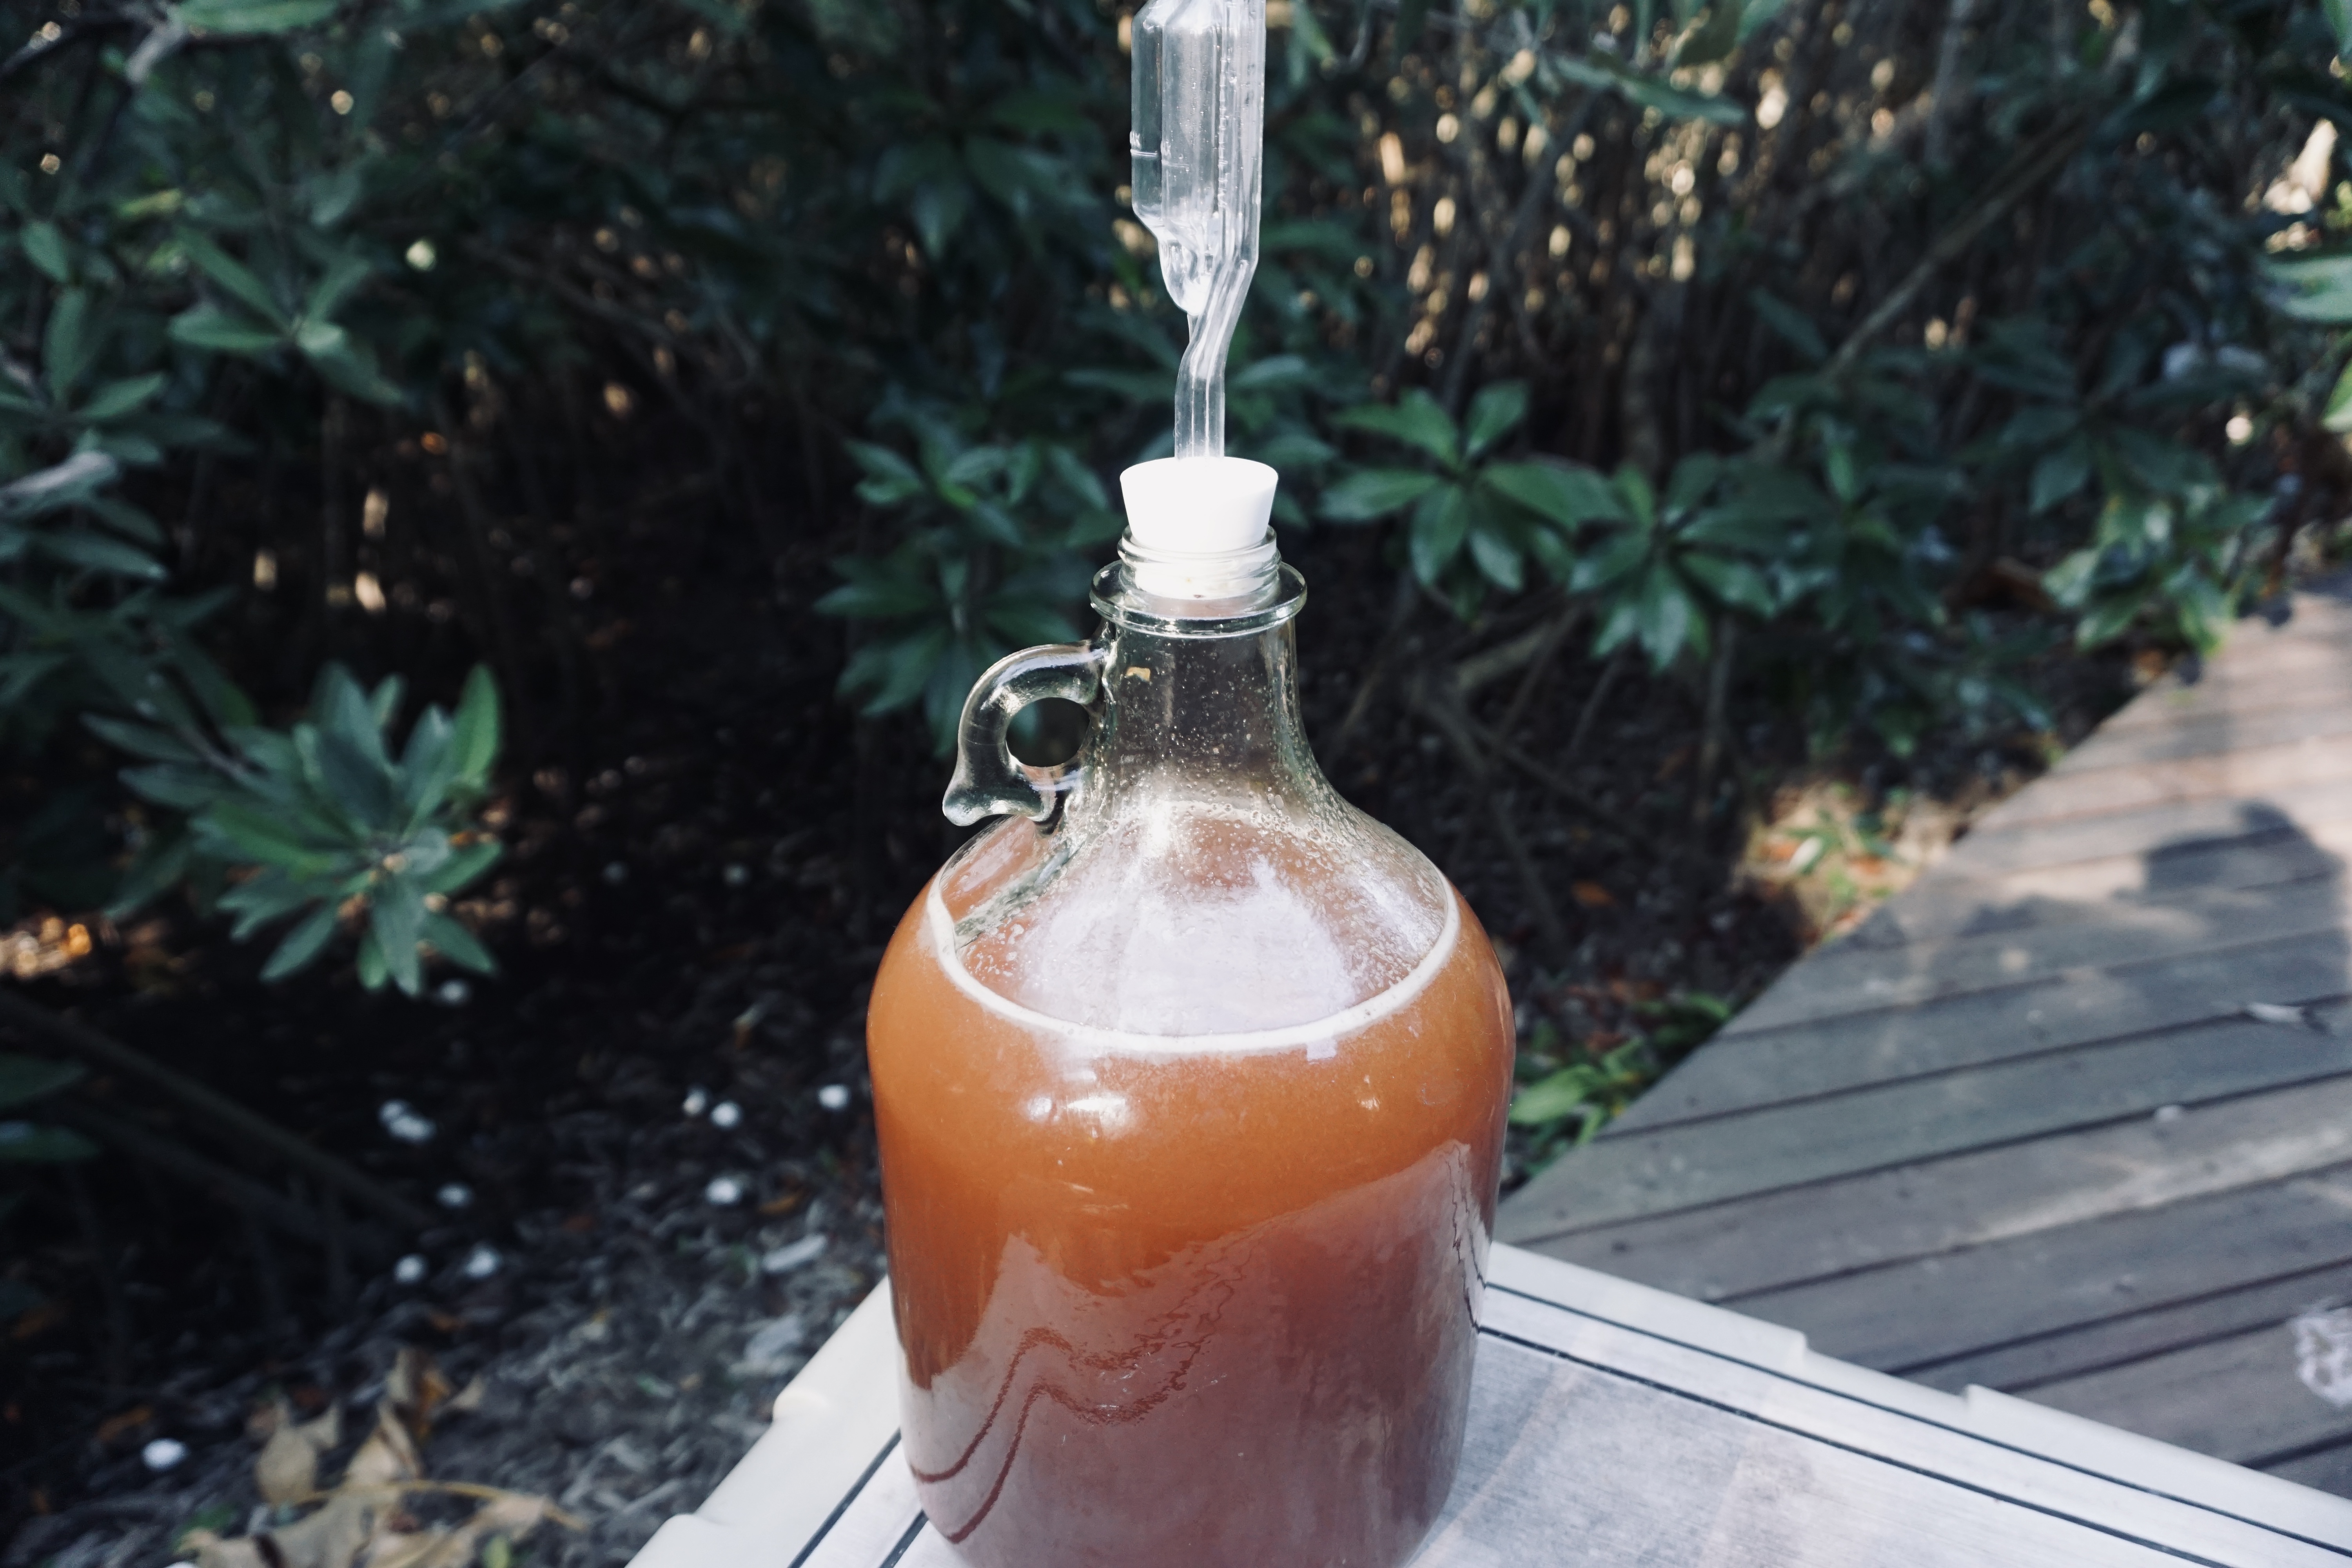
However, the great thing about making wine at home is you can create wines from just about any fruit. Recently, I just made a plum wine with yarrow.
Let’s check out the wine making process at home so you can create some amazing fruit wines as well.
From Fruit to Glass
To begin let’s understand how wine is made from fruit to glass.
- Grow
- Harvest
- Process
- Primary Fermentation
- Secondary Fermentation
- Bottle
- Age
- Enjoy
The process is very different than beer making since wine is dependent on one staple ingredient: the fruit. Beer has 4 ingredients and every ingredient can be altered to meet specific brewing goals. That is not the case for wine.
However, you can experiment with fruit wines with additional herbs and spices to play with some flavors.
RELATED POST: 15 Powerful Winemaking at Home Tips & Tricks to Make Unbeatable Wine (No One is Talking About)
1. Grow the fruit
Whether it is on a vineyard or a fruit farm, your fruit comes from somewhere.
On a vineyard they are very diligent about how their grapes are growing during the entire process. Winemakers and viticulturists work hand in hand all year to ensure the best fruit possible.
2. Harvest the fruit
For winemakers this is a whole “harvest season” that lasts August to December in the northern hemisphere and January to May in the southern hemisphere.
For winemakers at home, this looks like checking out your local produce store and seeing what fruit is in season.
In the fall it is common to pick apples and either make apple wine or homemade hard apple cider!
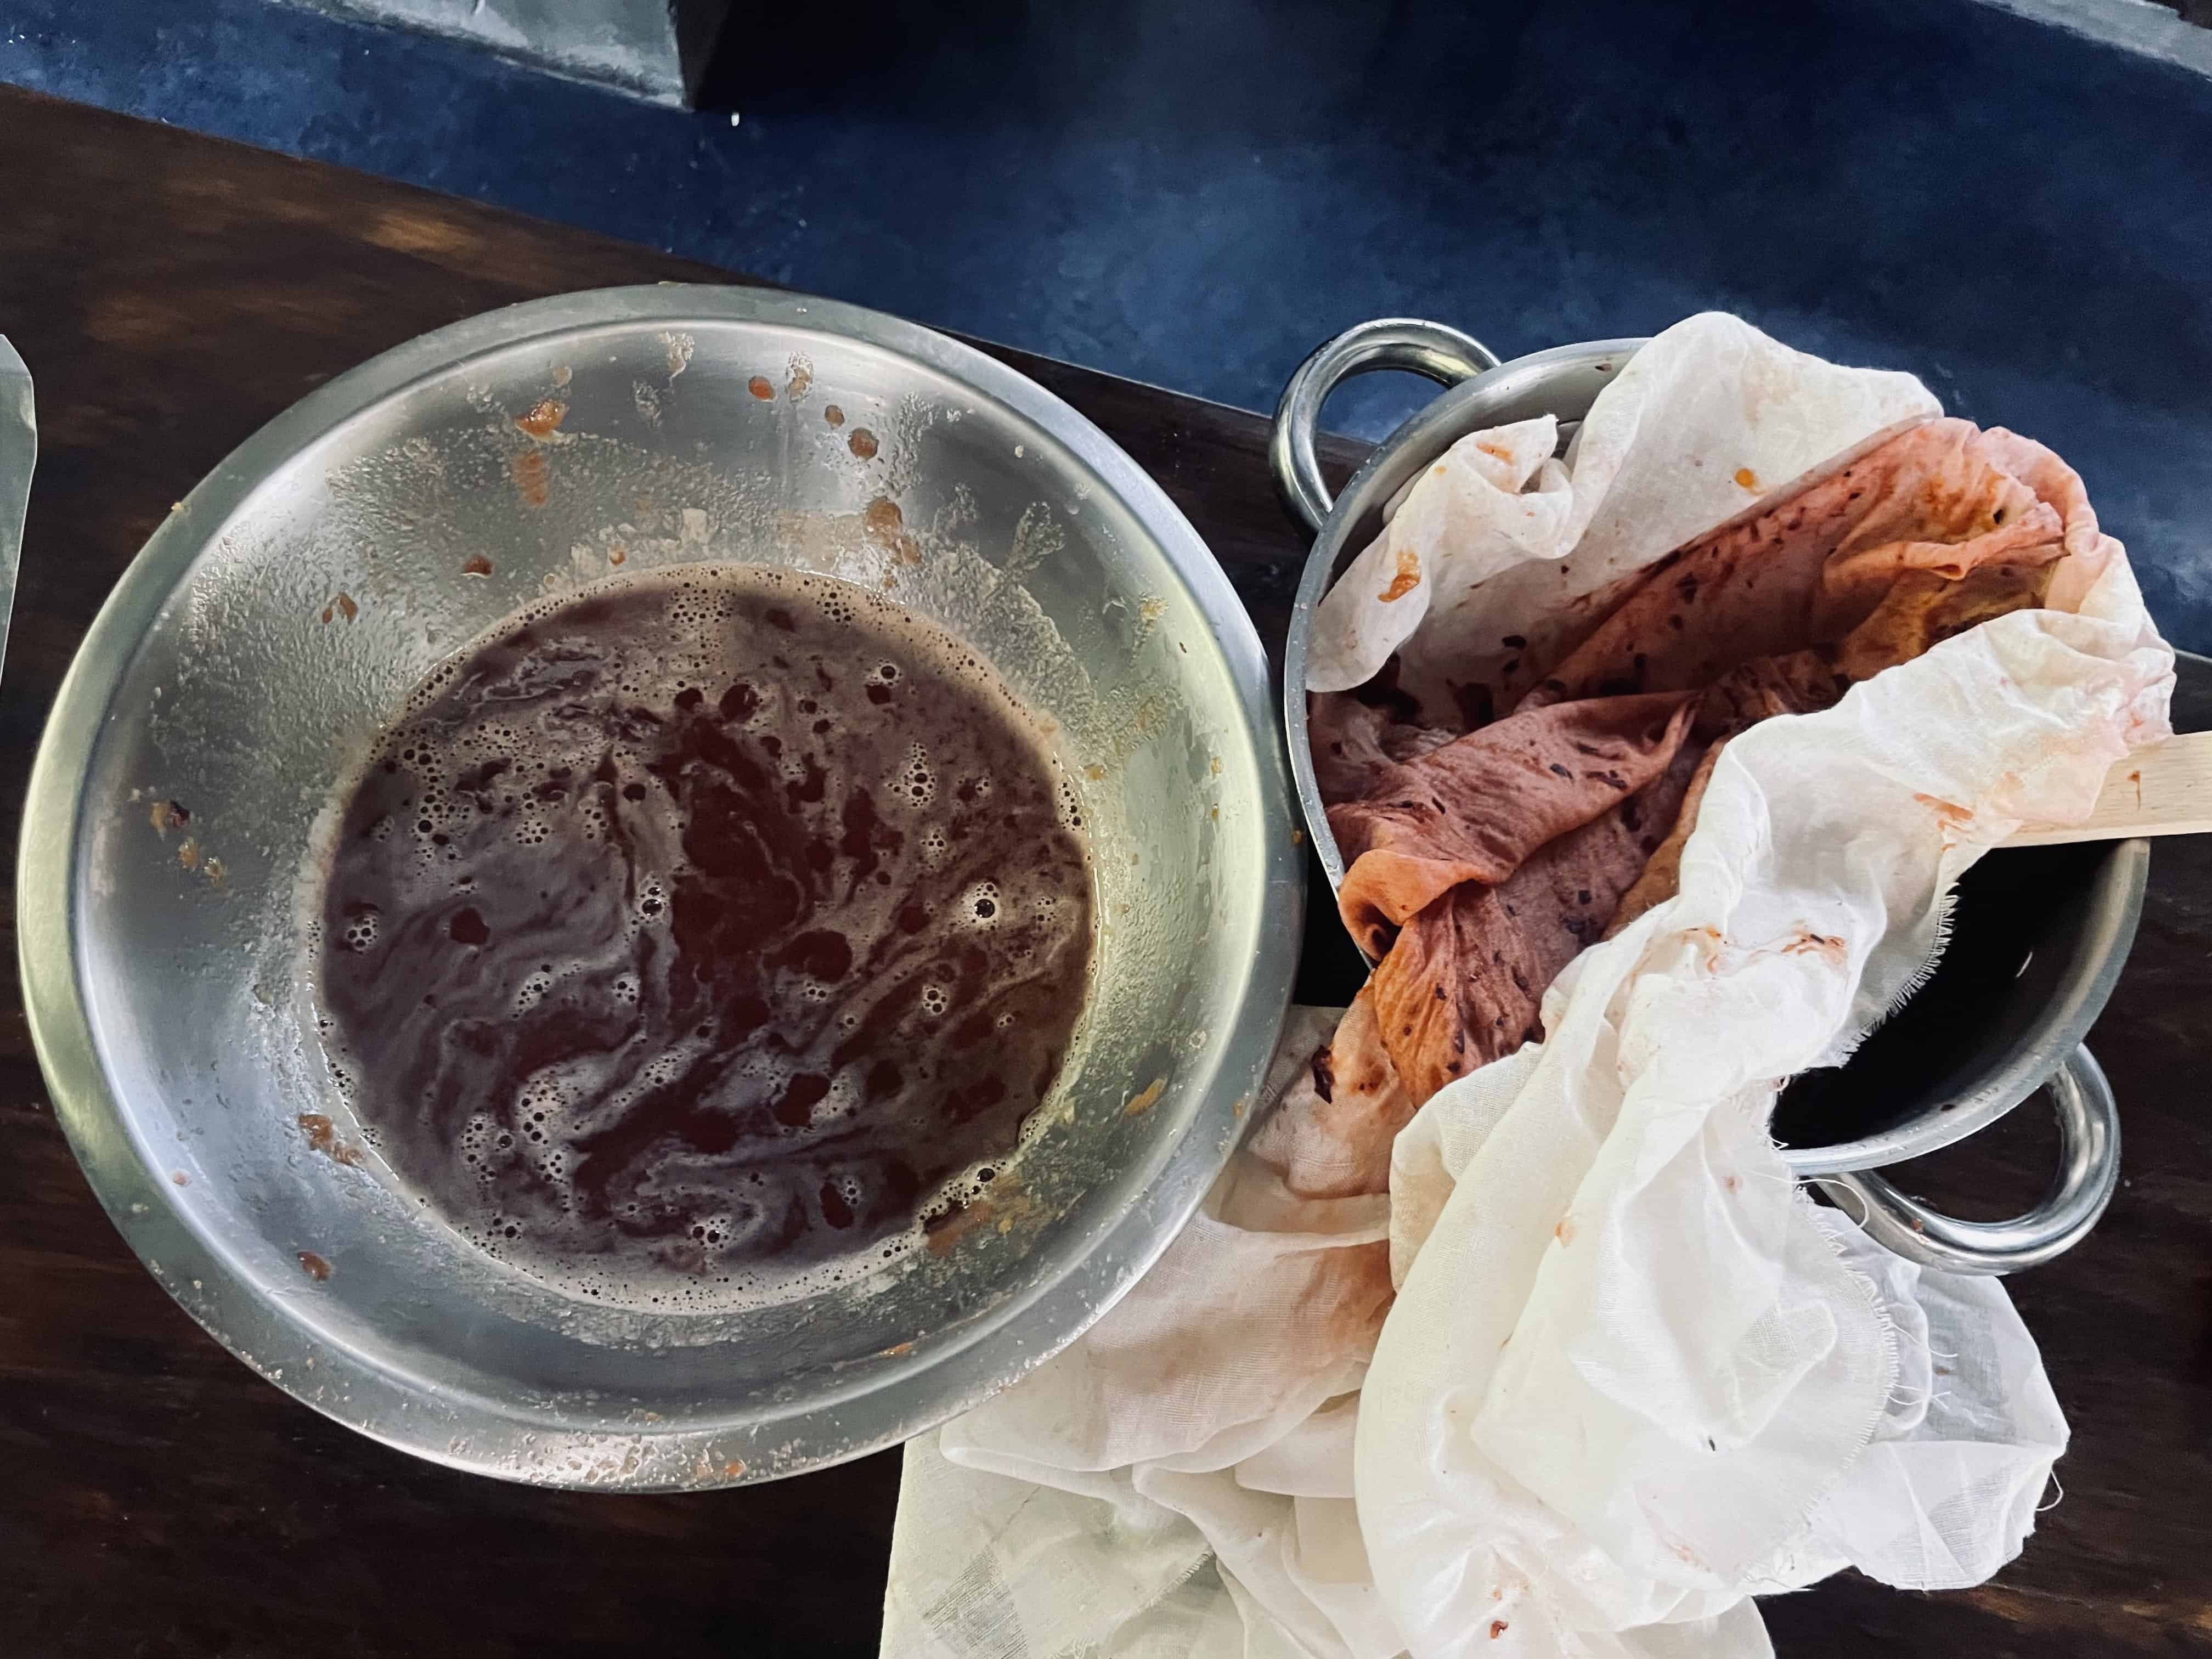
3. Process the fruit
When you get your fruit from the store, or a local farm, it is time to begin processing the fruit.
Some home wine makers will simply put fruit and sugar in a fermenter and add some yeast. However, that leaves tons of sugar and juice in the fruit, so be sure to juice as much as you can.
To process fruit you can either put it through a fruit press, or process it on your own.
4. Primary Fermentation
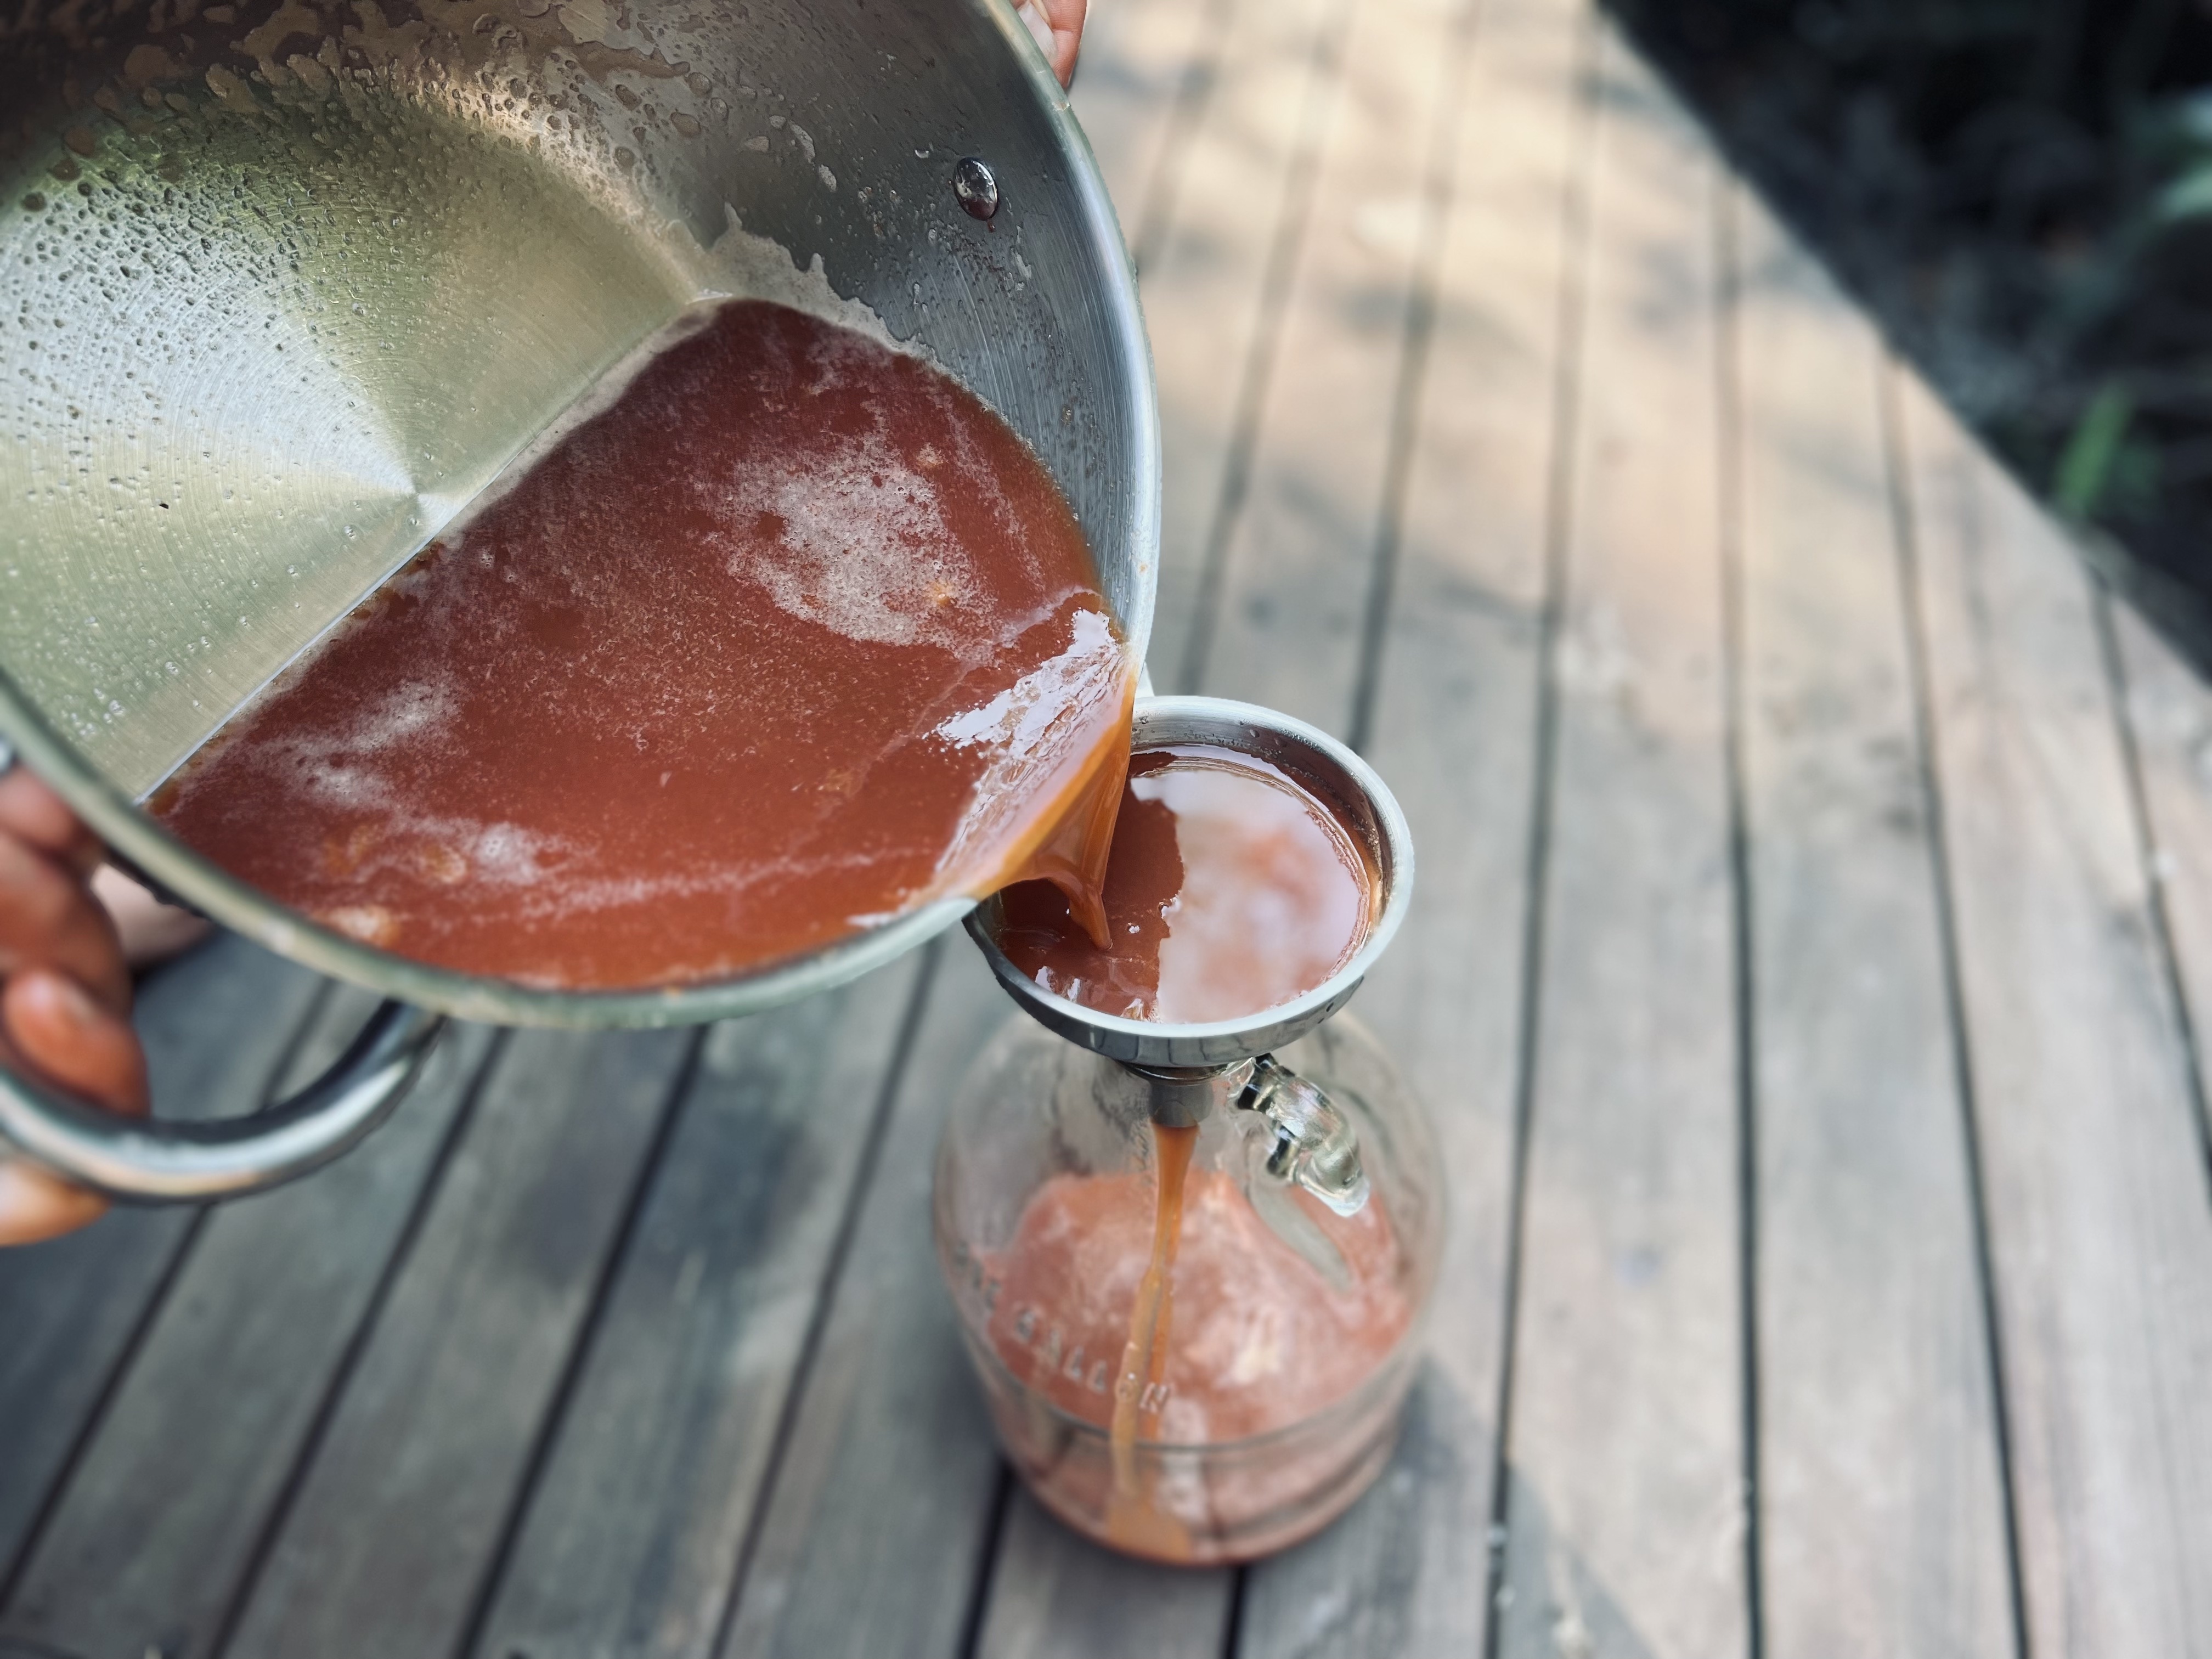
Once you have your juice you are ready to ferment. At this stage, you place the juice in a fermenter. Either one-gallon or five-gallon when making wine at home.
Some winemakers will also add sugar in this phase to kickstart fermentation if the fruits do not have enough sugar. They also might add some water to fill the remaining space in the fermenter.
To check if your juice has enough sugar, use a hydrometer, if there is not enough sugar you might have to add some!
Then, you add your wine yeast and allow to ferment for about one week.
RELATED POST: Understand the Content | How to Use a Hydrometer in 5 Easy Steps
5. Secondary Fermentation
After about one week in primary, the wine then gets transferred off the sediment into a secondary fermenter for another week.
This step is to help clarify the wines, remove sediment, and finish off the fermentation.
Some people will do secondary fermentation in a barrel, even wineries will do secondary fermentation in barrels. Again, it depends on the winemaker and what they want!
RELATED POST: Everything You Need to Know About Secondary Fermentation
In large scale wineries, the team will use a pump and move the wine from one huge fermenter to another. But, for winemakers at home, you can simply use a sanitized siphon hose!
6. Bottling
The last labor intensive part of winemaking is bottling! Once the fermentation is complete the wine is ready to be transferred to bottles for aging.
How we transfer our wine from primary fermentation to secondary is very similar to how we bottle. We use a siphon hose with a bottling wand, or we gently funnel our wine into bottles.
7. Age
After wine gets bottled, it gets aged. For wine making for beginners, aging can be a couple months to a couple years!
For the plum and yarrow wine I just made I will bottle it and age it underground.
RELATED POST: A Primitive Underground Wine Cellar | How to Wax Your Bottle to Age Underground
At a certain point underground the temperature remains the same year round: around 50F to 55F, which is perfect for aging wine long term.
You want to keep the wine in a stable temperature, usually on the cooler side, and let it rest!
8. Enjoy!
The best part of wine making, and beginners will quickly realize this too, once you age your wine, you get to enjoy it.
What You Need to Start Making Wine
Now that we understand the wine making process, it is time to see how we can dive into wine making equipment for beginners!
To start making a one-gallon batch of wine the equipment you need:
- One gallon fermenter with airlock
- Siphon hose with bottle filler
- Thermometer
- Hydrometer
- Scale
- Wine fruit press, or cheesecloth if you are pressing by hand
- Star Sans sanitizer
- Wine bottles
RELATED POST: On-Demand Wine Making Equipment List for Stunning Wine | Get Everything in One Click
That list is perfect for wine making for beginners. The link to the Amazon cart is full of various things for wine making for beginners! You can add everything or a few to your cart and get ready to start making wine.
Alternative Items for Common Wine Making Issues
As you begin any project, especially fermentation, you might soon realize there is a lot of room for error. Wine making for beginners can yield plenty of mistakes! Here are some ways to prevent those mistakes.
Alternatives to add into your wine making process:
- Star Sans (as listed before, it is THAT important)
- Camden tablets
- Argon gas
- Wine nutrients
Let’s break these down.
1. Everything that comes in contact with juice, must, or wine MUST be sanitized.
Certain bacteria can be on your equipment and create off flavors in your wine. Or worse, spoil a whole batch and even make you sick. This is very important!
2. Camden tablets have a couple helpful benefits.
You can add them into your wine at various stages of the wine making process: after processing the fruit into juice, transferring wine from primary to secondary, and during packaging.
Camden tablets top benefits:
- Removes chlorine (which creates a plasticy flavor)
- Sterilize juice or wine must before fermentation to kill ALL bacteria, specifically Acetobacter.
Acetobacter is a bacteria that creates acetic acid which basically turns your wine into vinegar! It is easy to prevent, but almost impossible to get rid of once it grows.
- Lastly, camden tabs anti-oxidize wine when transferring from primary into secondary or when bottling.
3. Argon gas displaces oxygen in the fermenters or in barrel.
Wine is best when it is aged, especially in barrels, though when it is exposed to oxygen it can increase the risk of spoilage and oxidation leading to off flavors.
Argon gas can be sprayed into your fermenter to displace oxygen twice a day. Then, again can be sprayed into your wine bottles before bottling to ensure an oxygen-free environment.
4. Wine nutrients!
In this bundle you have wine tannins, pectin enzyme, and an acid blend.
The wine tannins are great additions when you do not have naturally occurring tannins on the skins of your fruit. Think about a grape skin, even plum skin, each have tannins. However, if you are making pineapple wine then you will lack tannins. Then, you can add those tannins!
The pectin enzyme is also found on the skins of fruits! This enzyme clears wine’s haze creating more sediment, extracts more flavor, extracts color, and even extracts tannins.
The acid blend is used to balance the acidity in wine. It has citric acid (think lemons), malic acid, and tartaric acid which all help with the aging process and the finished flavor profile.
You might not have to use all three of these in a brew, but they are good to have on hand!!
Wine making for beginners can be simple once you understand the process.
After your first batch you will have the confidence and inspiration to keep creating.
Enjoy the process and follow us on Pinterest for more winemaking at home inspiration!
This post was all about wine making for beginners.
Other Posts You May Like…
✓ This Alone Will Change Your Relationship with Alcohol (How to Stop Drinking Home Remedies)
✓ Make a Perfect Beer on Your First Try | Lightly Hopped Beginner Beer Recipe
✓ 15 Powerful Winemaking at Home Tips & Tricks to Make Unbeatable Wine (No One is Talking About)
